The “Good Enough” Point

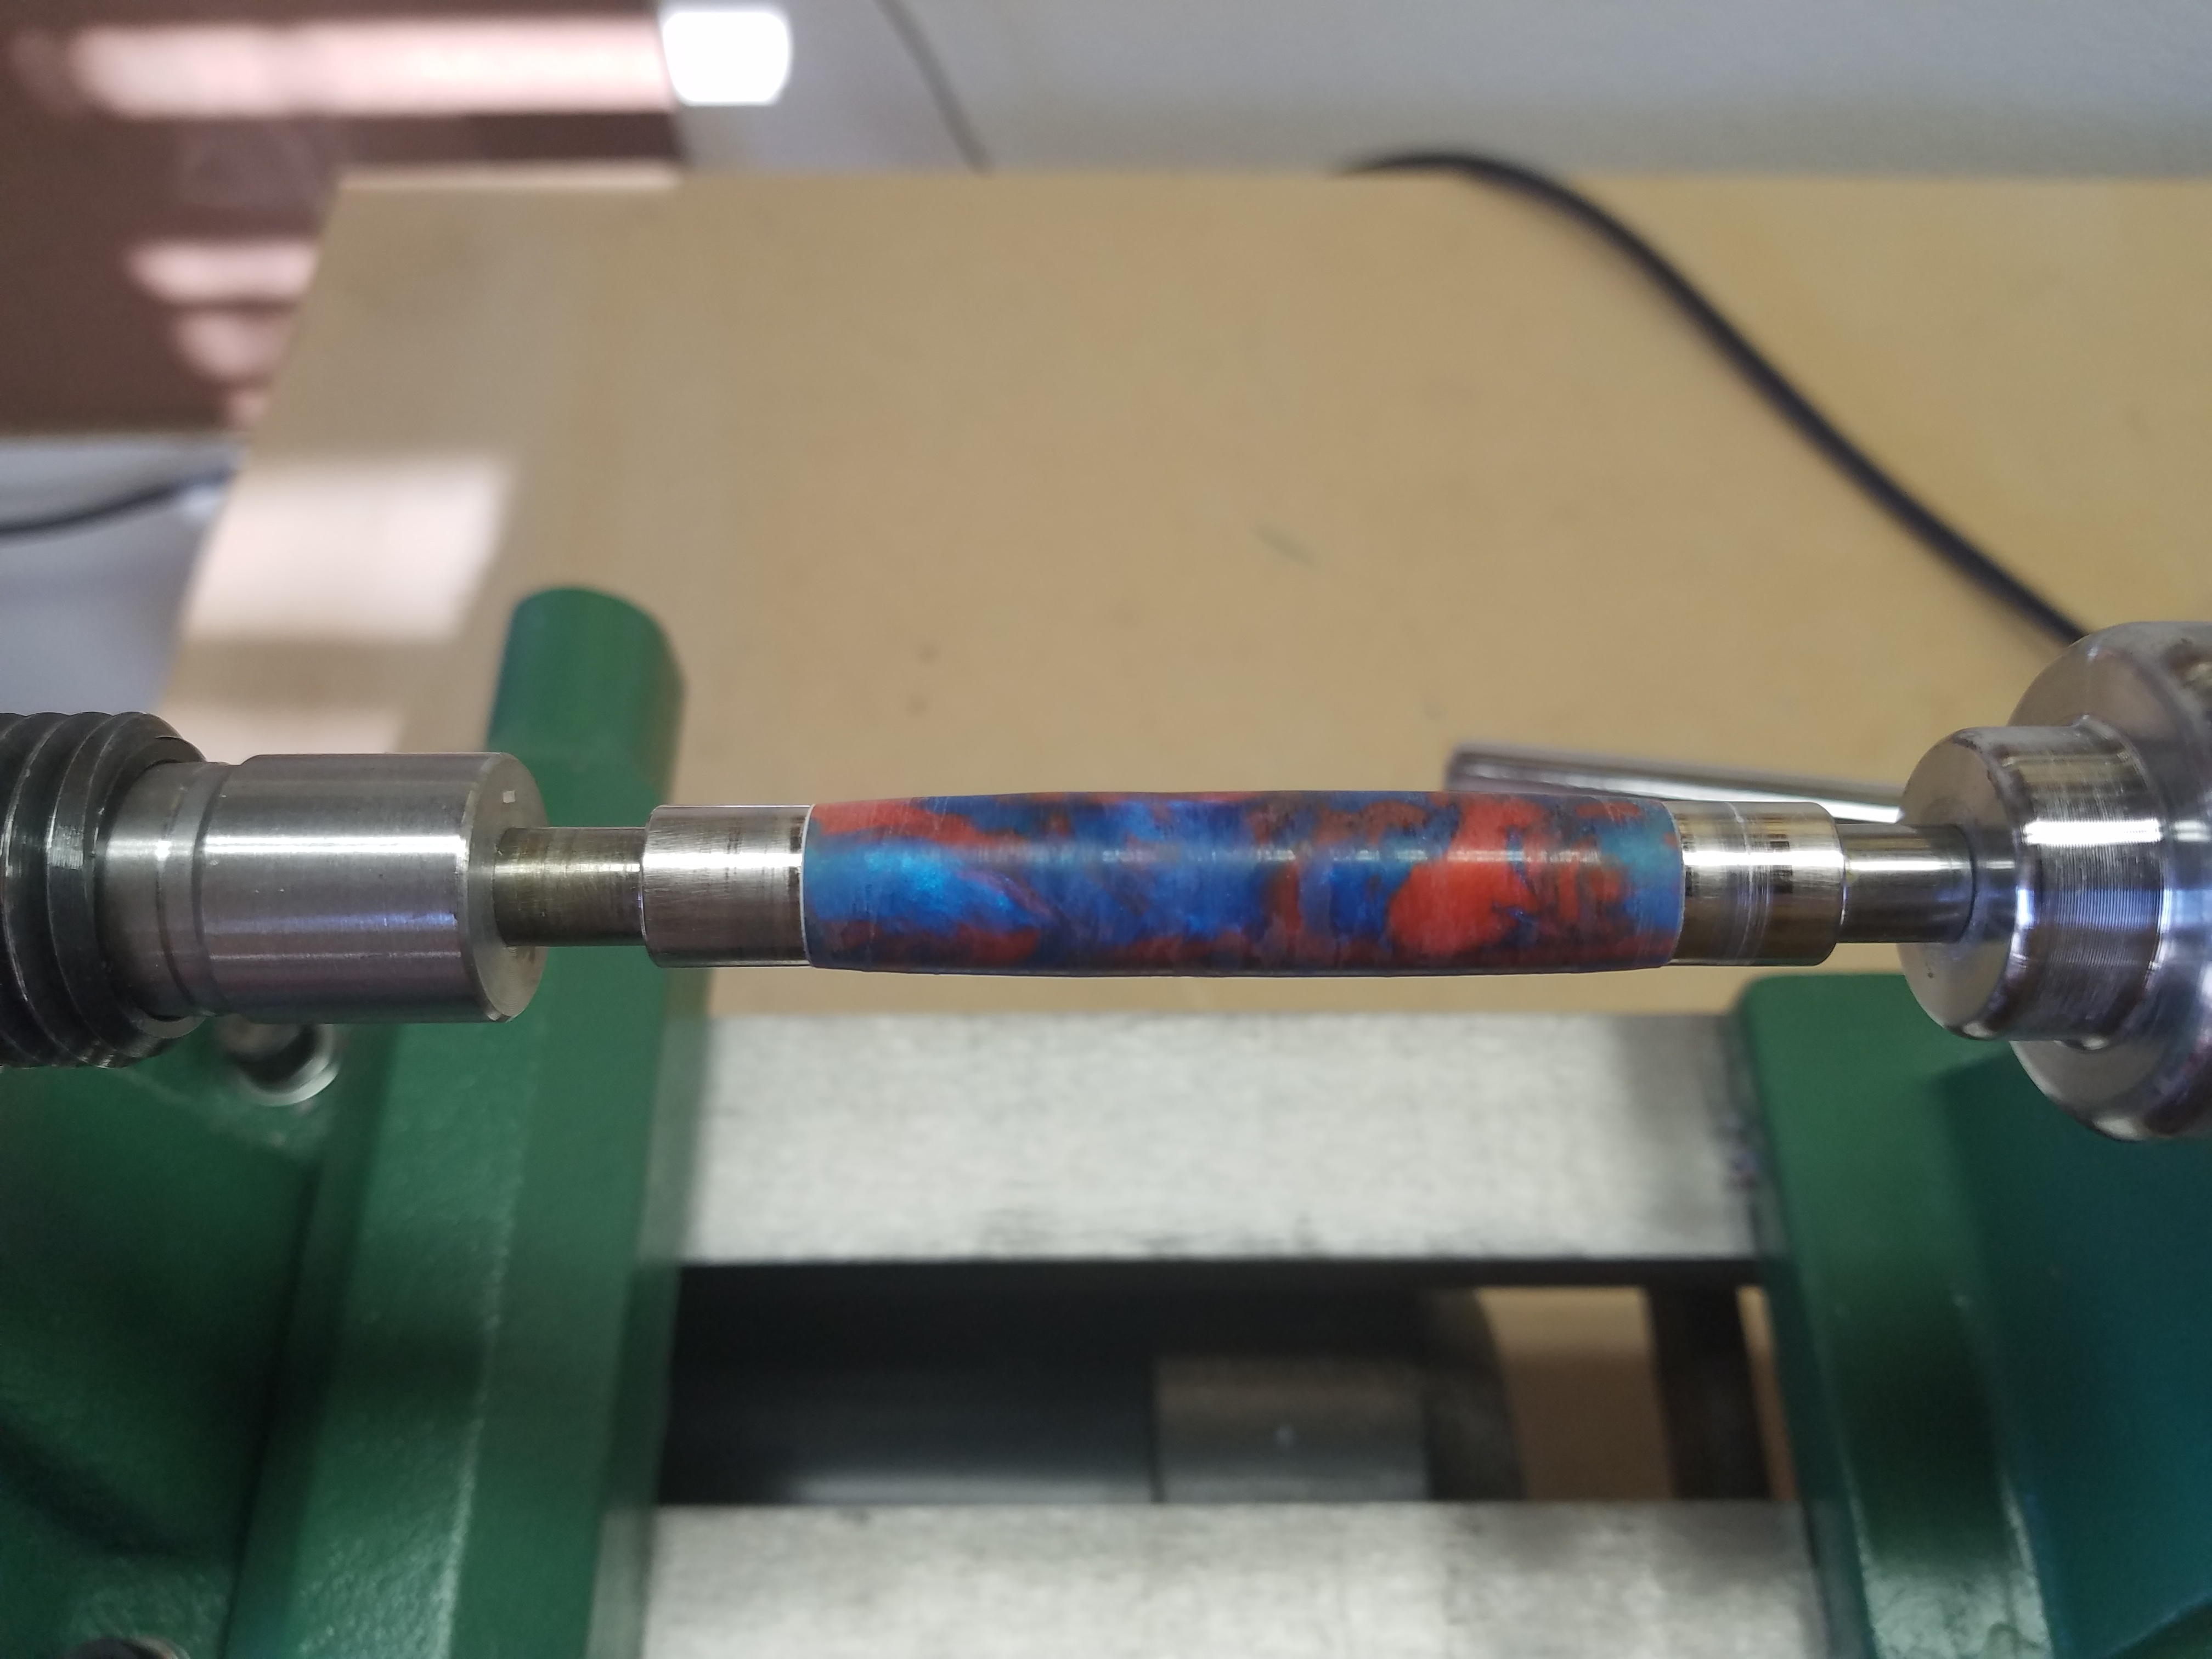
I read once that the mark of mastery is knowing when a piece is “good enough”. As an aspiring wood turner I spend excessive time trying to make sure every piece is perfect; sanding and polishing until the surface is glassy smooth. In order to be commercially viable a craftsman needs to understand his target audience. A product is finished and ready for the customer when it satisfies their needs not yours. You can go mad, and broke, trying to achieve perfection where it’s simply not necessary.

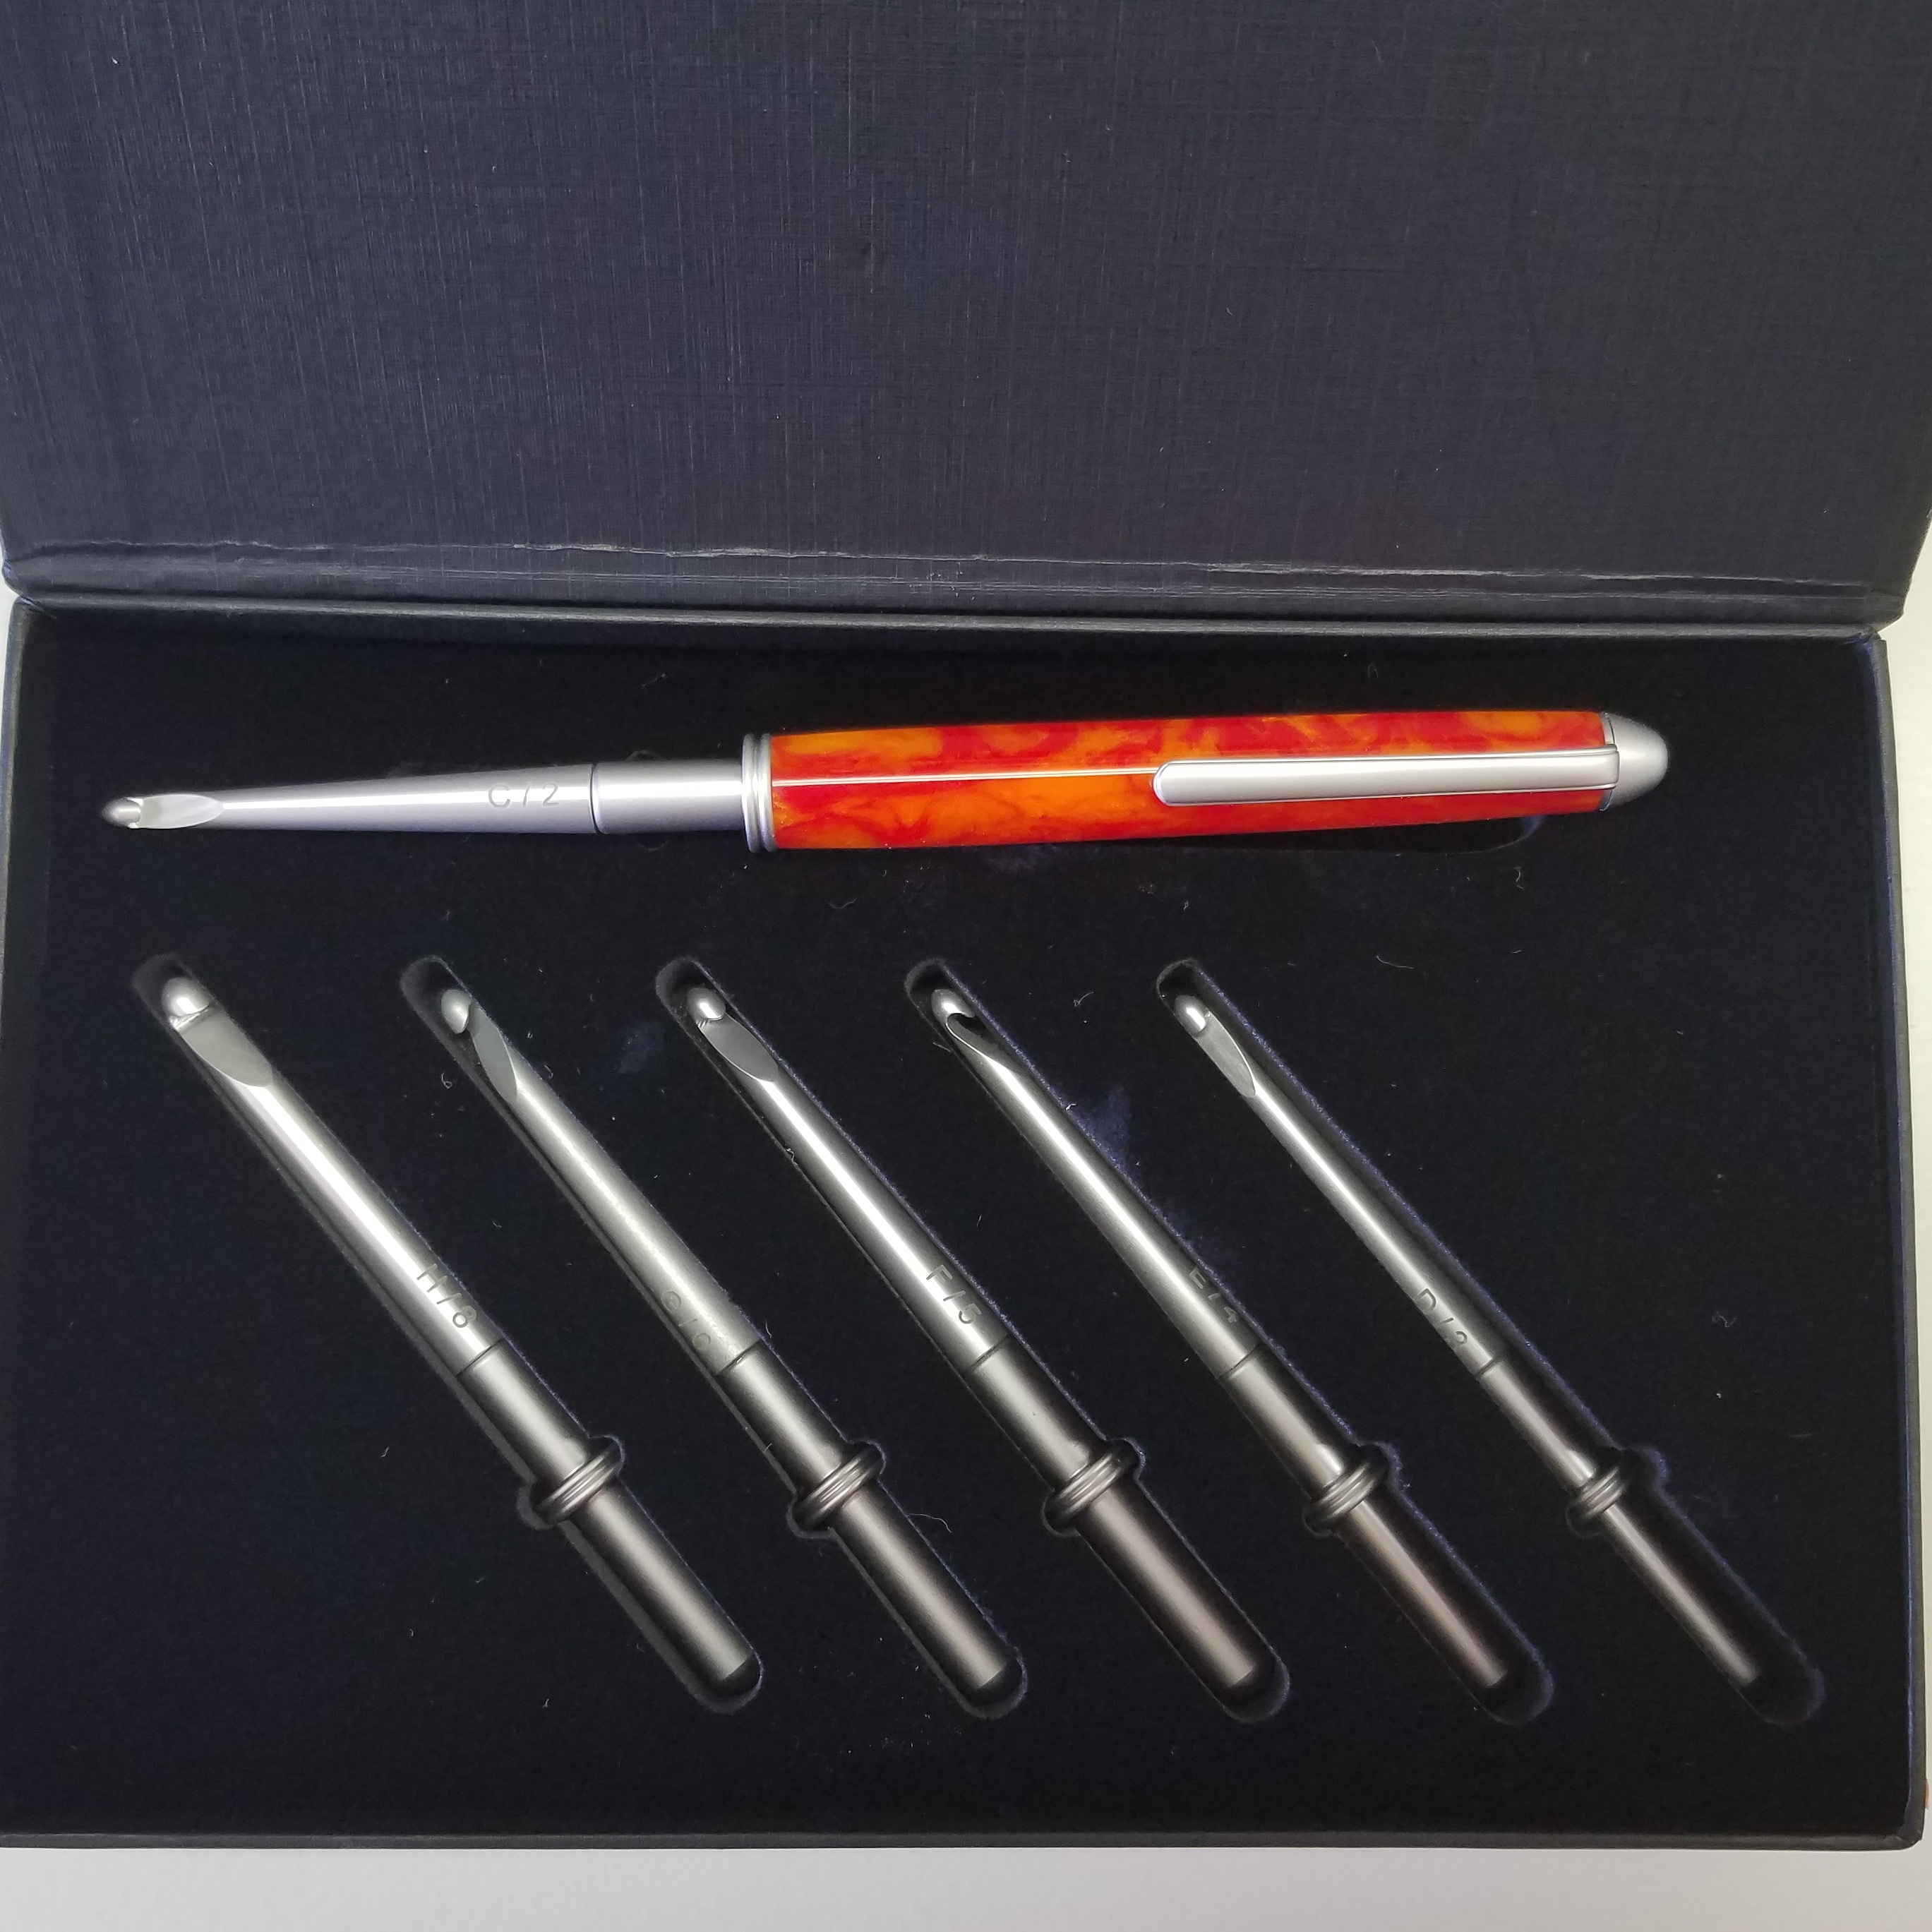
The vast majority of consumers will not have sufficient knowledge of your craft to appreciate the full extent of the skill that goes into a piece. The owner of your product likely won’t see any flaws in their new acquisition without knowing what your intent was. Only a fellow craftsman might recognize mistakes in the end product and even then, they may just wonder about your design choices or technique. Your customer can only see what is, not what intent or possibility. This is especially true in artistic works, which resonate with the buyer who values its aesthetics.

Segmented Pen Blank Inspired By BWM Emblem

Segmented Blank

My coworker love his BMW and wanted me to make a pen using their emblem as my inspiration. I decided that this was my chance to try making a segmented blank.

I cast three individual blanks for this project. One each white, black, and the best approximation of BMW’s Estoril blue that I could manage. I wanted black rings at nib and band with alternating white and blue sides. Aluminum sheet will separate each segment. Continue reading “Segmented Pen Blank Inspired By BWM Emblem”

Pen Sanding and Finishing Process

Buffed with White Diamond compound and ready for assembly.

To get the best finish possible, my pen sanding process includes sanding, polishing, and buffing to remove any tooling marks leaving a glassy smooth pen.

All sanding should be at low speed to reduce heat build up which could cause your blank to melt, or discolor. Always wear personal protection (PPE) equipment while using the lathe. Since I primarily work with resins, I sand wearing with both eye and lung protection. Some woods are irritants and shouldn’t be turned without protection either, you can find a list of hazardous woods at The Wood Database, if interested . I suggest everyone get in the habit of wearing eye and lung protection whenever sanding.

Continue reading “Pen Sanding and Finishing Process”

Shop Notes – 20180812

Shop Notes

  • When mixing materials with your resin that have nooks and crannies, such a gold leaf, mix your resin and hardener first. Once the resin is thoroughly mixed then add your leaf. Materials like gold leaf that can fold and make little pockets of unmixed resin will ruin your blank.
  • When making ribbons with Alumilite use a glass plate or sheet of HDPE that will fit in your pressure pot. The trapped bubbles in these thin pours will expand as the resin warms up while curing, leaving you with a pitted surface.

Los Angeles Rams Pen

Completed pen

Farewell gift for Eric

A coworker of mine is leaving for a new opportunity. He’s an exceptional resource and I wish him well with his new position. I wanted to make him a pen as a farewell gift. As an avid sports fan he wanted a pen colored for his favorite team. and when I asked him what colors he’s like he immediately said blue and yellow. he also sent me the following picture of the L.A. Rams uniforms as reference.

Continue reading “Los Angeles Rams Pen”

Crochet Hook Set

My mom crochets so I made this crochet hook set for her birthday. The quality of the kit is excellent and the single tube design means it’s easy to turn. As an added bonus a standard 3/4″ x and 5 1/4″ blank can make two handles.

Completed set
Crochet hook set

I phoned my parents to ask for color preference. My mother asked for orange. I decided to go mix a couple shades, from orange extending into a pink/red to round out the warm tones. Continue reading “Crochet Hook Set”

Funline with bulge

No-flashI turned another Funline pen today. After watching some videos on YouTube I thought i’d try a 1/3-2/3 approach on this pen. That means a bulge 2/3 up the body of the pen for visual interest and grip. The blank I chose is a black and orange crush blank from Penn State Industries. This blank came with the 30 Funline Pen Kit and Funline Pen Blank Special. I chose a gunmetal finish that went well with the blank. I considered a copper finish but didn’t like it as much as the gunmetal when I compared the two.

I also tried to buff the pen according to the way Zac Higgins from NV Woodworks does in his video on Buffing Acrylic Pen Blanks with the Beall 3-On system. This pen turned out much glassier than my previous pens. I was happy with the finish on my previous pens, but Zac’s method resulted in a vast improvement.

After turning the pen to size I realized there was a bubble in the blank which resulted in a hole all the way down to the tube. I filled it with medium CA and used a scraper with a really light cut to shear off any excess glue once it dried. The finished result isn’t bad at all. Continue reading “Funline with bulge”