
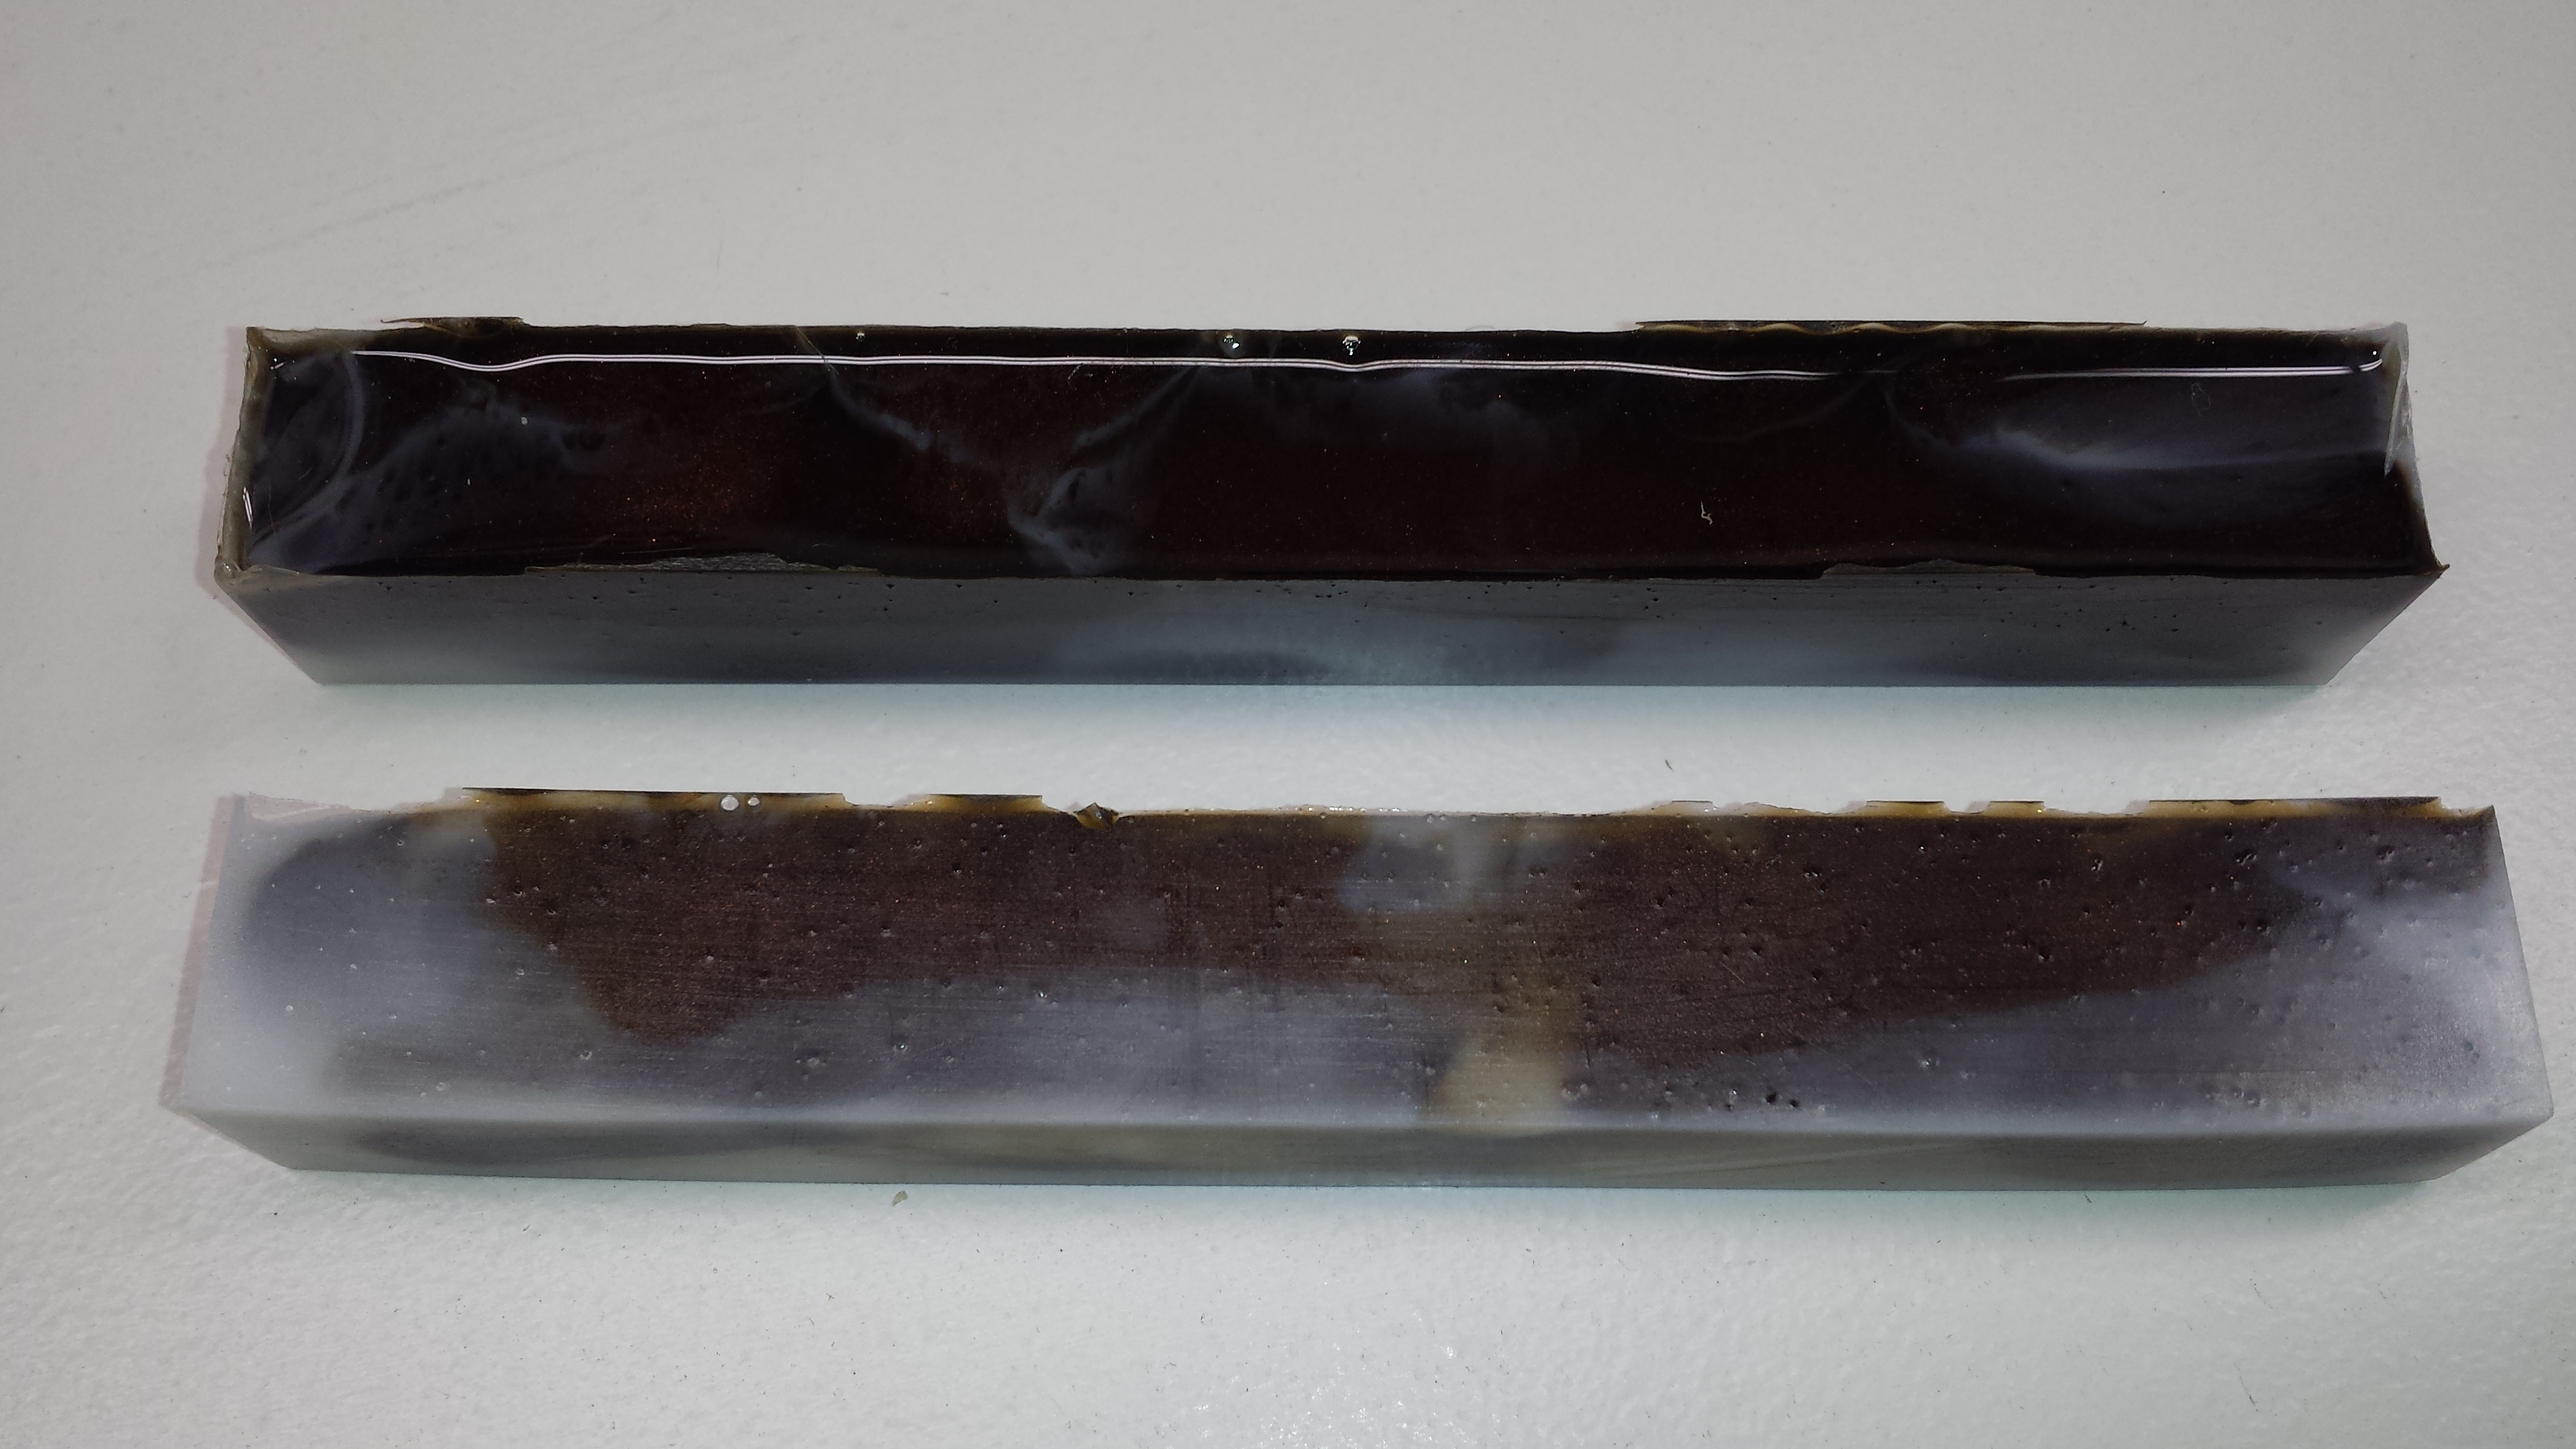
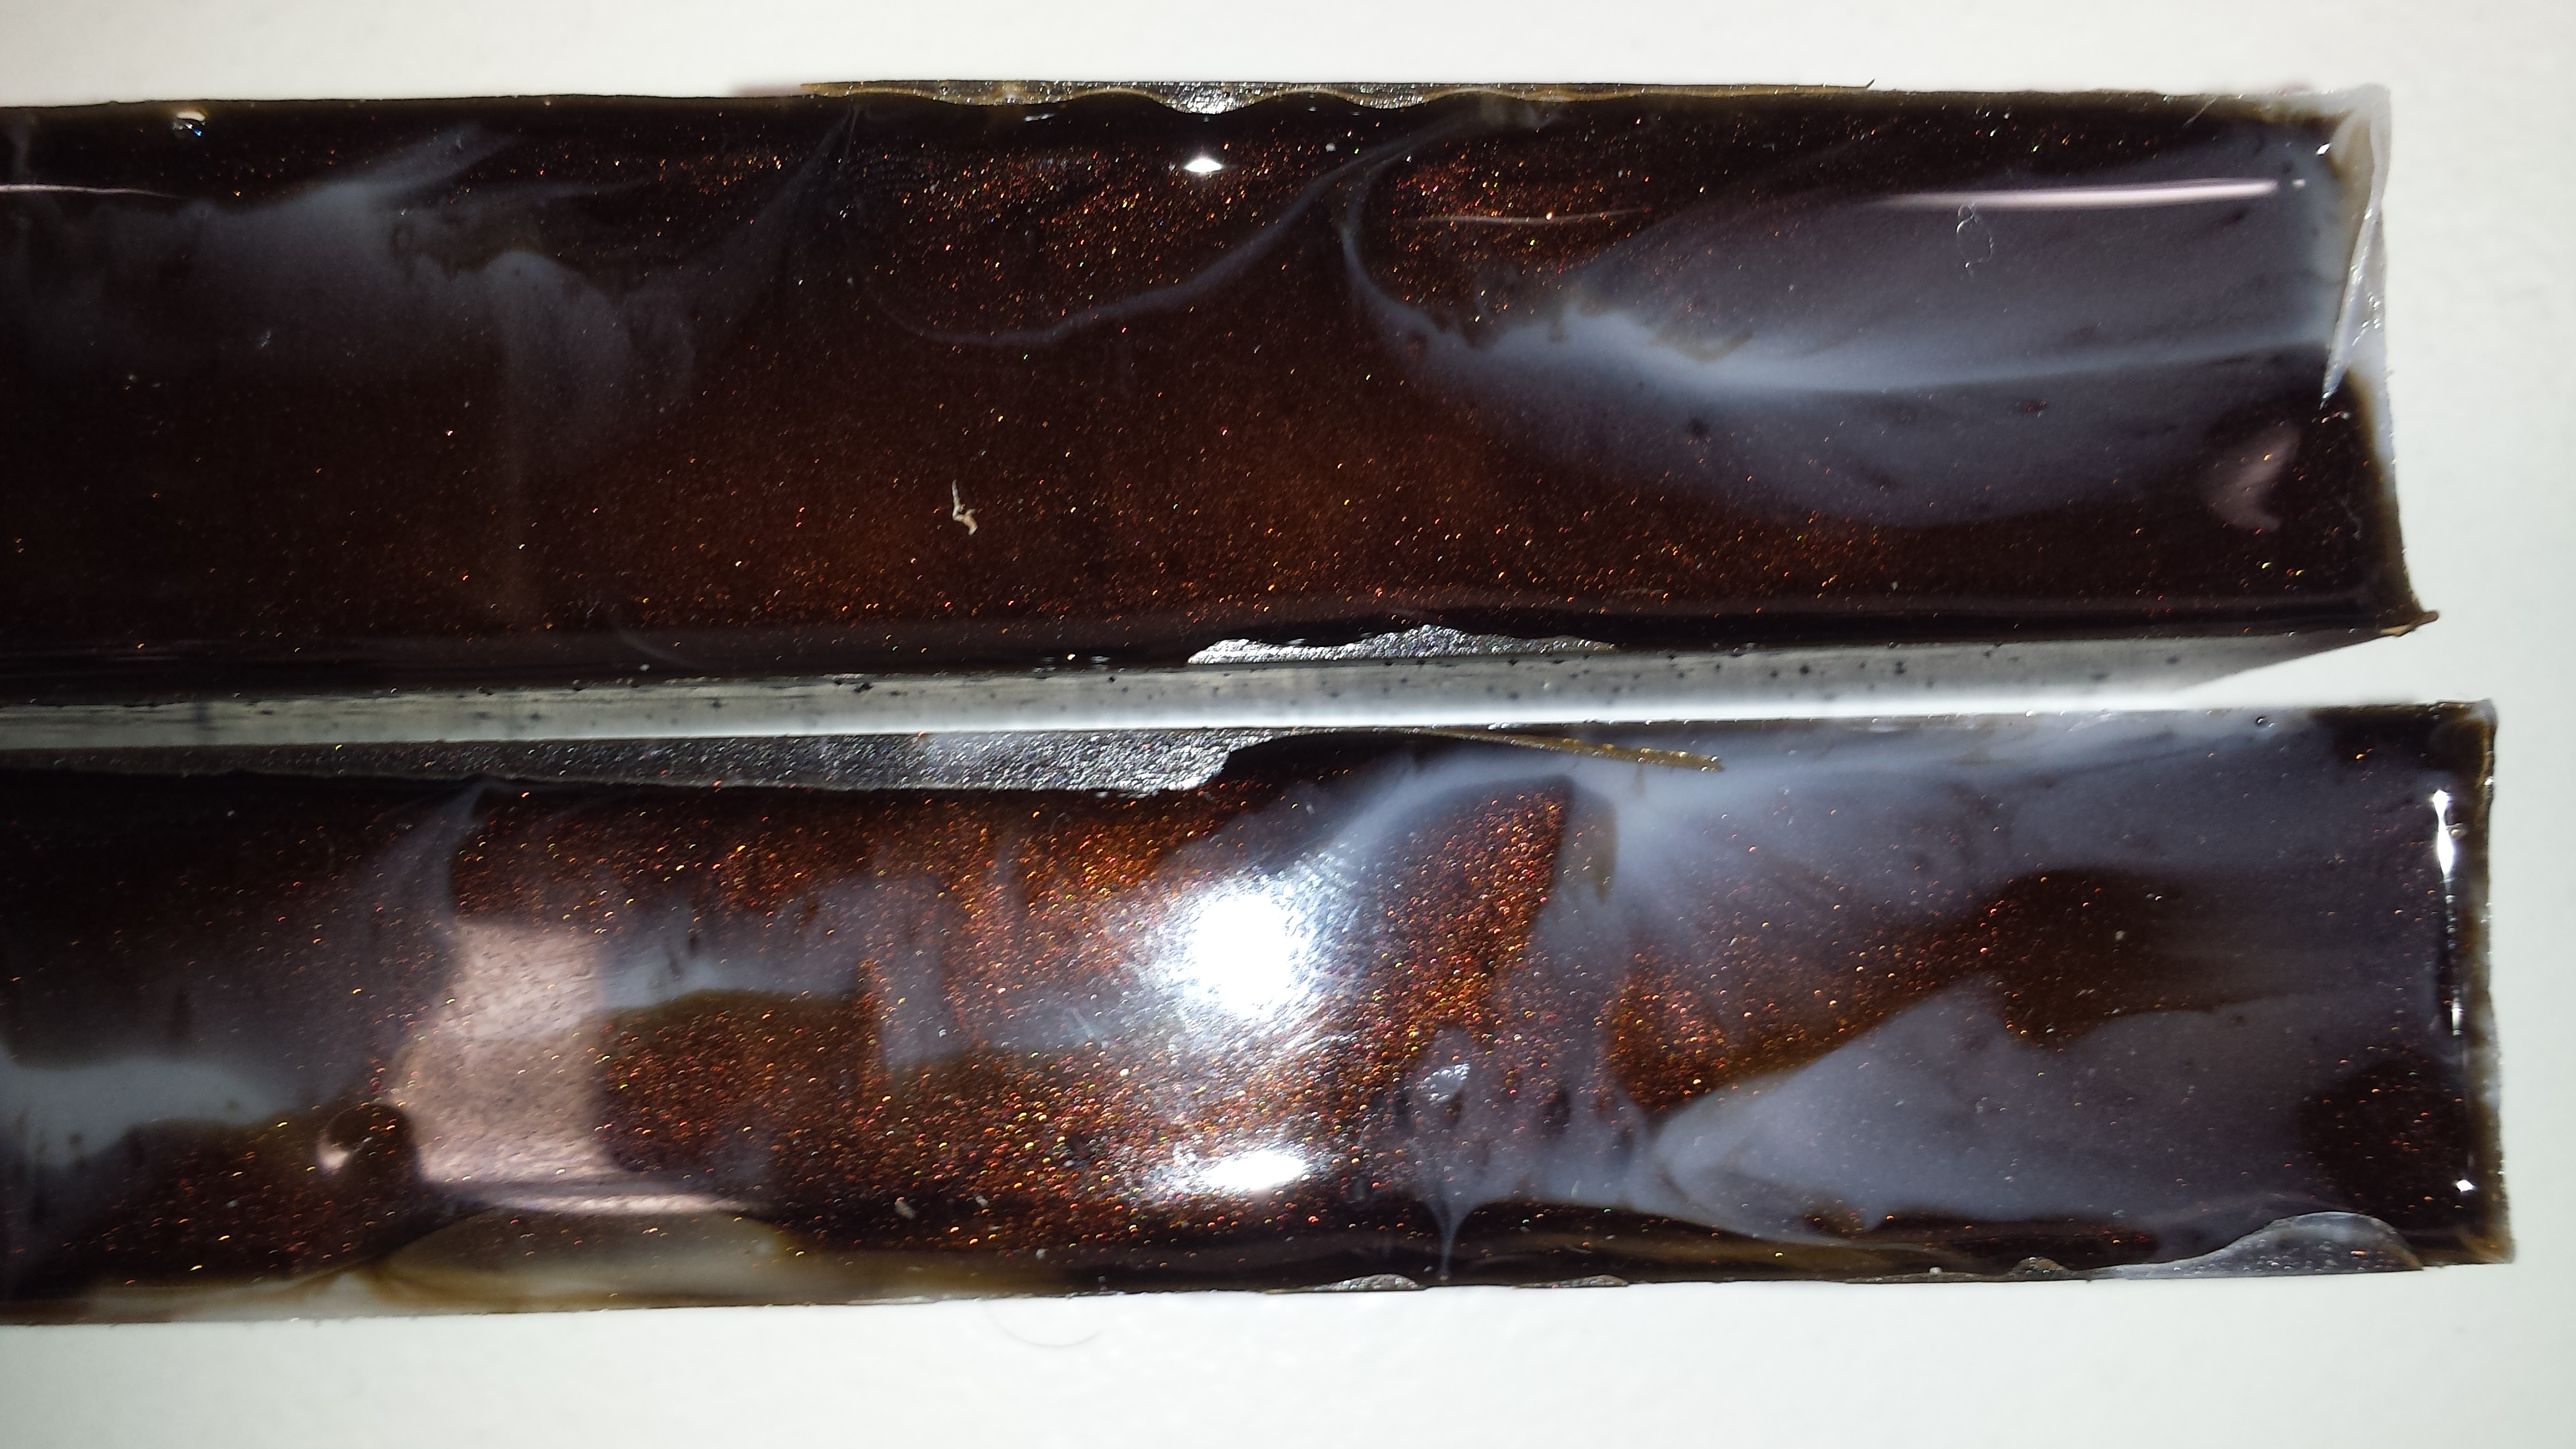
Today I’ll try for a coffee pen blank. I’m visualizing a dark brown blank with swirls of cream.
Setup:
I poured two sets of 55g each “A” & “B” this time. I added my colors to the part “A” component. One “A” part received five drops of Alumilite White. The other, five drops of Alumilite Brown and a small scoop of Antique Copper Pearl Ex. I alternately poured each color into the mold. I started with white and poured along the blank’s axis in each cavity. After completing the pour I pressurized the pot for one hour. This time I made sure to level the board in the pressure pot.
Demold:
There was no problem removing the pen blank from the mold. My previous pen blanks were still flexible after I removed them from the mold. To find a solution I looked at the Alumilite FAQ. The manufacturer recommends post curing. I found the information on the Casting tab, under the question “It has been 4 hours and my clear resin is still flexible, will it harden?“. Following their advice, I allowed the blank to cure in the toaster oven at 160 degrees for an additional two hours. This resulted in a blank with zero flex when trying to bend it by hand.
Observations:
My coffee pen blank turned out more like a root beer float.
I should have mixed 110 g of resin total, instead of 110 g of each color. Since I mixed so much, half of the resin hardened in the cup. I didn’t have an additional mold ready to pour the excess into.
Pouring white resin into brown does not result in a mocha like color swirl. I’ll have to mix brown and white to make a more beige color. I’ve learned that the colored resins don’t mix without agitating them.