
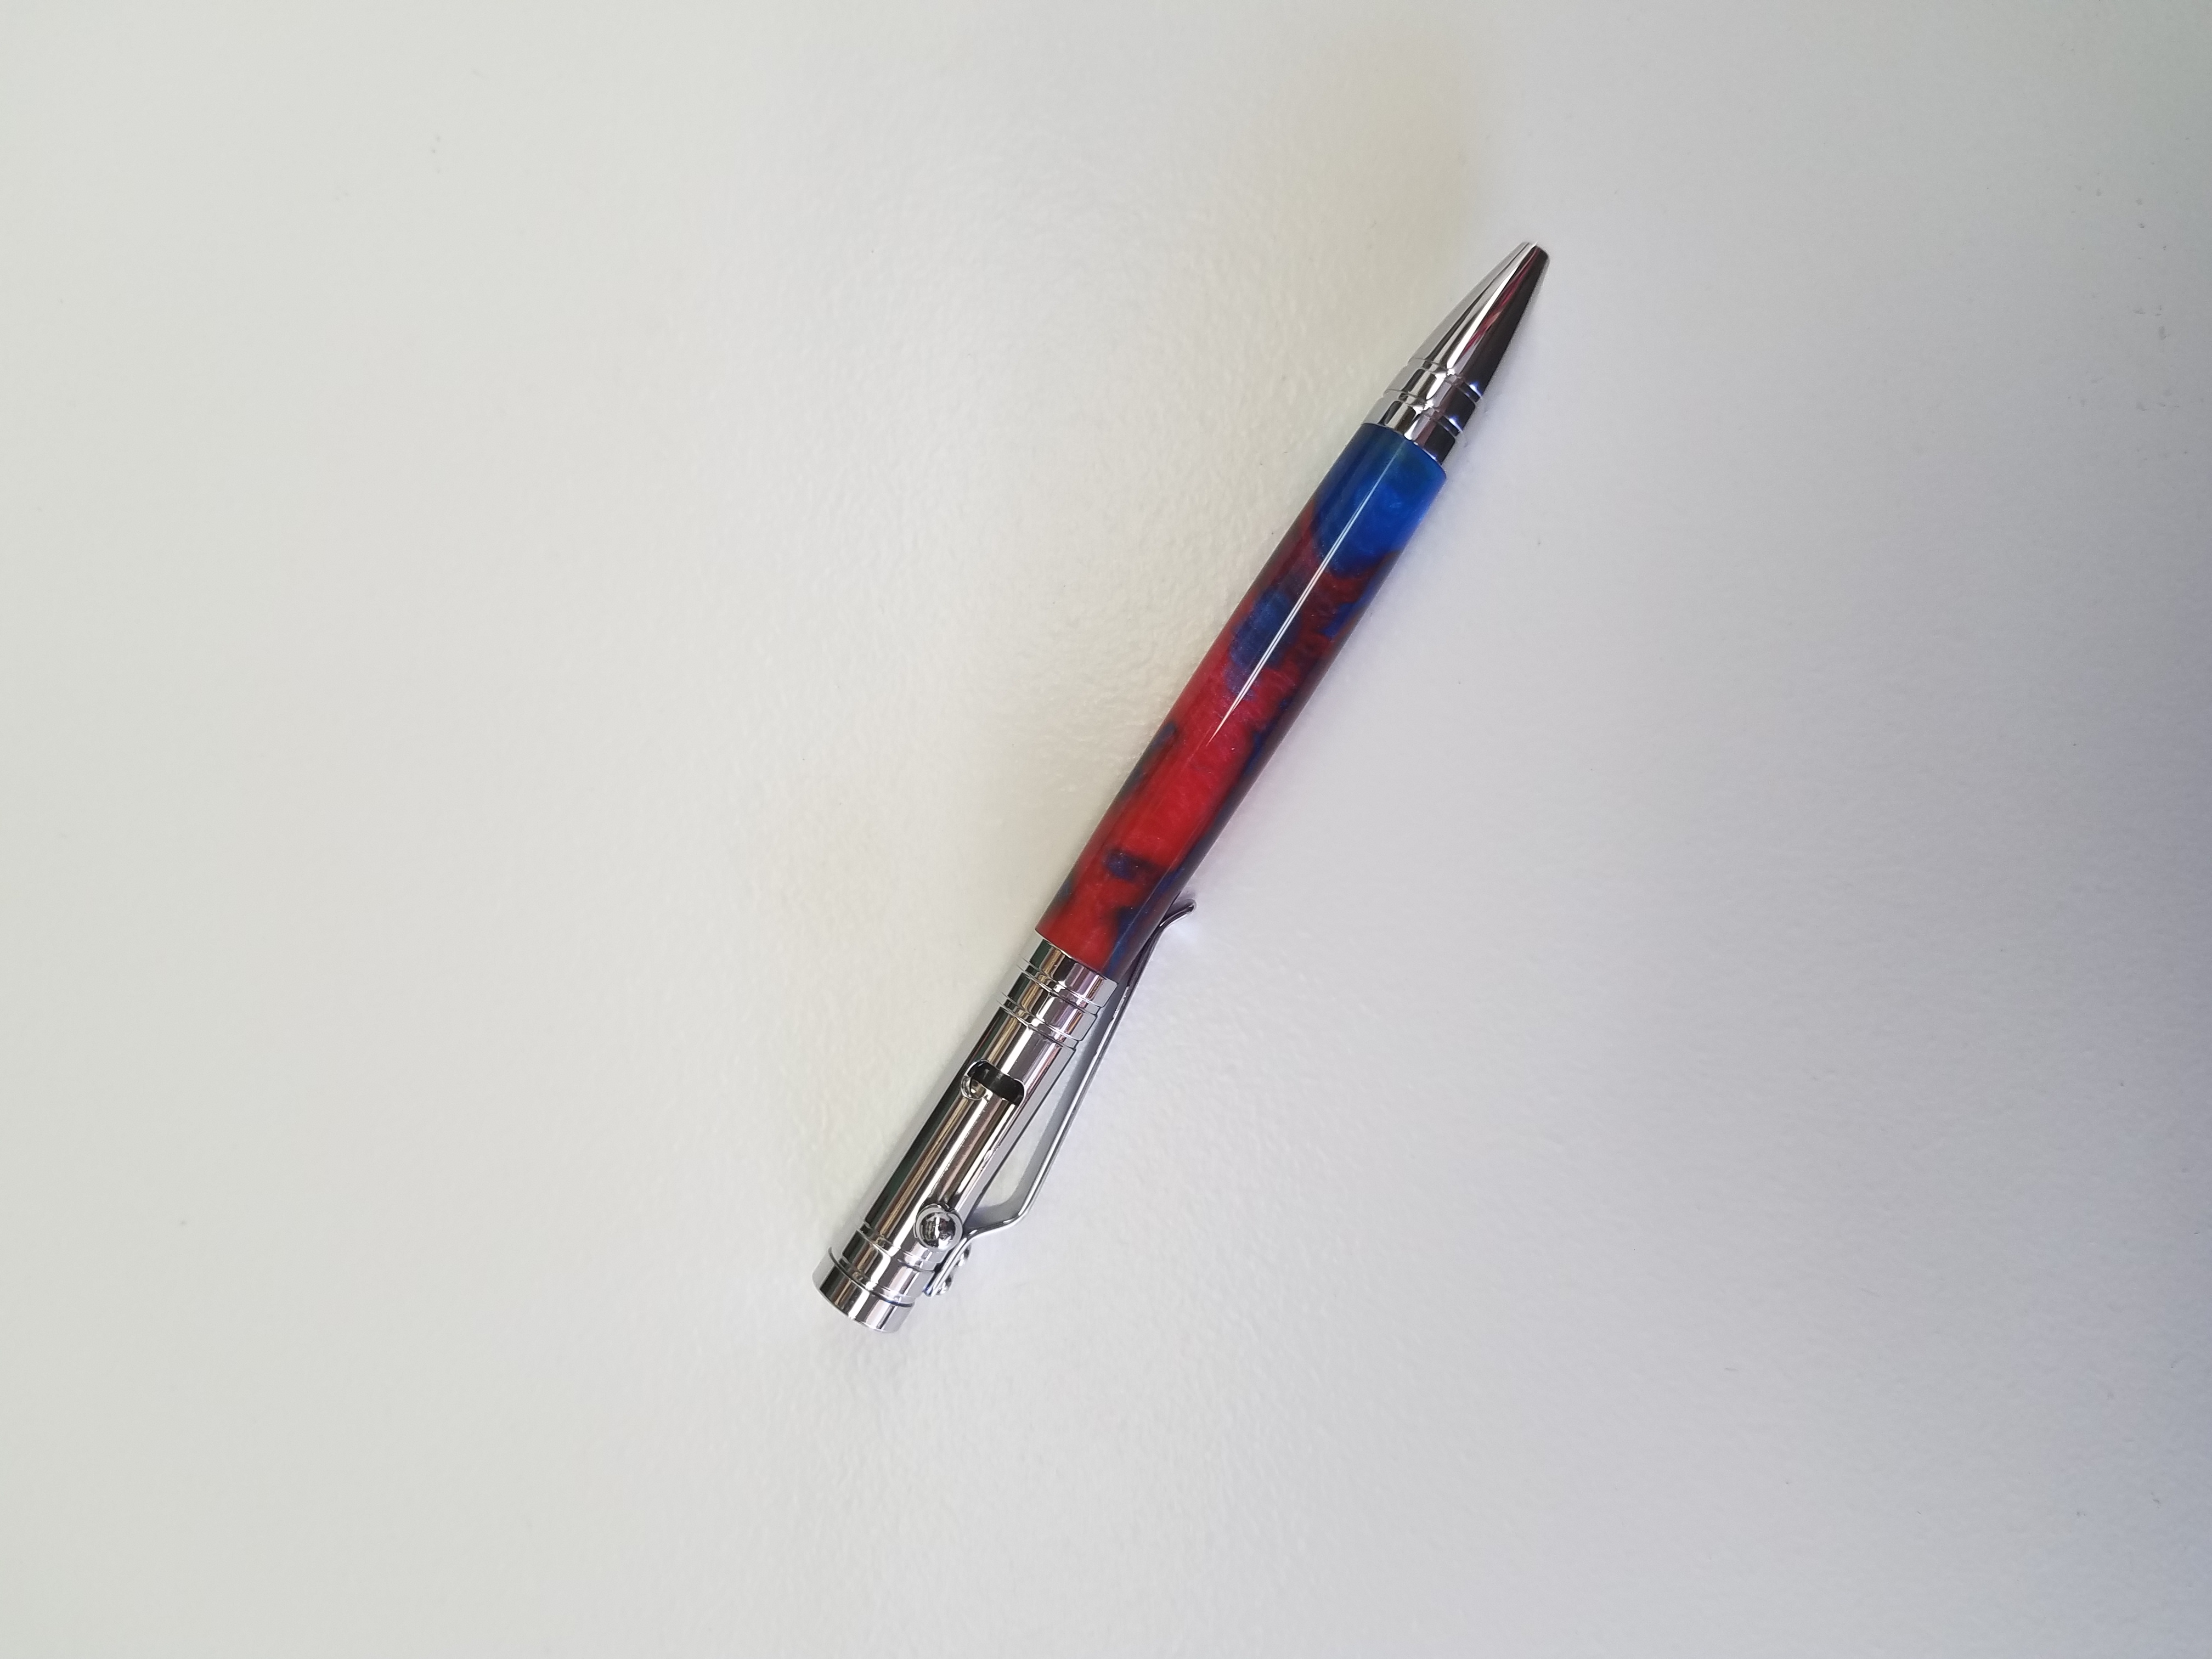
I made this bolt-action pen with blue and red resin blank for my Dad. His birthday is next month and this will make a nice gift.
Casting the Blank
When I asked what colors he’d be interested in he said “Red”. Then he said “Blue”, so I decided to go with both.
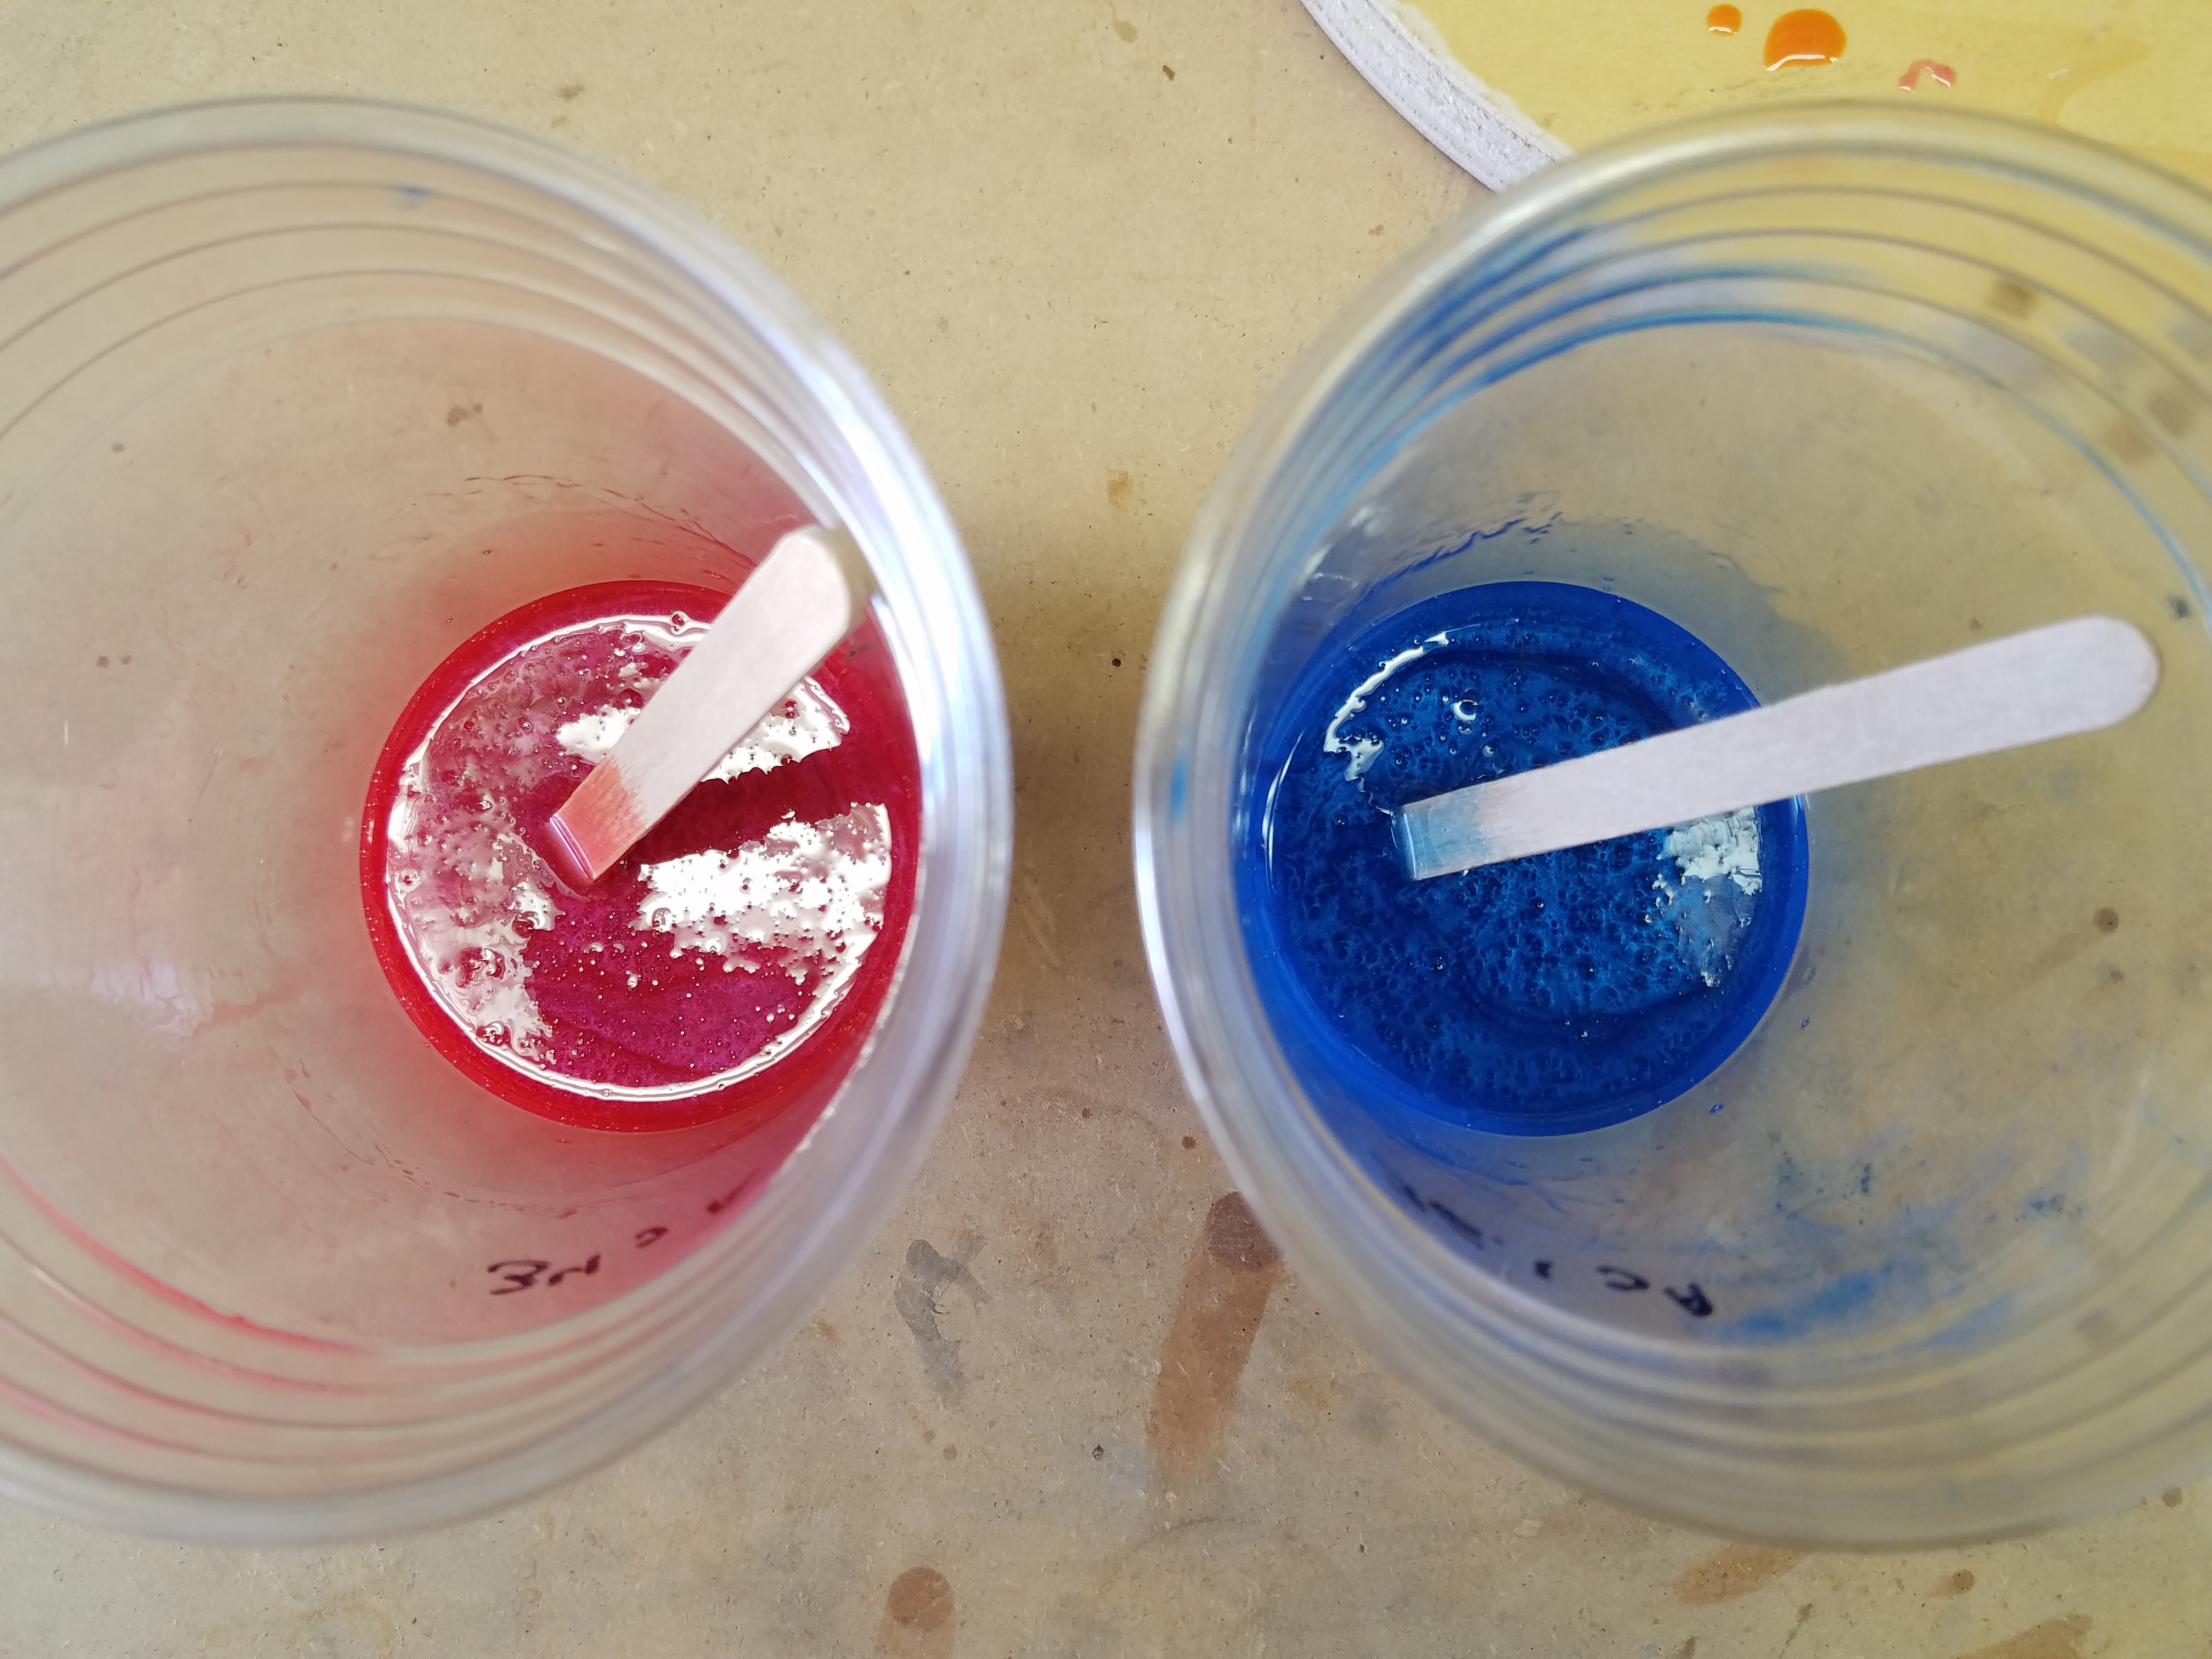
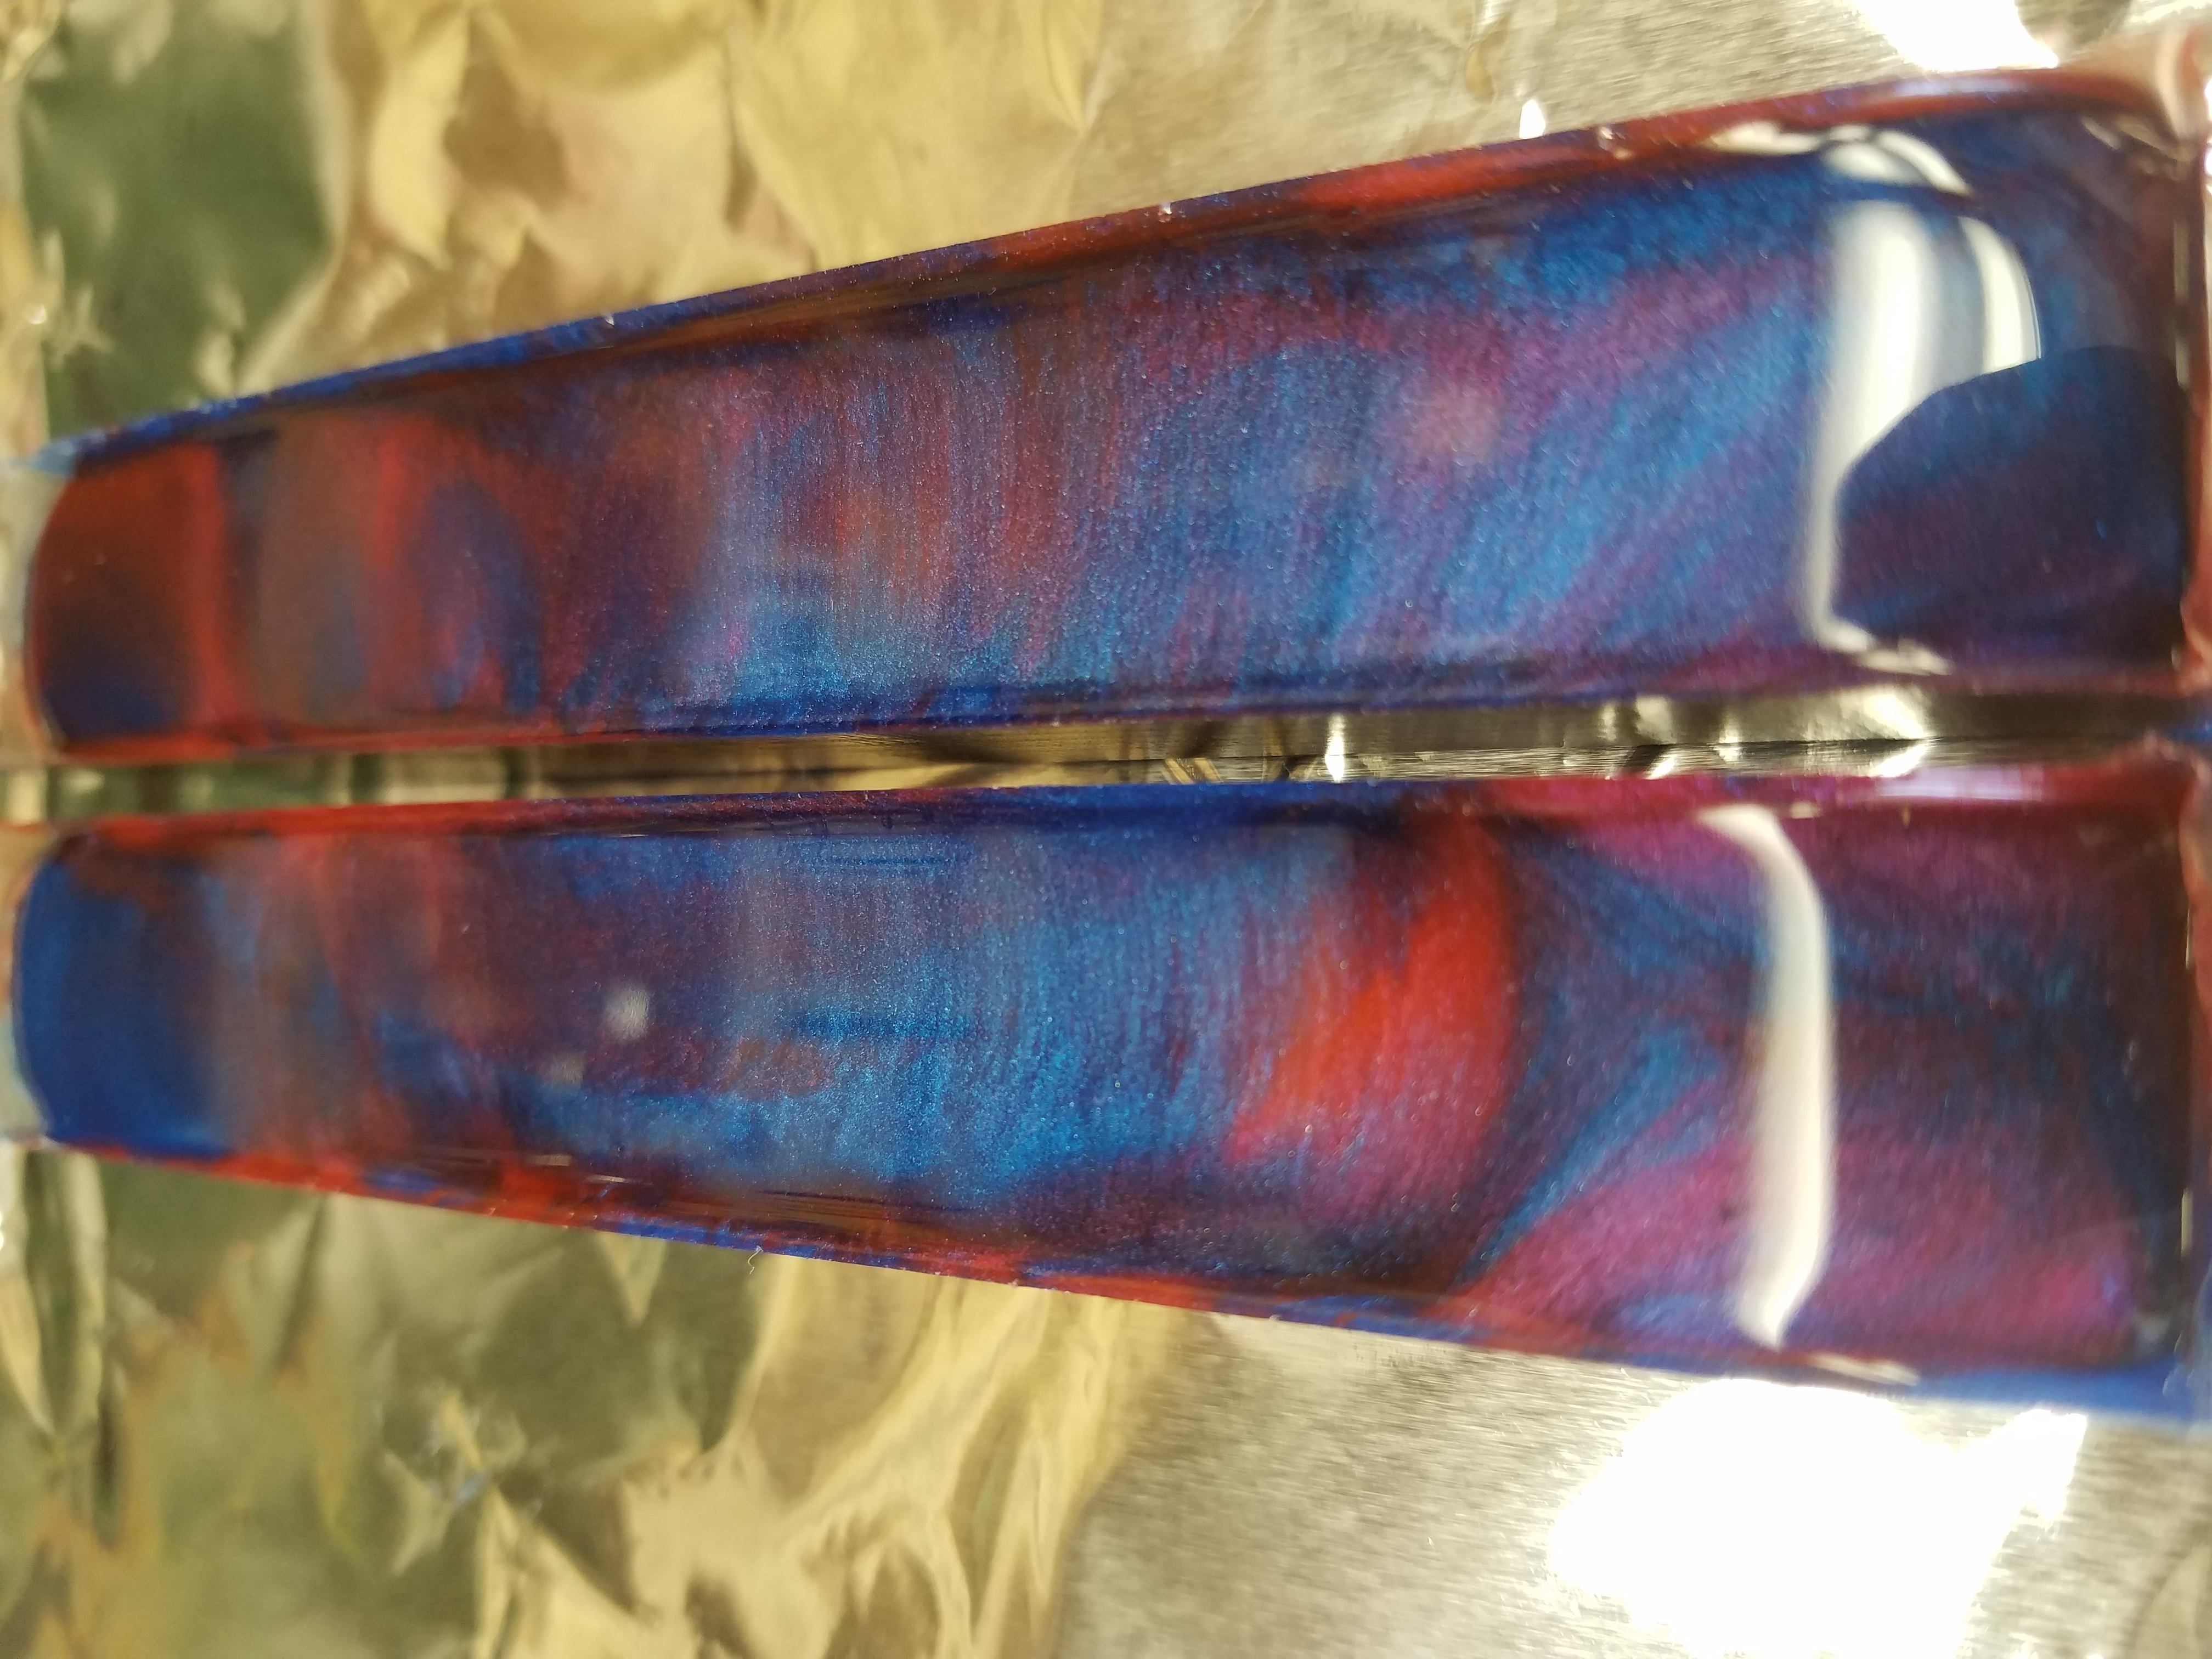
I didn’t take a picture when I filled the mold, but here is a picture of the cured blanks fresh from the pressure pot. I started the left blank with red and the right with blue. from there I alternated ever 1/4 inch or so until the mold was filled.
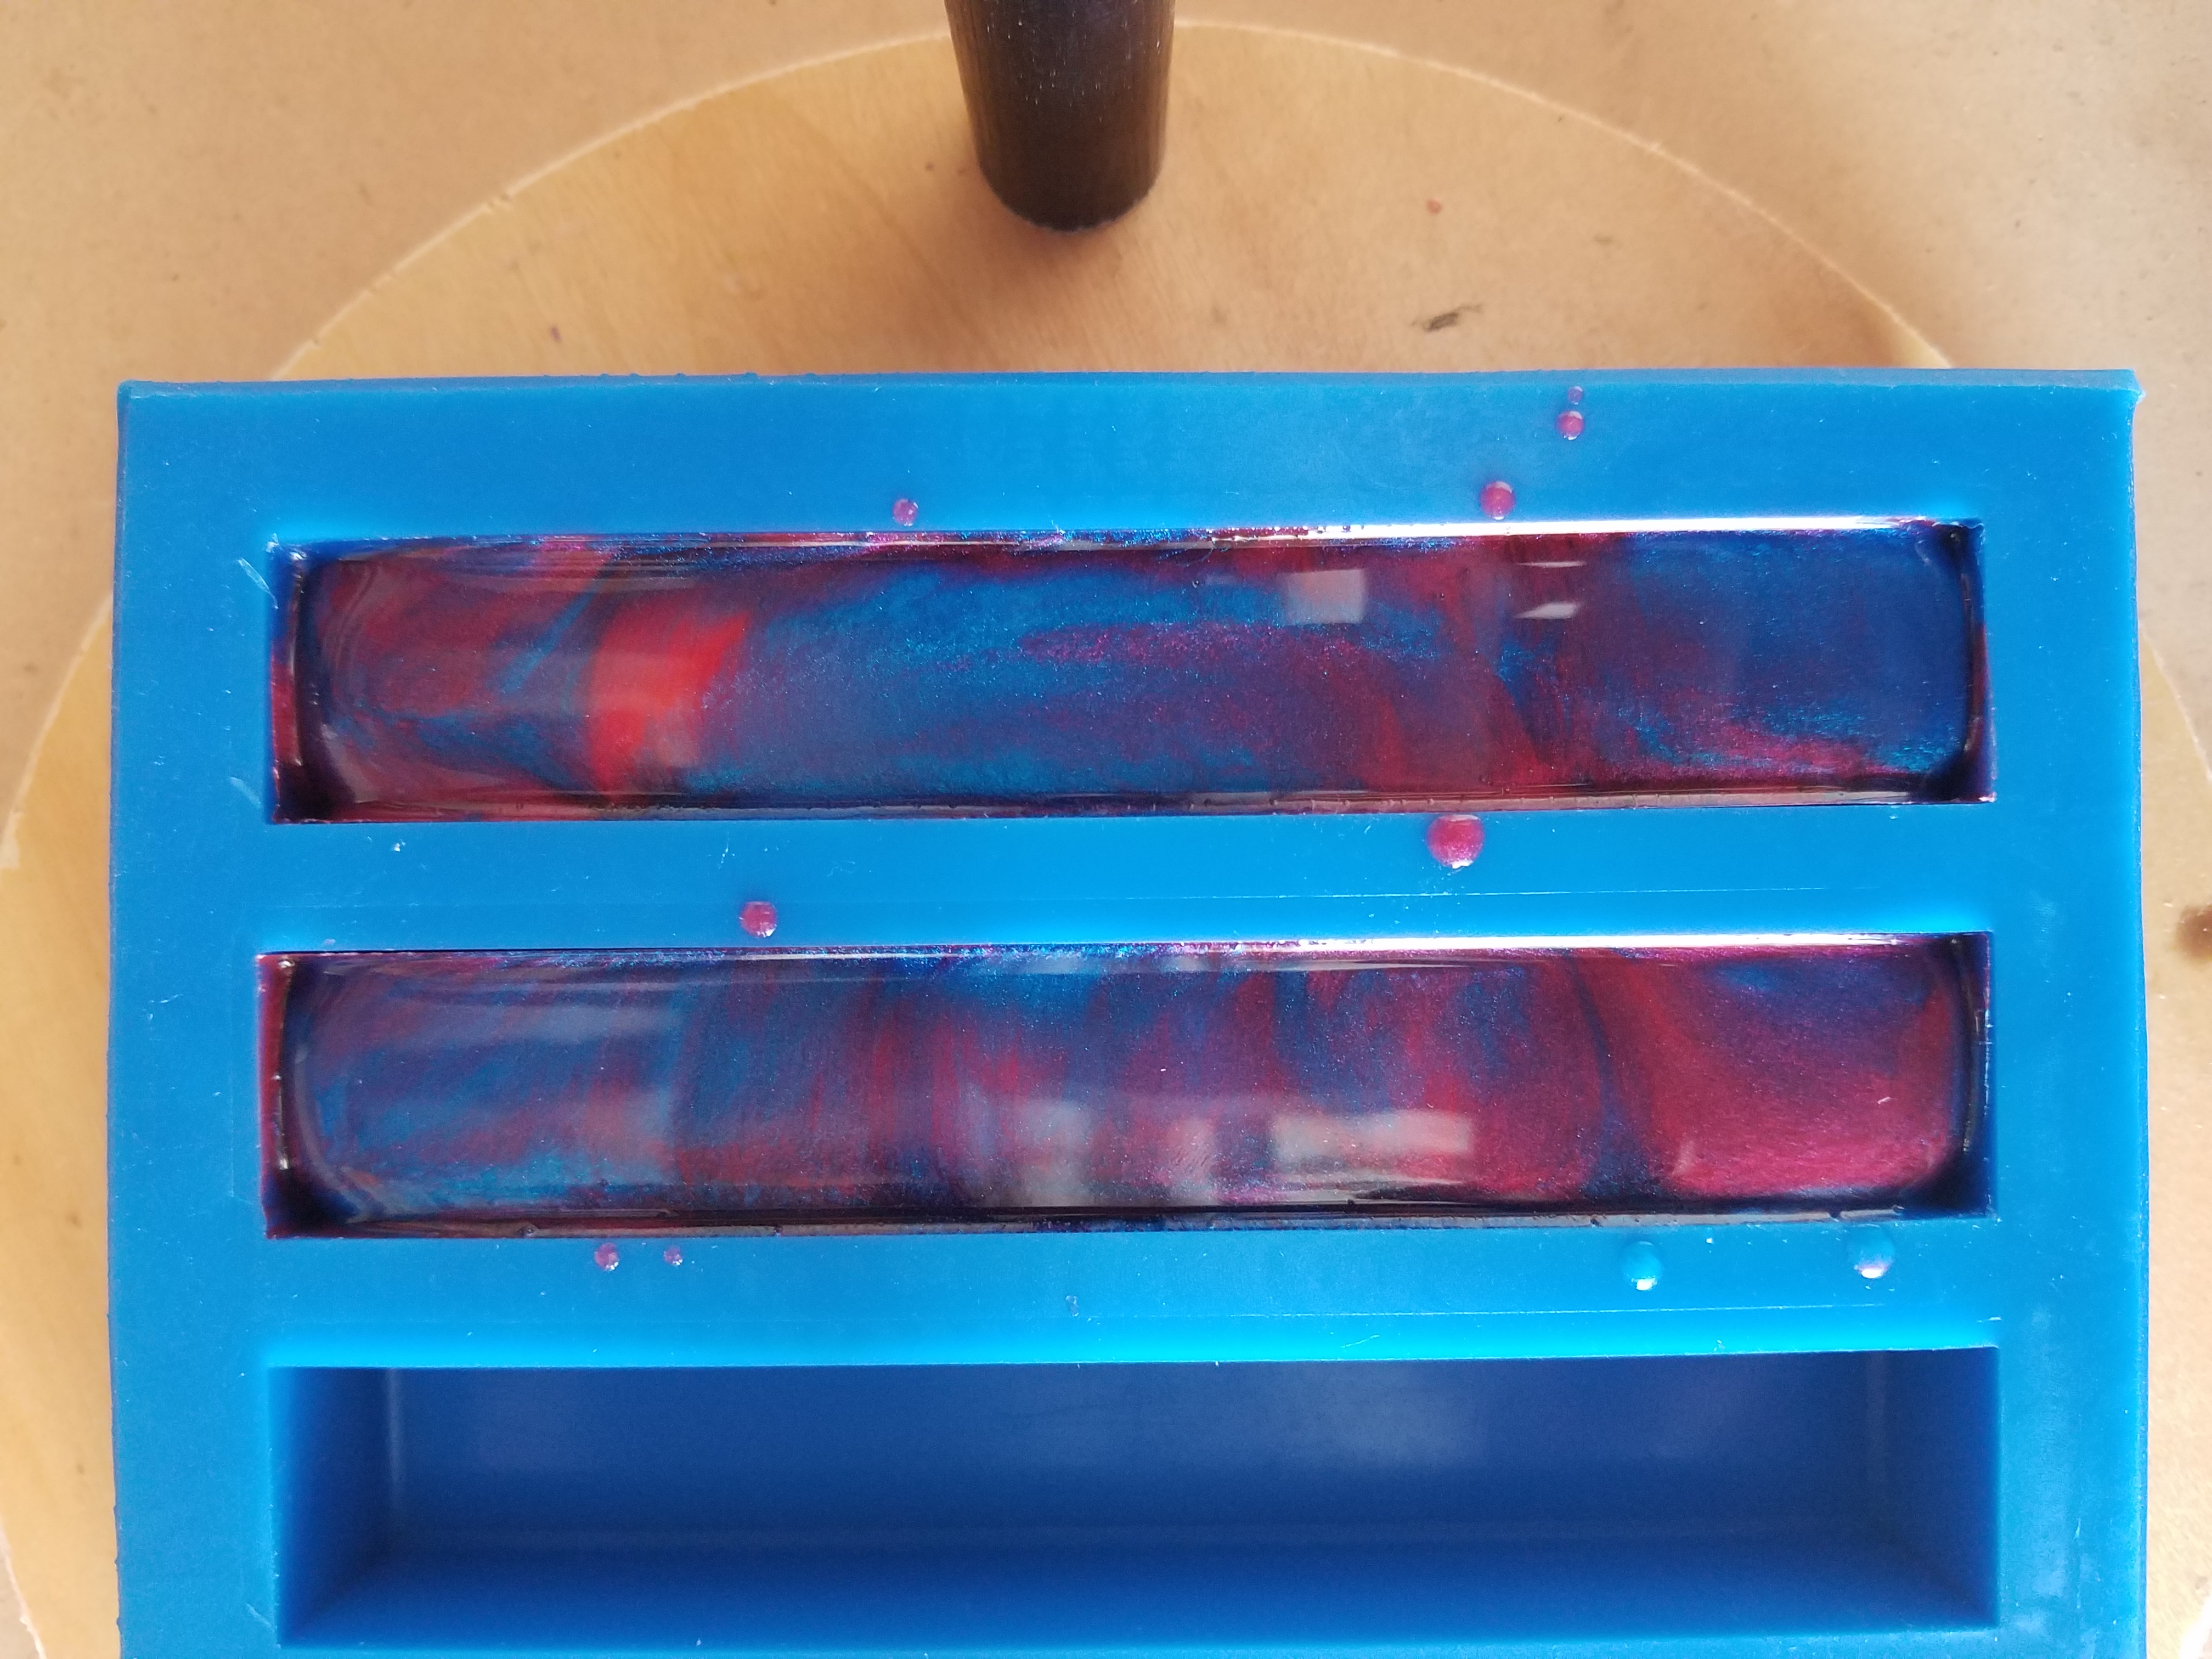
I’ve demolded the blanks and they are looking good. The shrinkage in the corners won’t affect this blank but it is something i’ll have to solve.
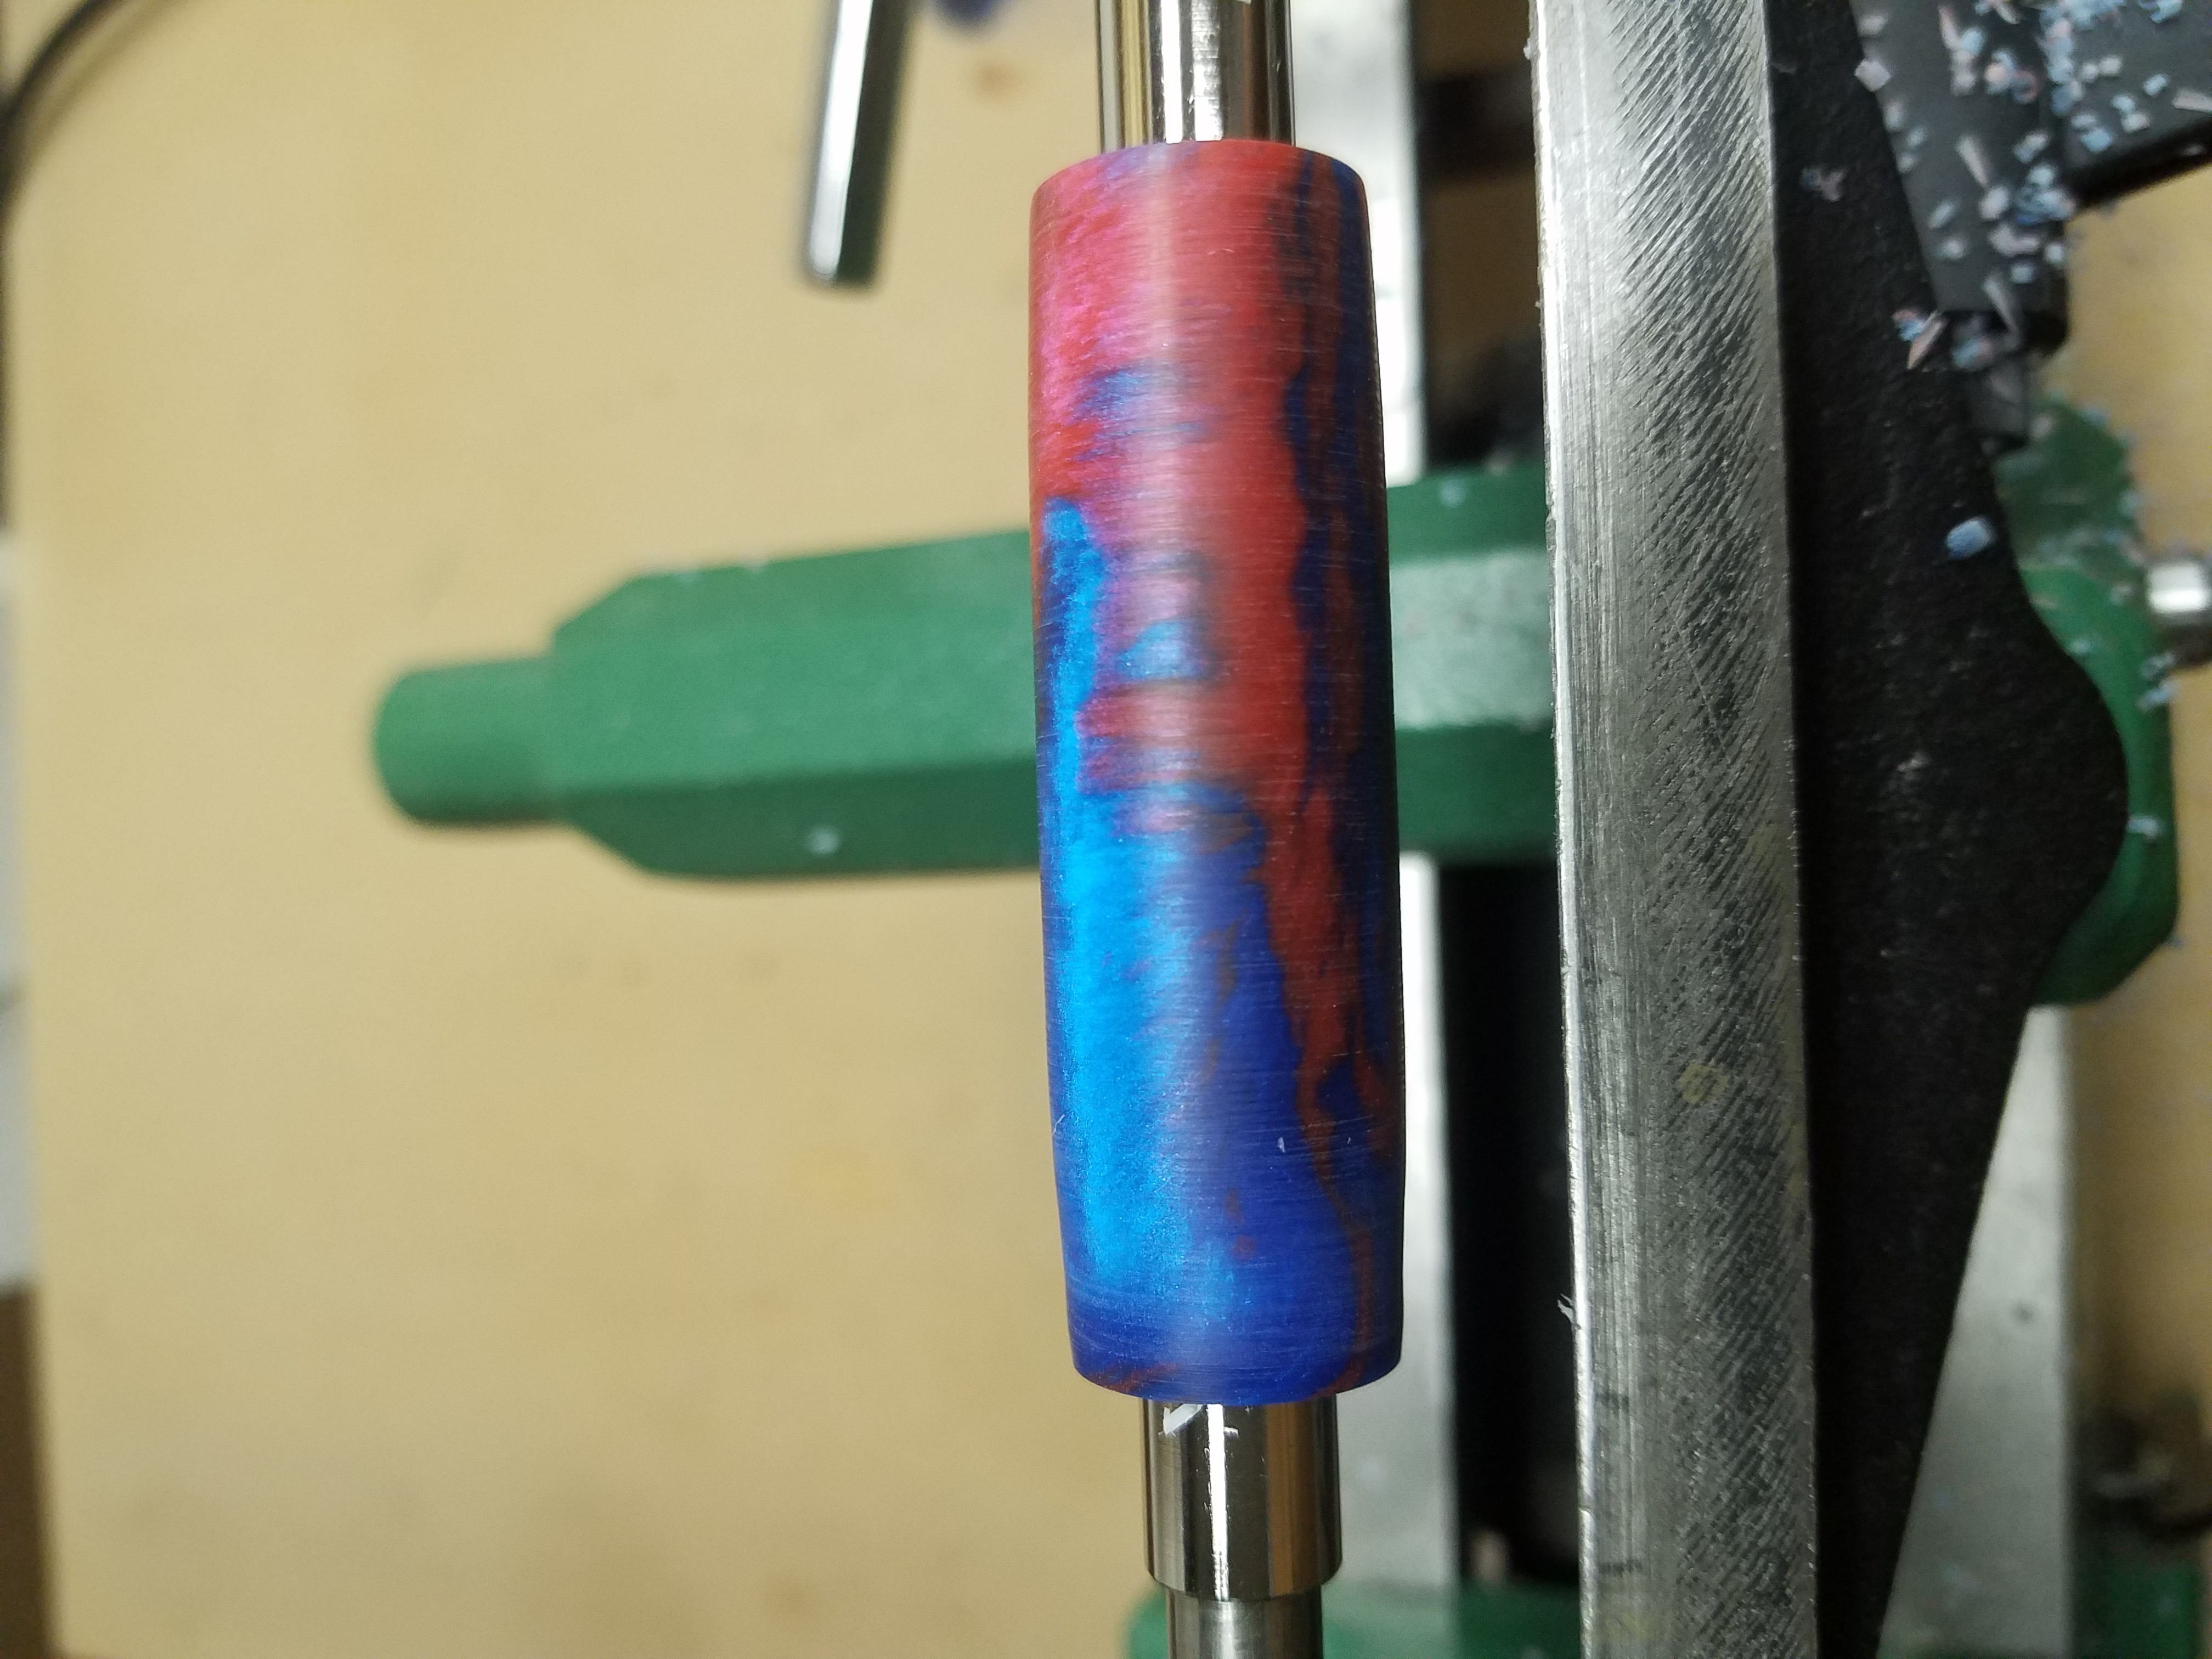
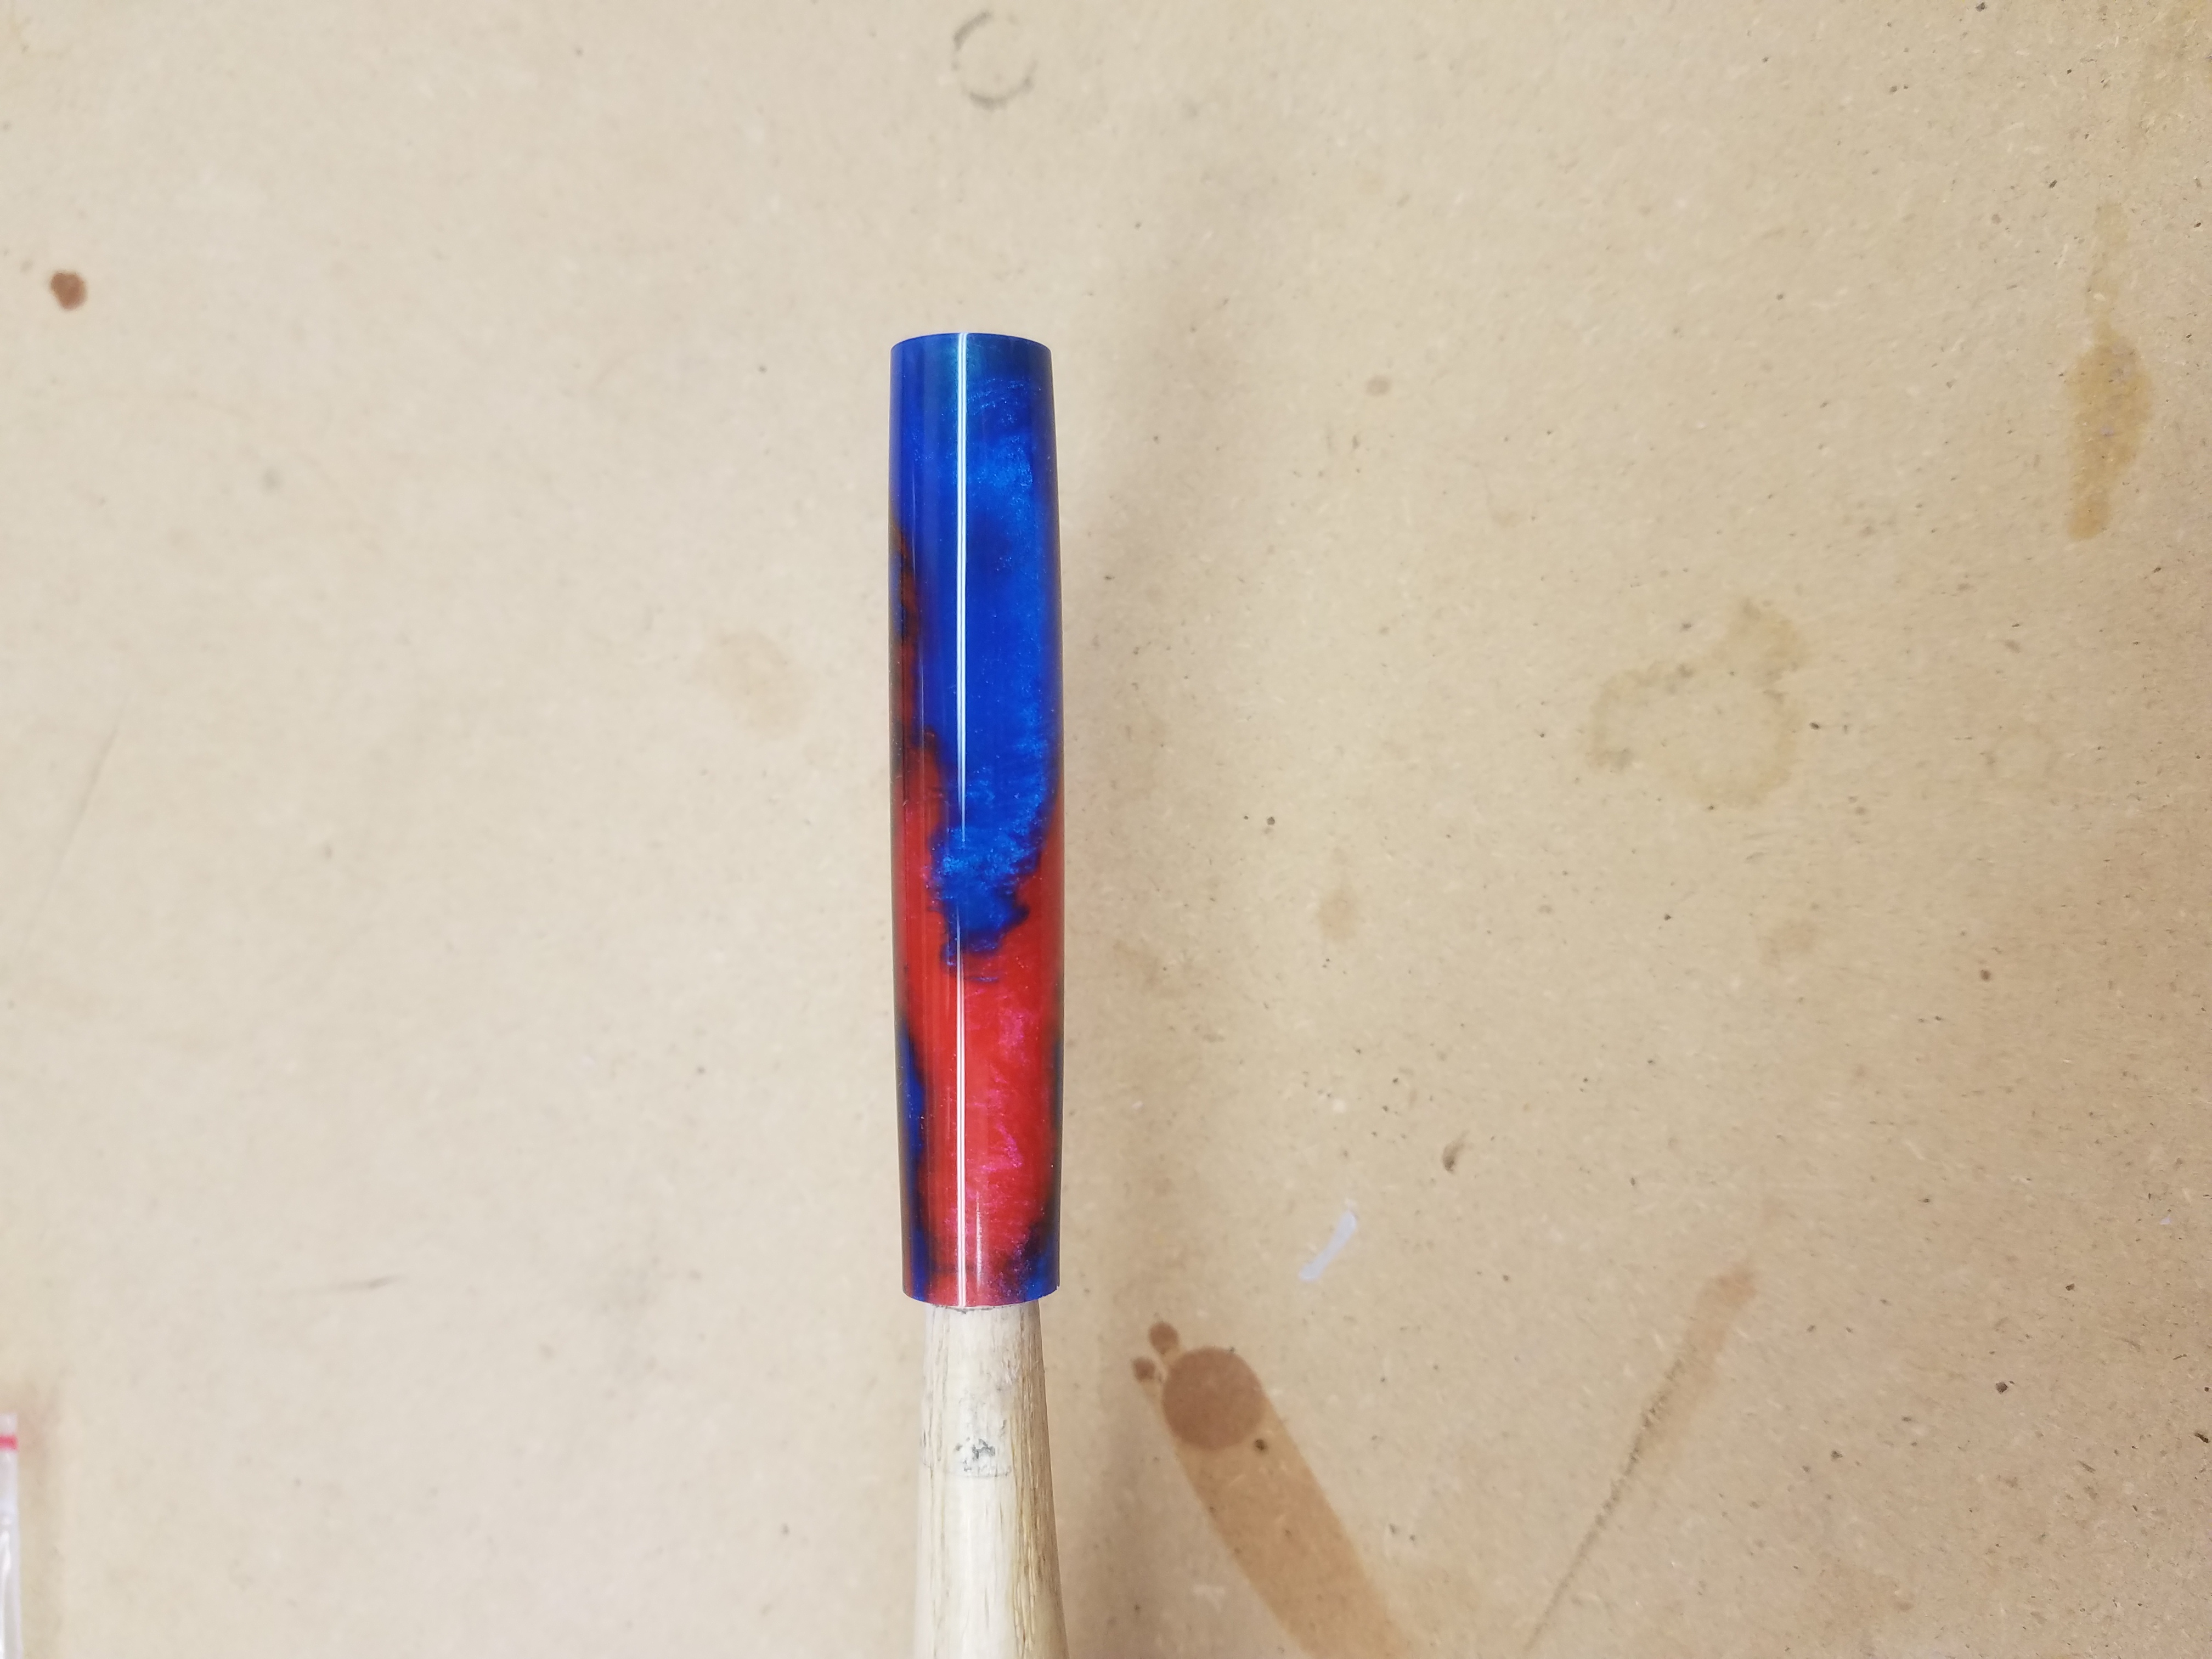
It turned out that I only needed half of a blank for the selected pen kit. I chose the blank that started with blue. I cut, drilled, and glued in the tube without issue. Below is the rough rounded blank.
Turning
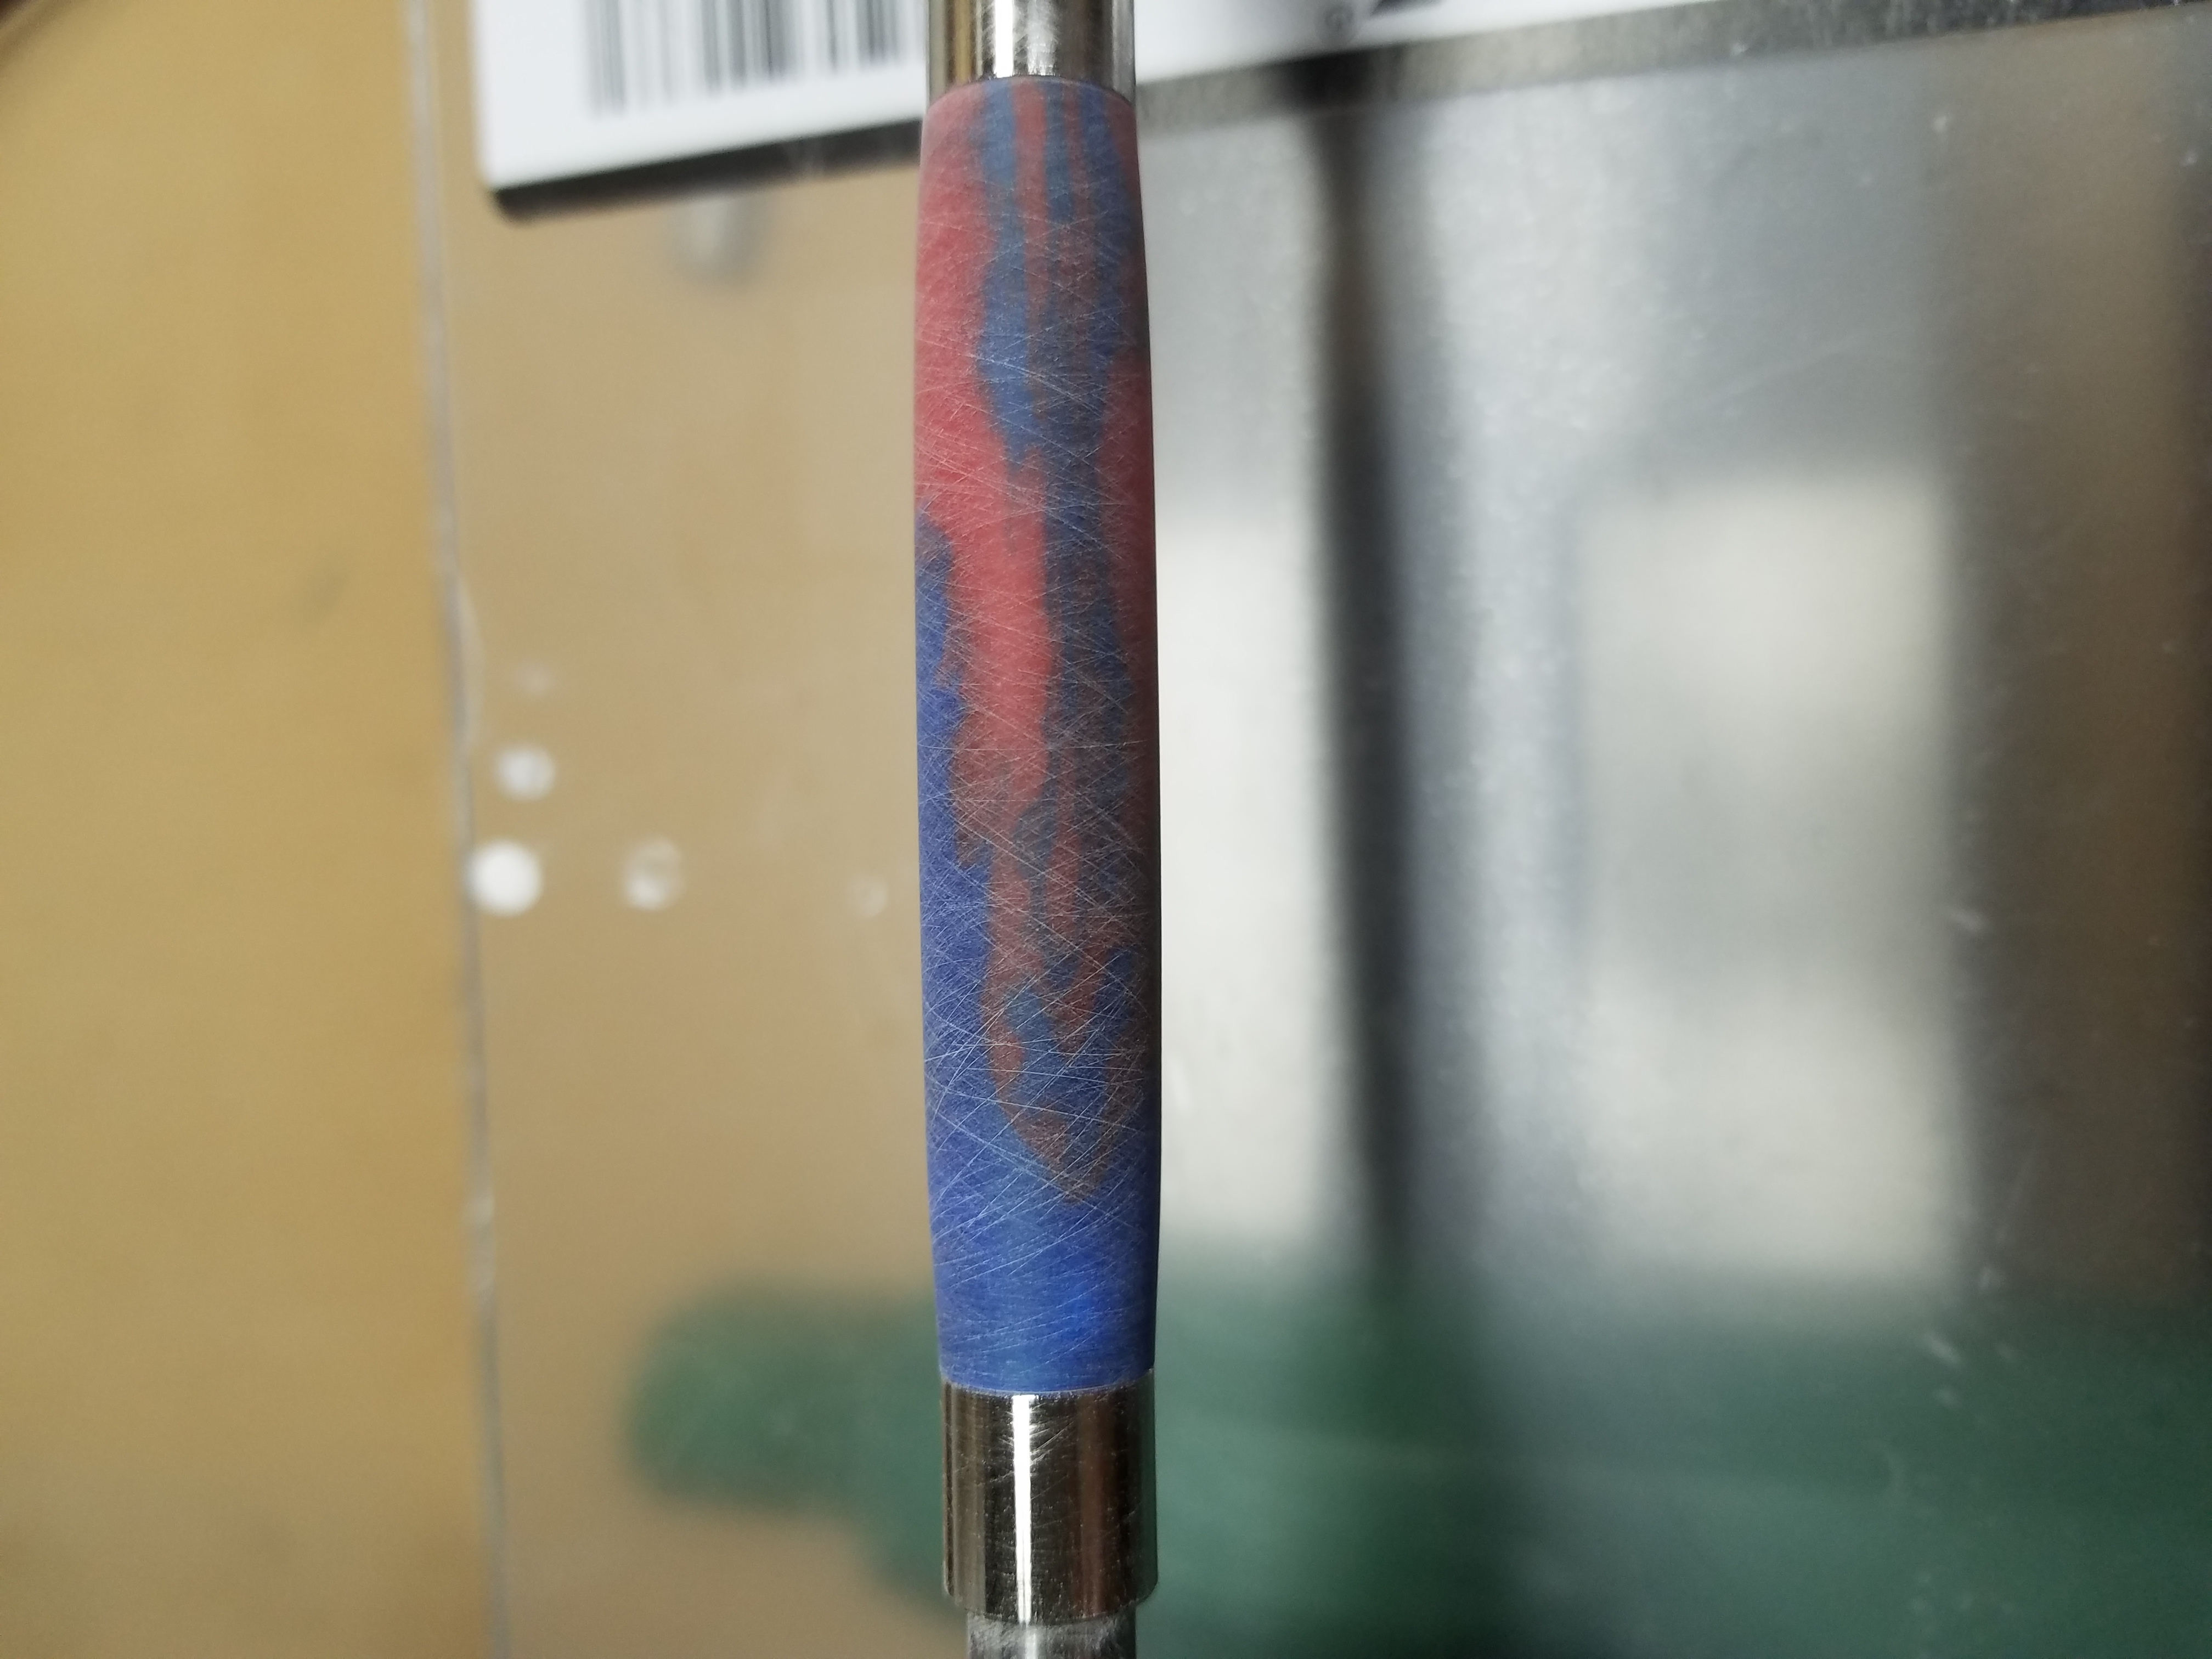
I continued to rough down the blank until I had the desired shape. Here the blank is sanded to 320 grit using conventional cloth-backed sanding strips.
Finished sanding with micromesh up to 12000 and we’re ready to polish on the buffing wheels. You can already see a dull shine but it’ll get better.
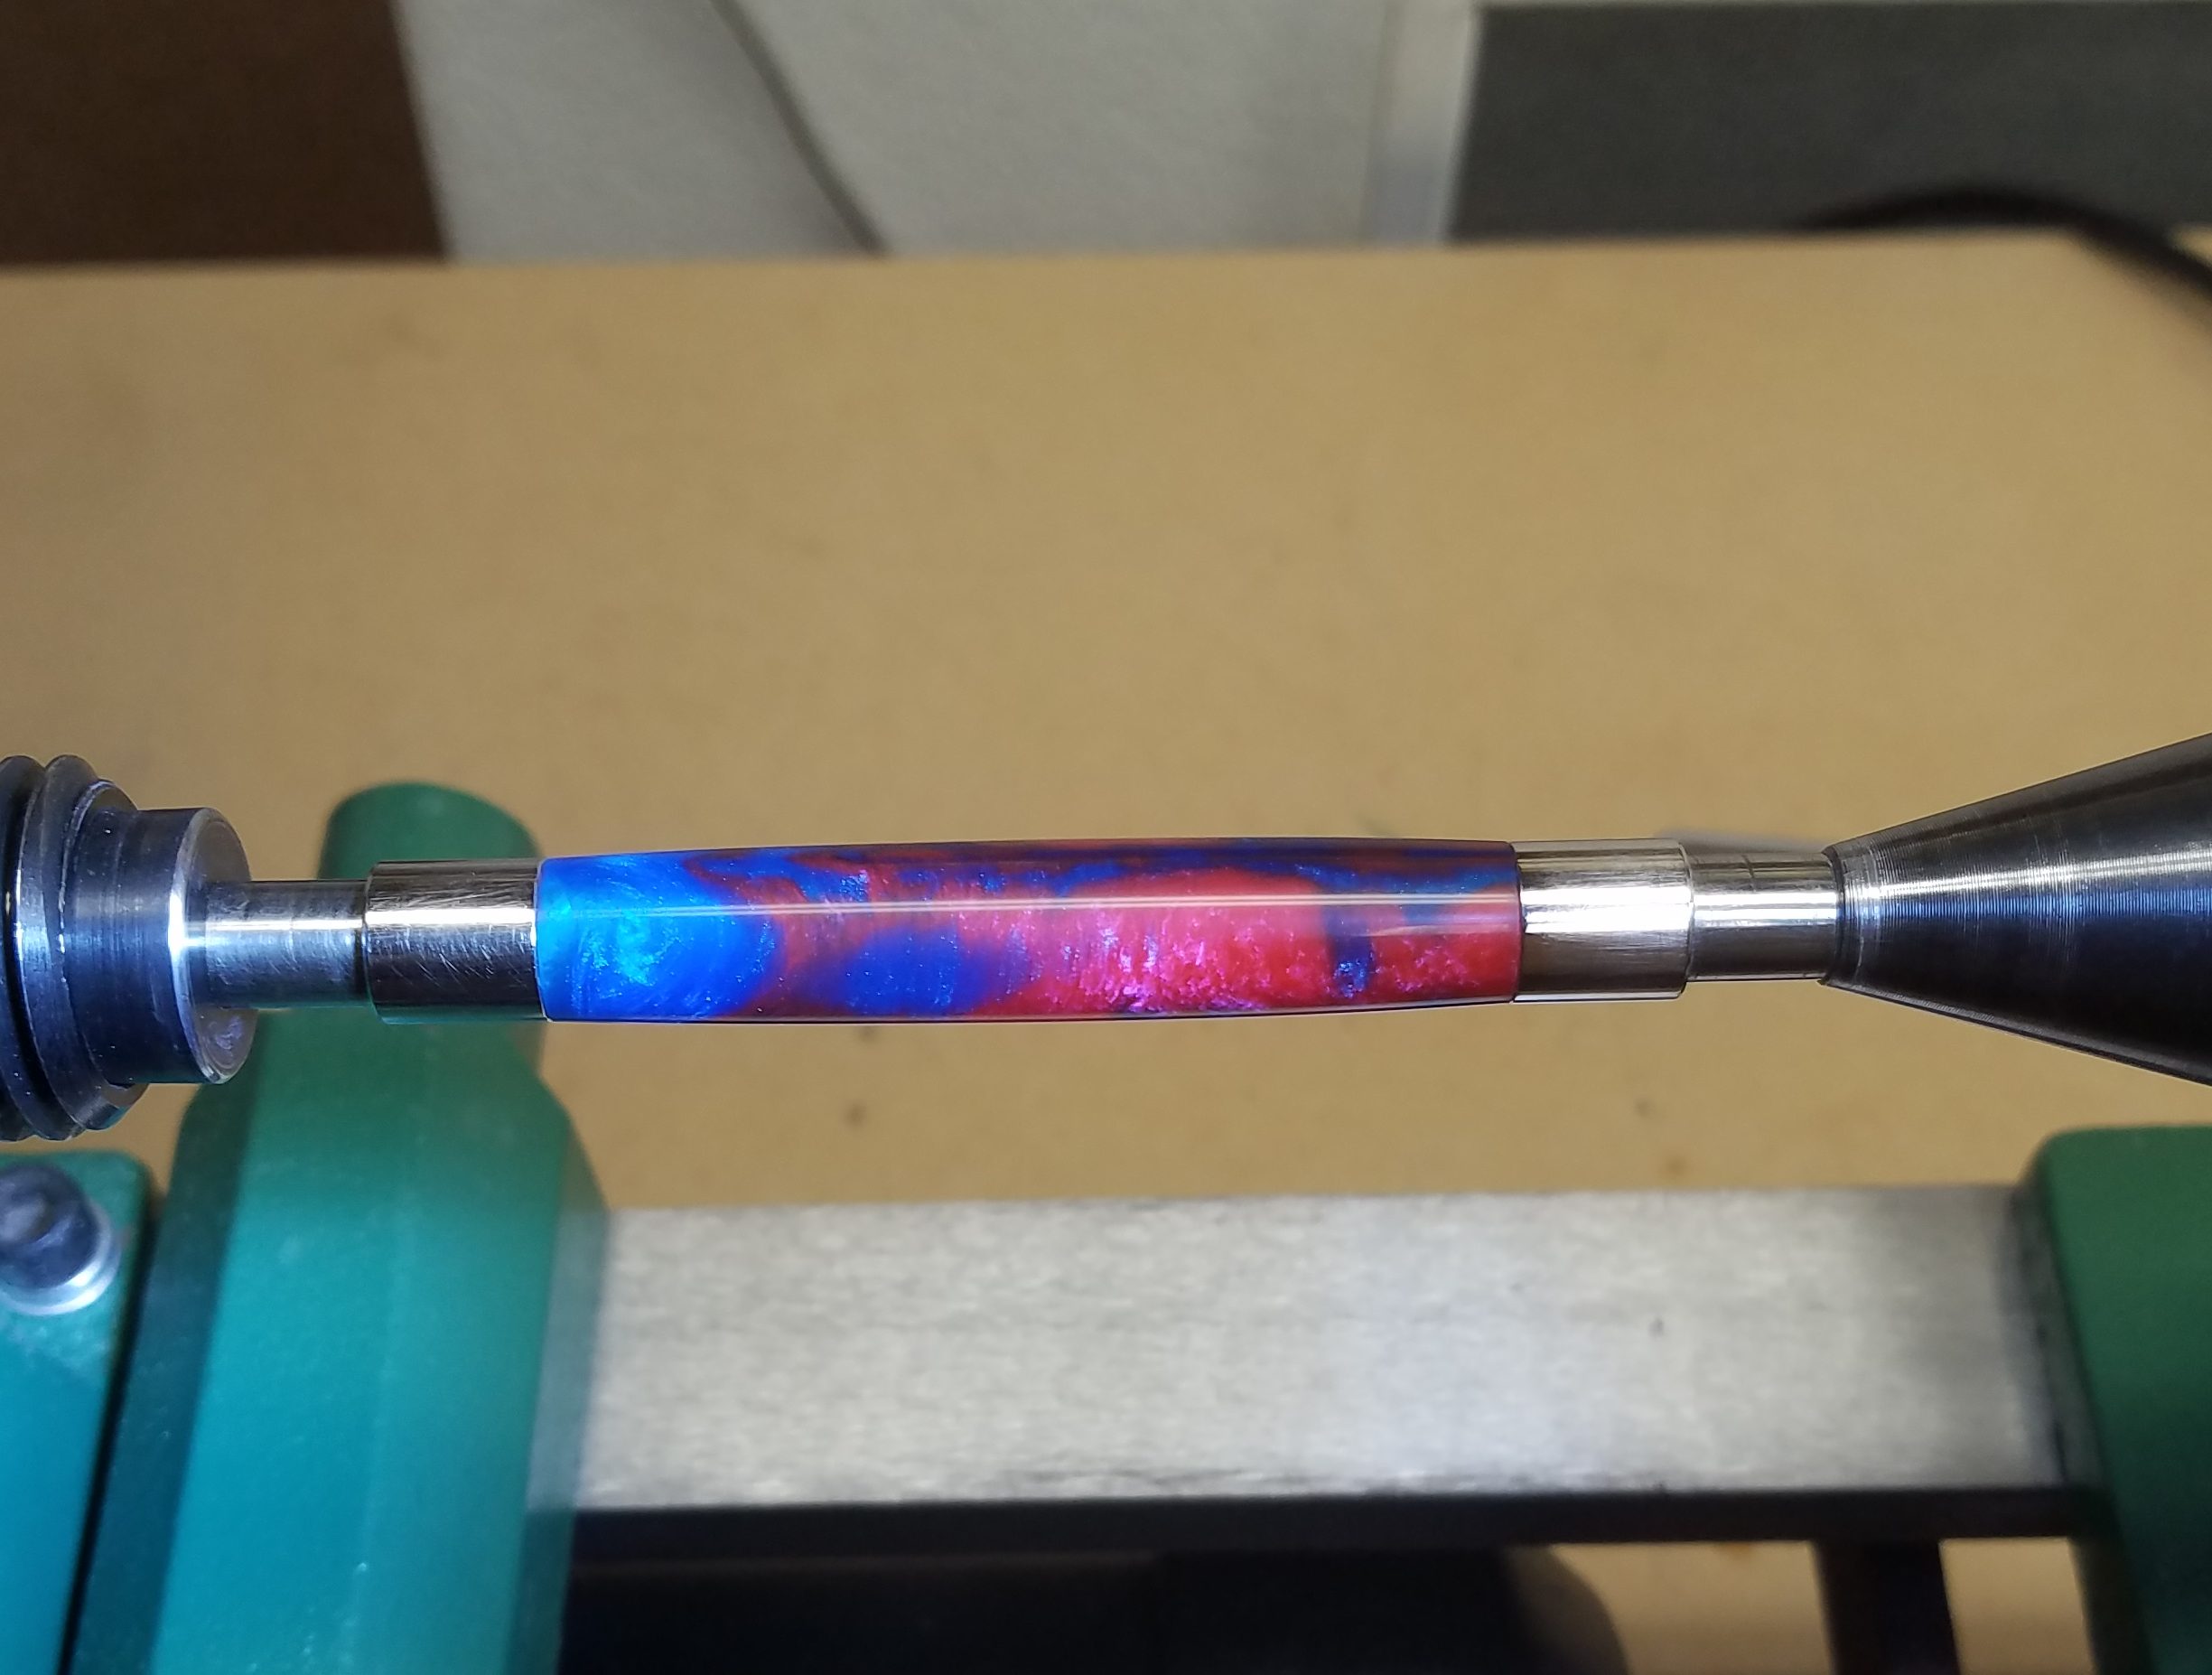
After sanding we buff the blank to a scratch free shine. The first wheel uses brown Tripoli buffing compound. Then I use White Diamond buffing compound which really shows you what your finished pen is going to look like. The final buffing is done with carnuba wax, giving the pen a shine and helps reduce finger prints.
The blank is now ready for assembly.
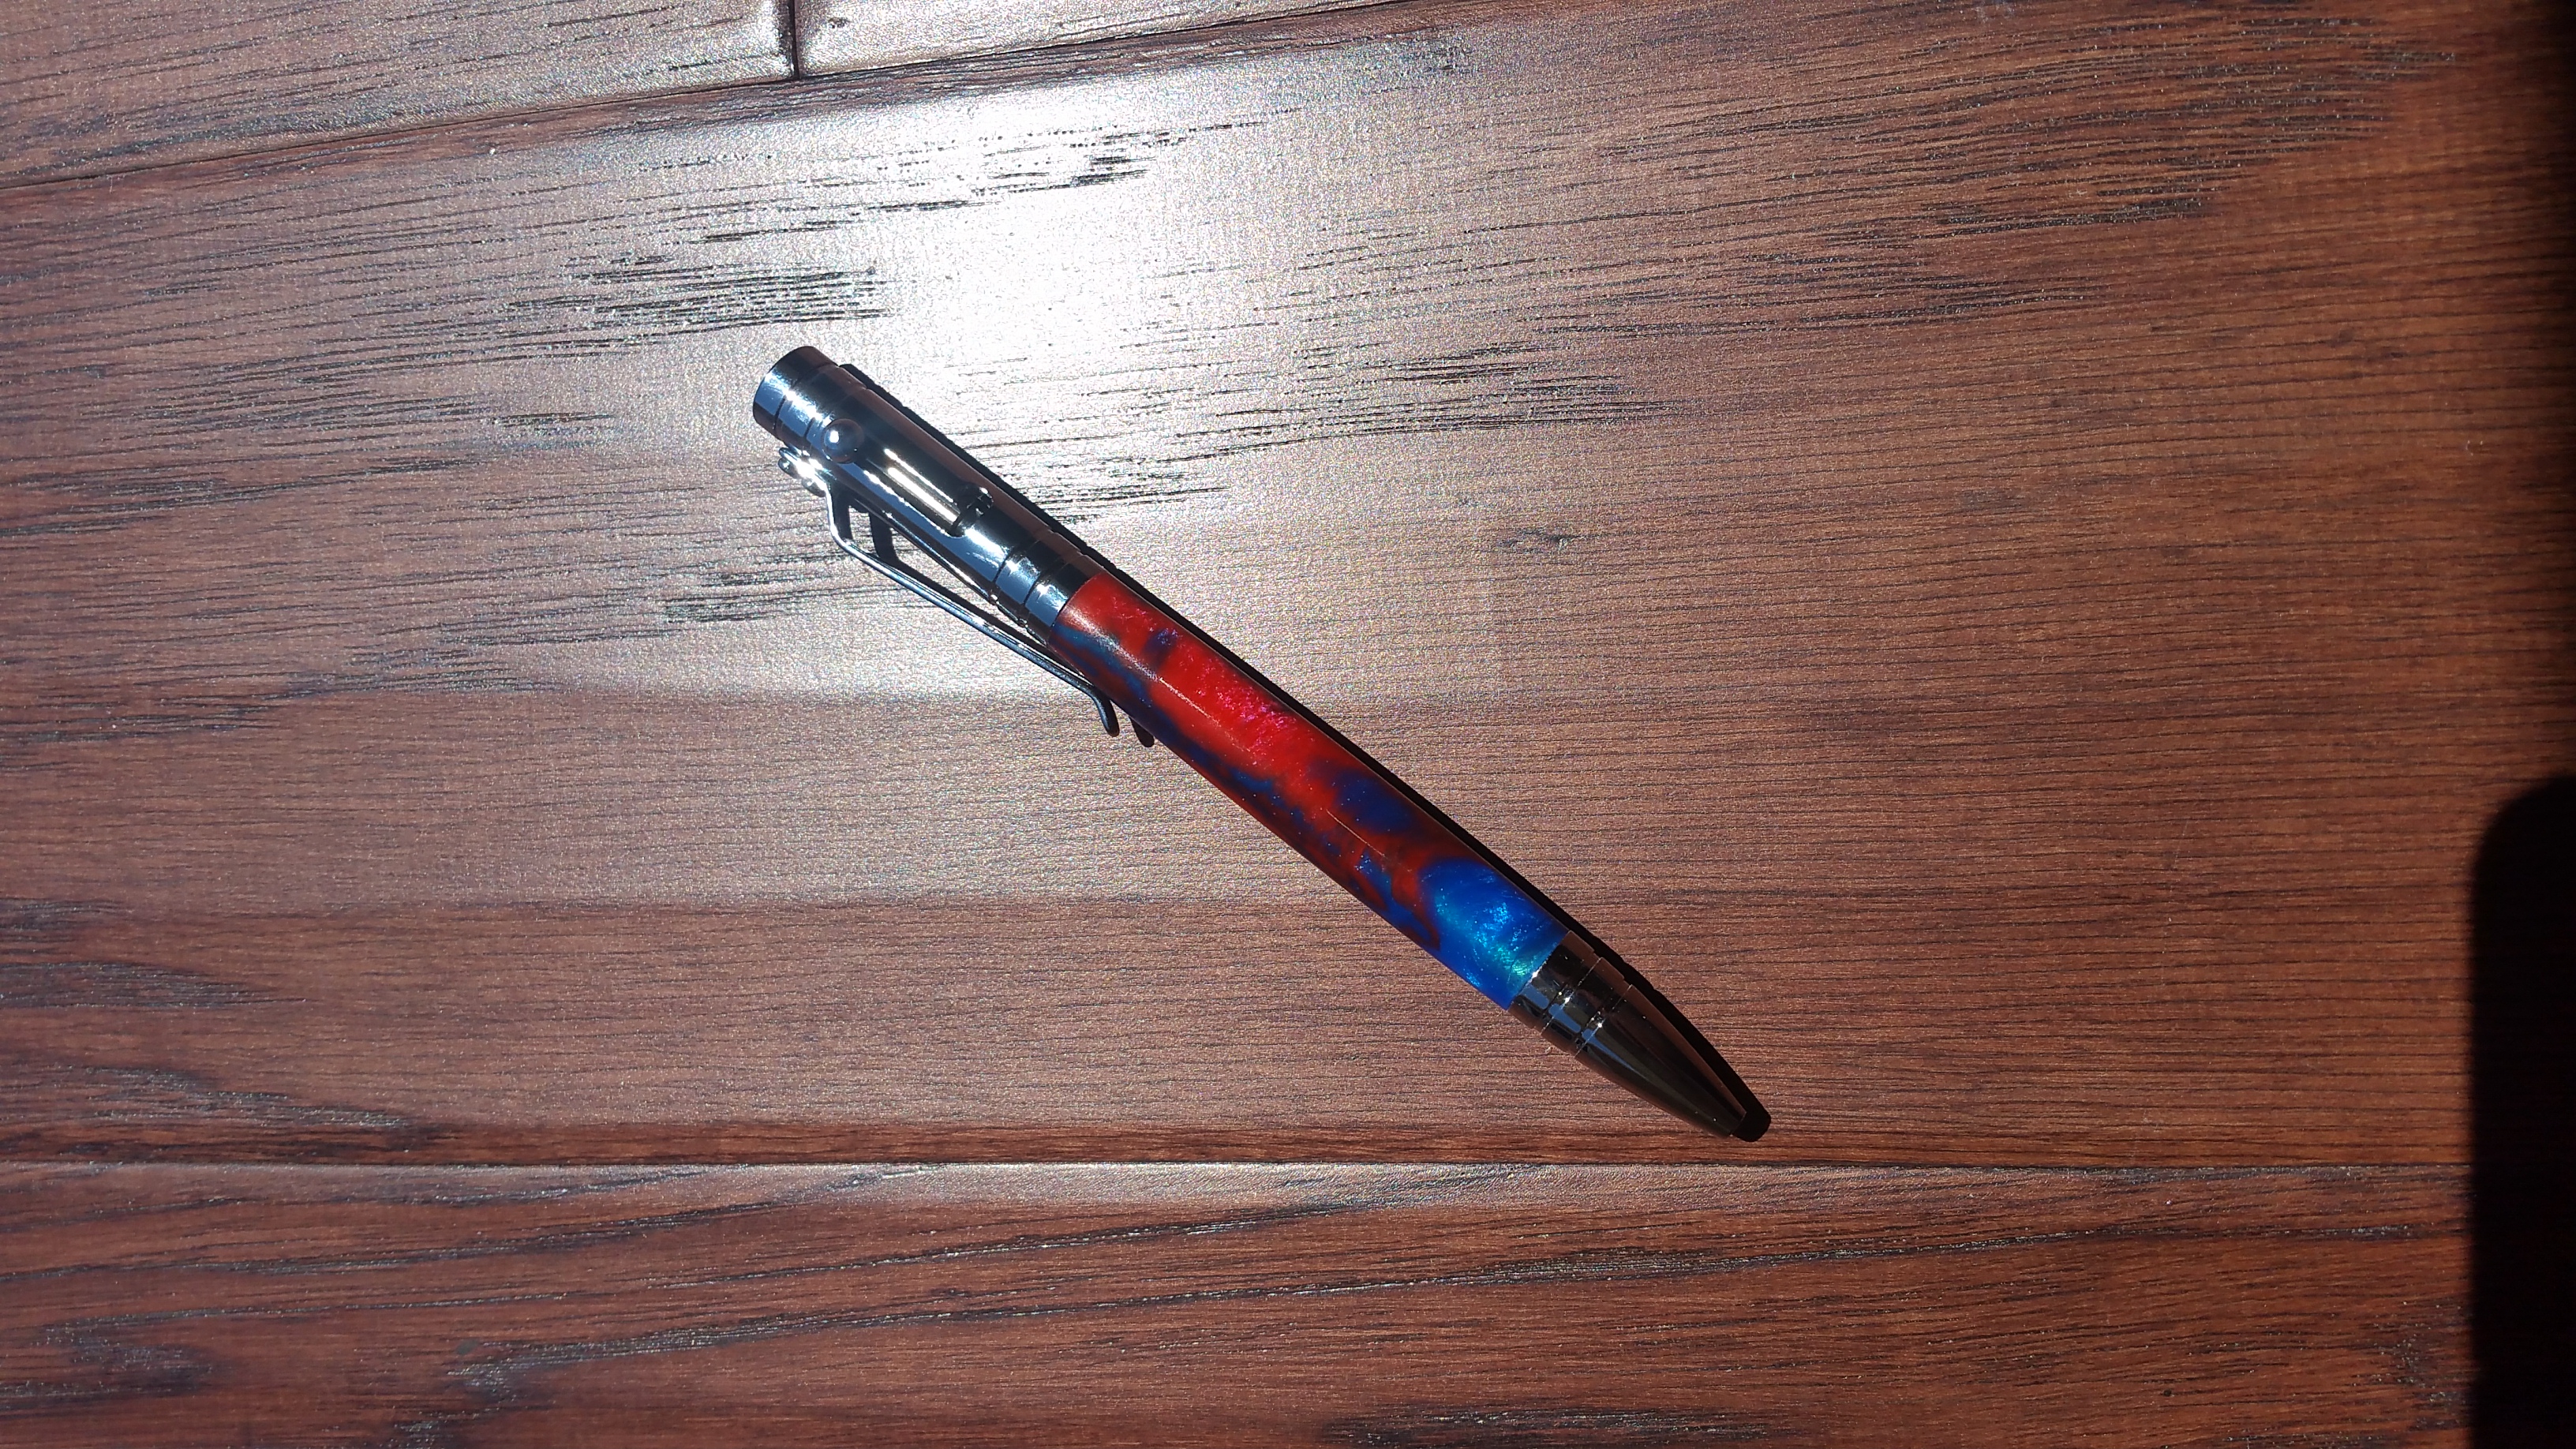
Assembled Bolt-Action Pen
I’ve assembled the pen. The fit is very good, no gaps or ridges where materials meet. The mechanism on the pen is smooth and the overall quality of the kit is excellent. The included Parker style ink cartridge writes nicely but not as nice as the Schneider Topball 850 on my previous pen.
Lessons Learned
- After radial sanding with the lathe on always sand along the axis with the lathe off until the radial scratches from that grit are gone. I didn’t do this on my last two pens and ended up sanding for hours, returning to lower grits to get out scratches I missed. It’s faster in the long run to do your axial sanding.
- This pen kit had the plain end cap installed by default. I spent nearly a half hour looking in all the little nooks around my workbench trying to locate it, thinking that it had fallen off the bench while I worked. It hadn’t, it was screwed into the bolt-action mechanism.
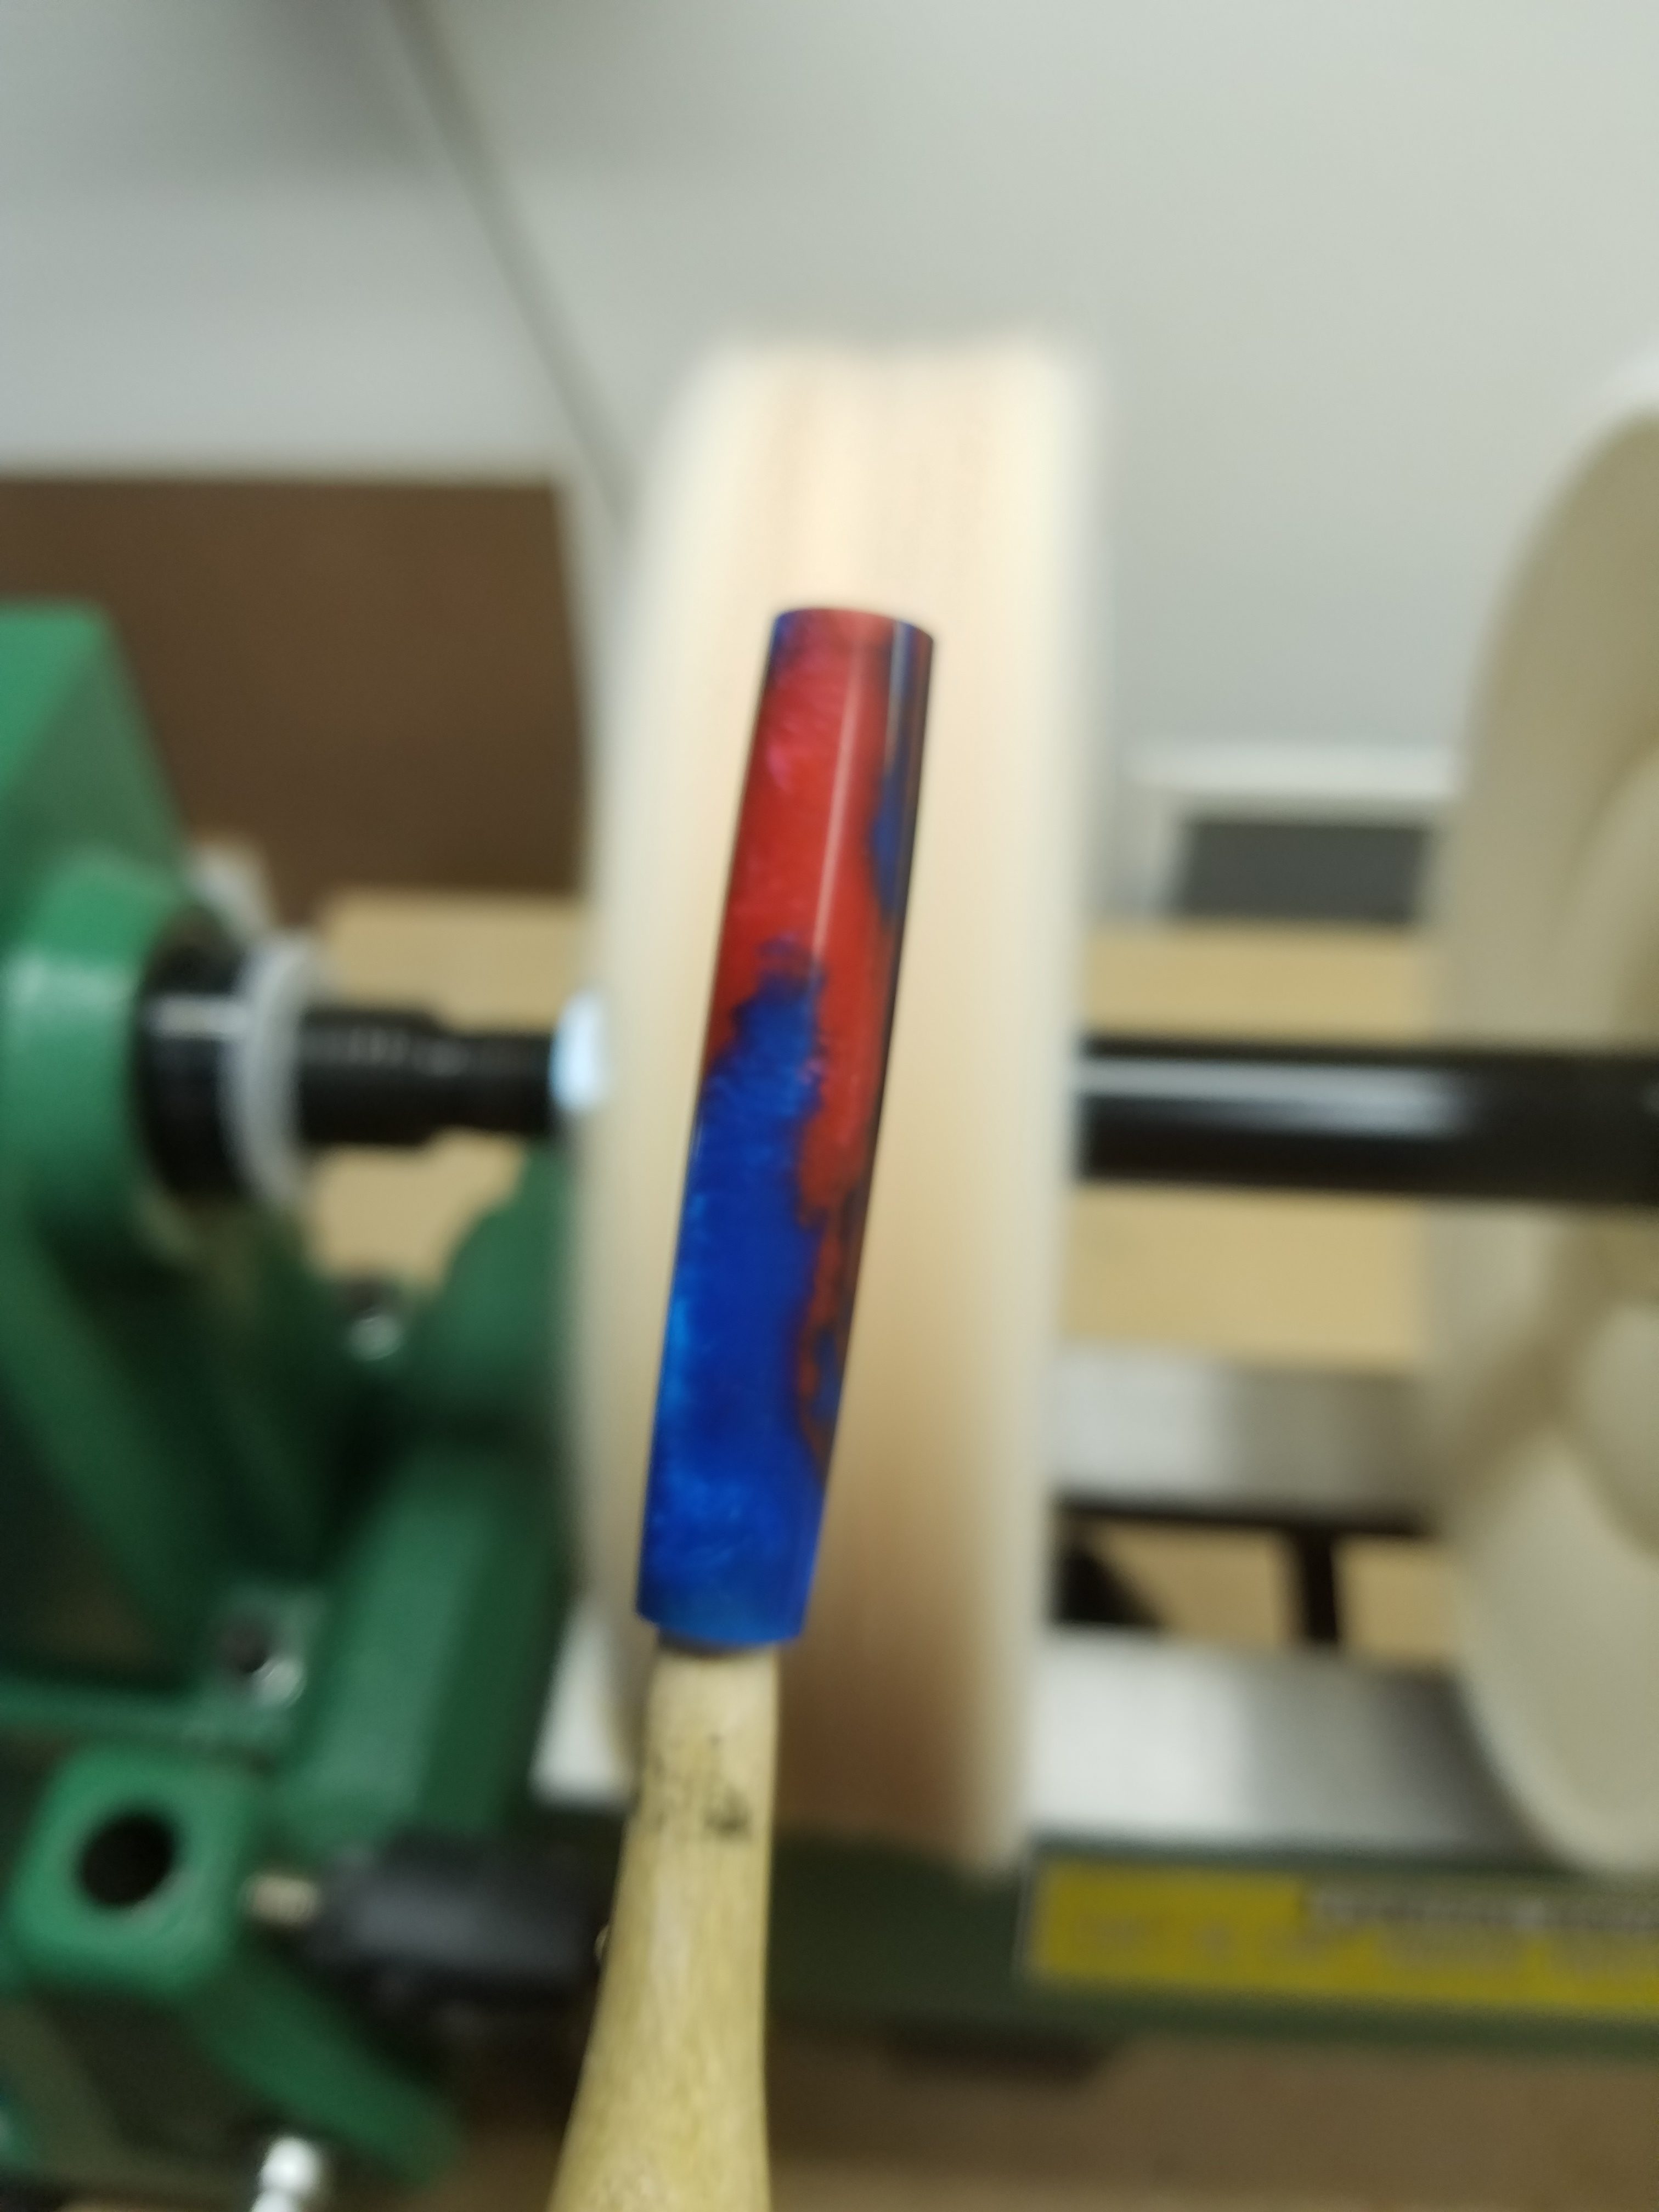
- Use plenty of mica powder as it renders the resin opaque. There is a blue area near the nib that you can see a little bit of the brass tube through.
Mysteries
The resin shrank in the corners. From my research I know this is from the resin shrinking as it cures and pulling resin from the cooler areas of the mold. I will try warming the mold next time (as Alumilite FAQ suggests) to see if that corrects the defect. I’ve yet to be able to get a blank out of this mold that is actually 3/4″ x 3/4″ x 5 1/4″.
I too fell for this craft.
Each pen has its own story.
All the best