
To get the best finish possible, my pen sanding process includes sanding, polishing, and buffing to remove any tooling marks leaving a glassy smooth pen.
All sanding should be at low speed to reduce heat build up which could cause your blank to melt, or discolor. Always wear personal protection (PPE) equipment while using the lathe. Since I primarily work with resins, I sand wearing with both eye and lung protection. Some woods are irritants and shouldn’t be turned without protection either, you can find a list of hazardous woods at The Wood Database, if interested . I suggest everyone get in the habit of wearing eye and lung protection whenever sanding.
Dry Sanding
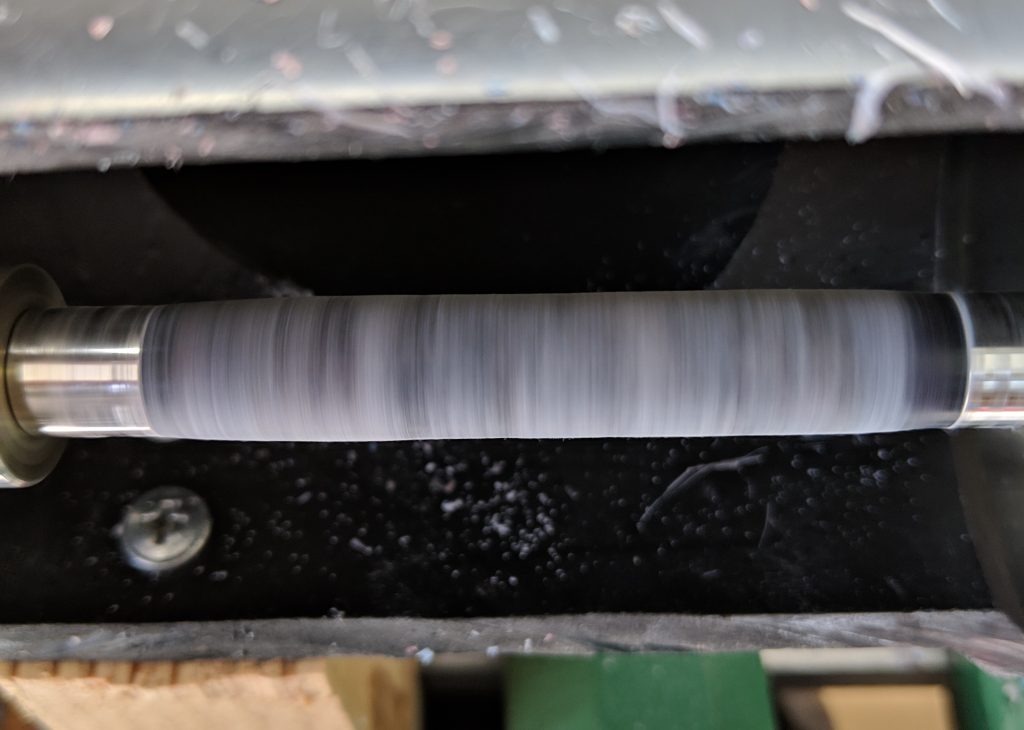
Start by dry sanding radially with 150 grit to remove tool marks. This first step helps reveal imperfections from tooling, which are visible as rings in the surface. Sand until the surface is hazy and no rings are visible. Once happy with the final shape, I sand axially to remove the radial scratches. Next, I wet sand.
Rings show low spots that need more sanding. 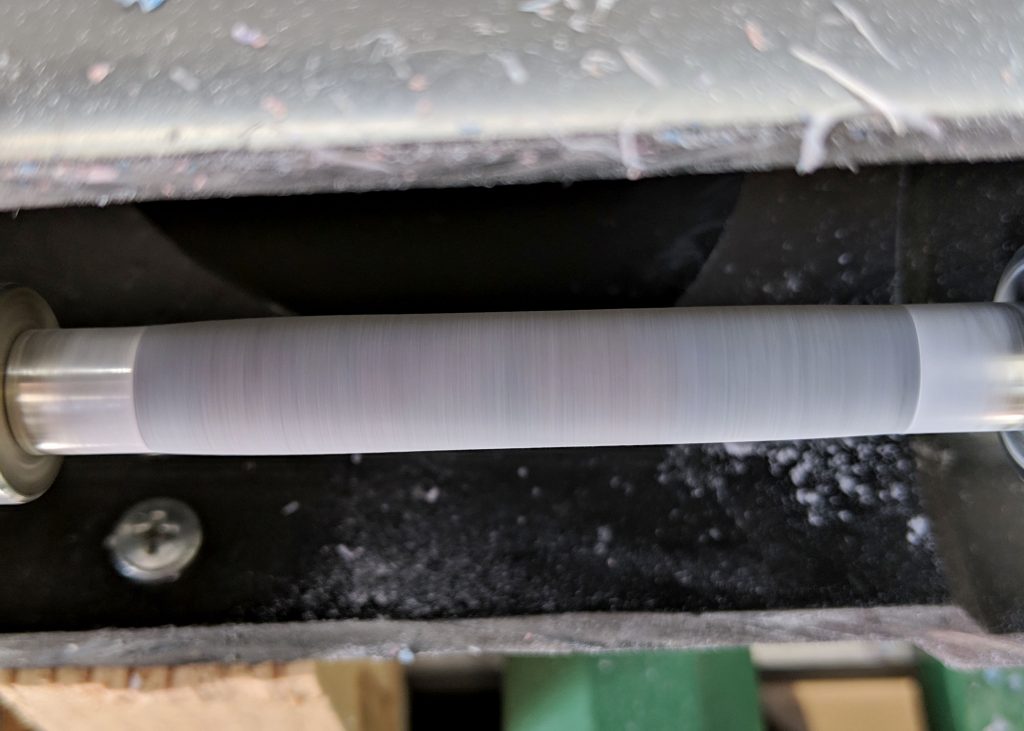
Surface is uniformly hazy, ready for axial sanding. 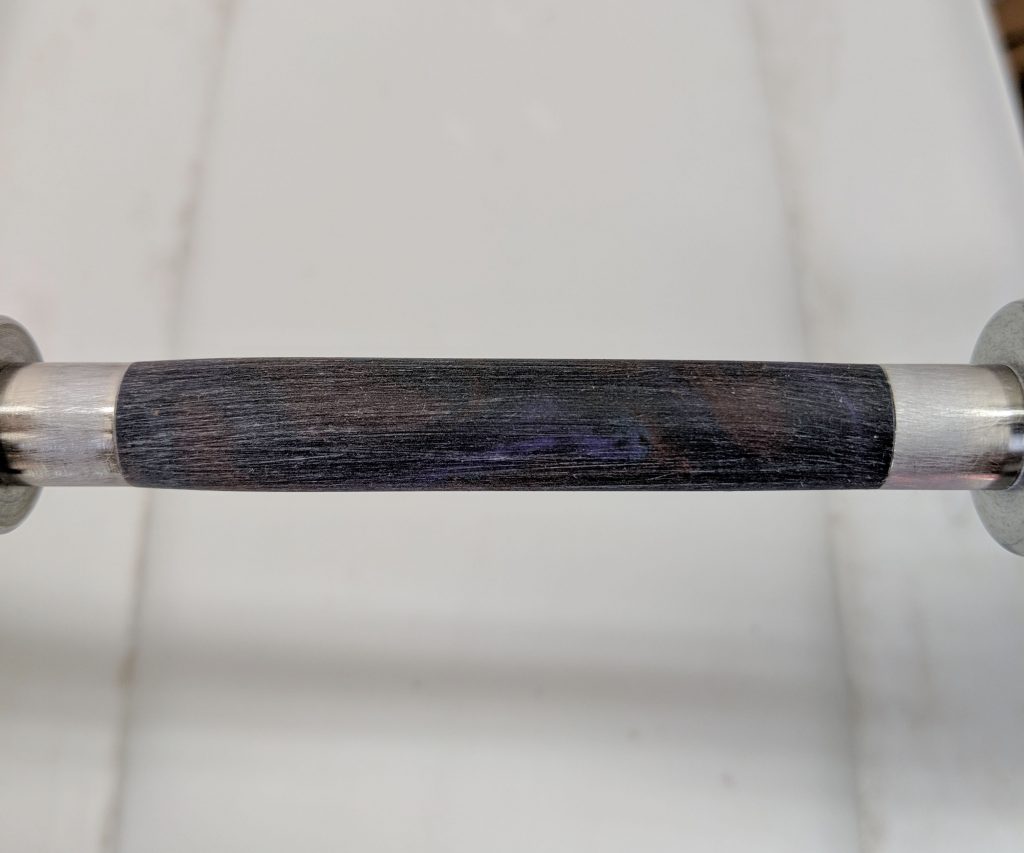
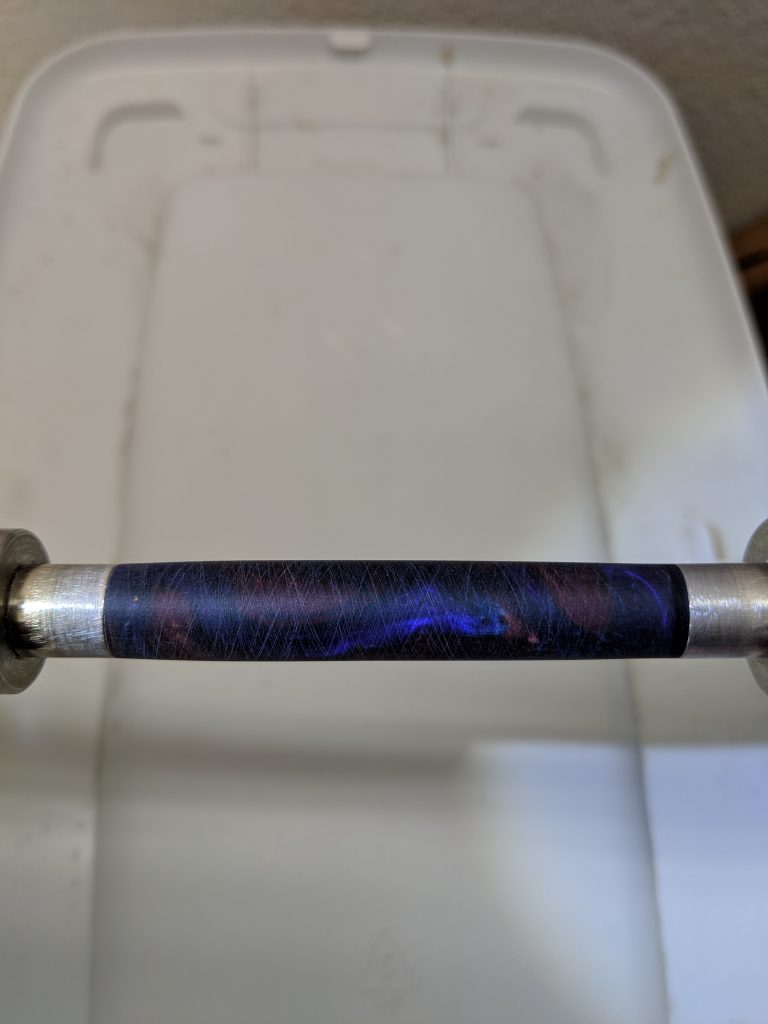
Axial sanding complete.
Wet Sanding
Wet sand with 220, 320, 400, then 600 grit wet/dry sand paper. Sand radially, first. Then, axially to remove scratches from radial sanding. Take special care towards the ends of the pen blank as it’s more difficult to get the radial scratches out of those areas (at least for me). Before moving to next grit, wipe the blank with a paper towel to remove any lingering abrasive. Next, I Micromesh.
Radial sanded at 320 grit. 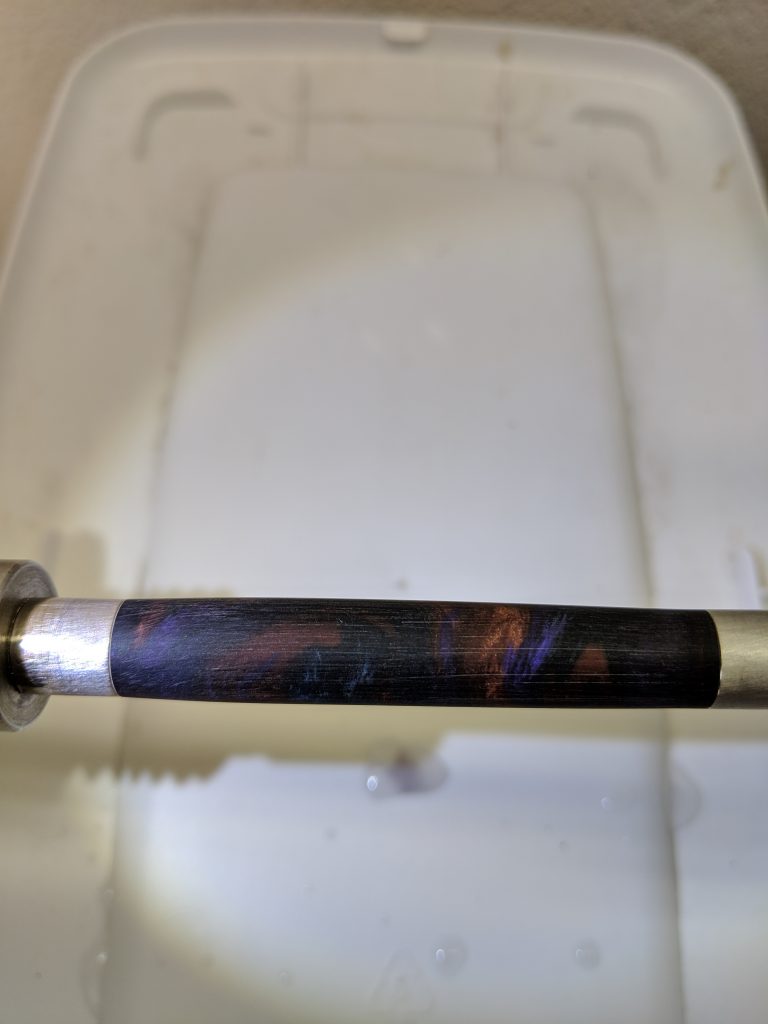
Axial sanded to 320 grit. 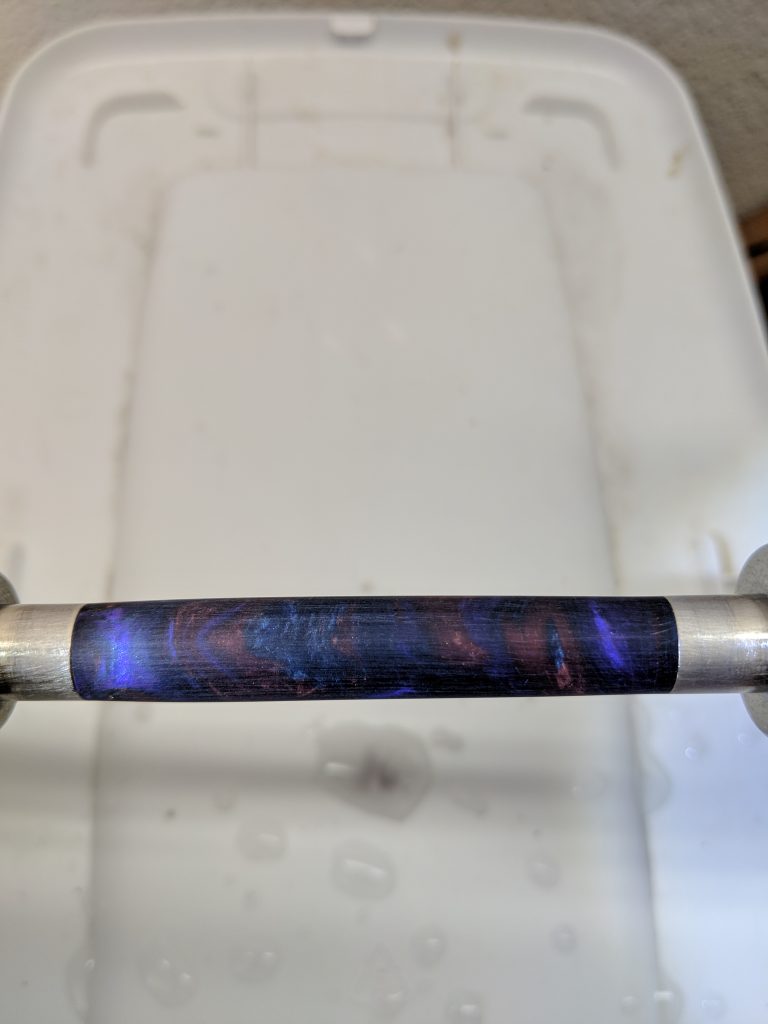
Axial sanded to 600, ready for Micromesh.
Micromesh
Wet sand with Micromesh pads through all available grits( 1500 – 12,000). Axial sanding isn’t necessary but can improve finish. Each pad only needs to be used for 15 to 20 seconds, keep the pad moving. I tend to dry to blank between grits to see if I need to spend more time with the current pad. But I’m relatively amateur and I’m still finding my own “good enough” point.
Plastic Polish (Optional)
The Novus 7100 Plastic Polish Kit is an excellent product and goes well between sanding and buffing. I clean my blank with the cleaning spray. Then apply the fine scratch remover with piece of paper towel. You can do this with the lathe off, turning the spindle by hand. I’ve tried it both ways and i’m still not sure which I prefer. I repeat the application and hand buffing until no scratches are visible using a raking light. then I move on to the buffing wheel.
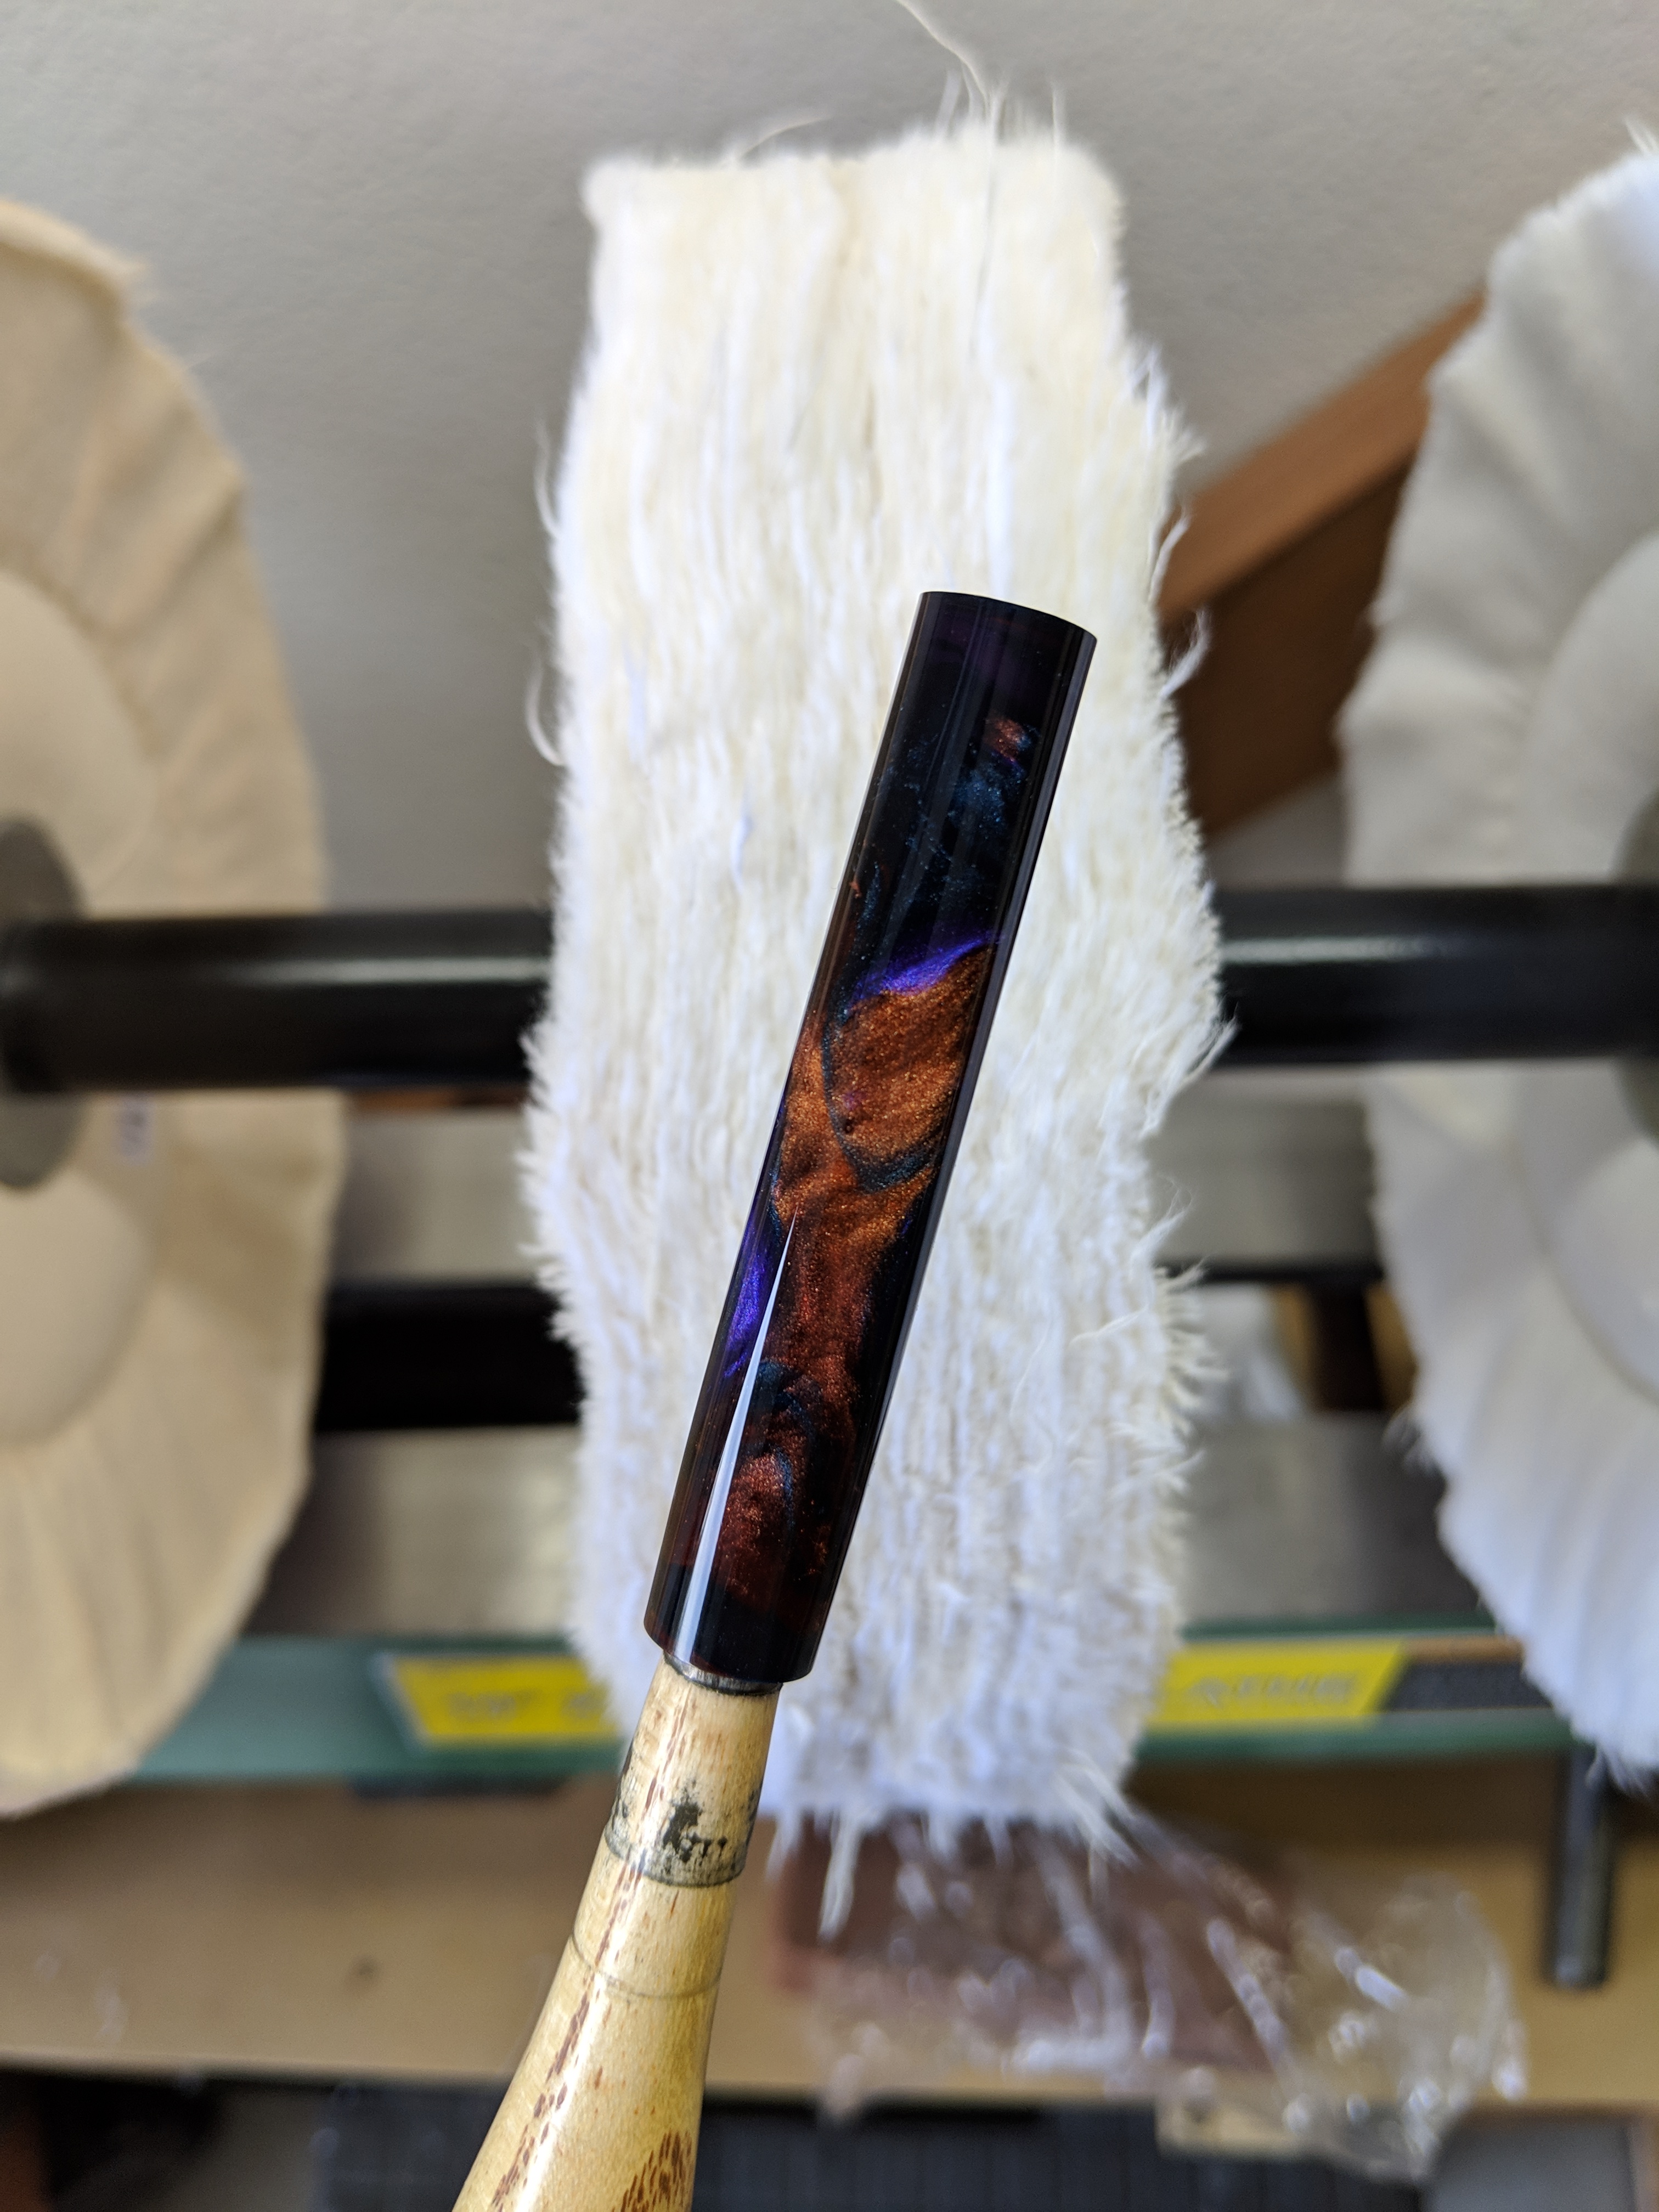
Buffing
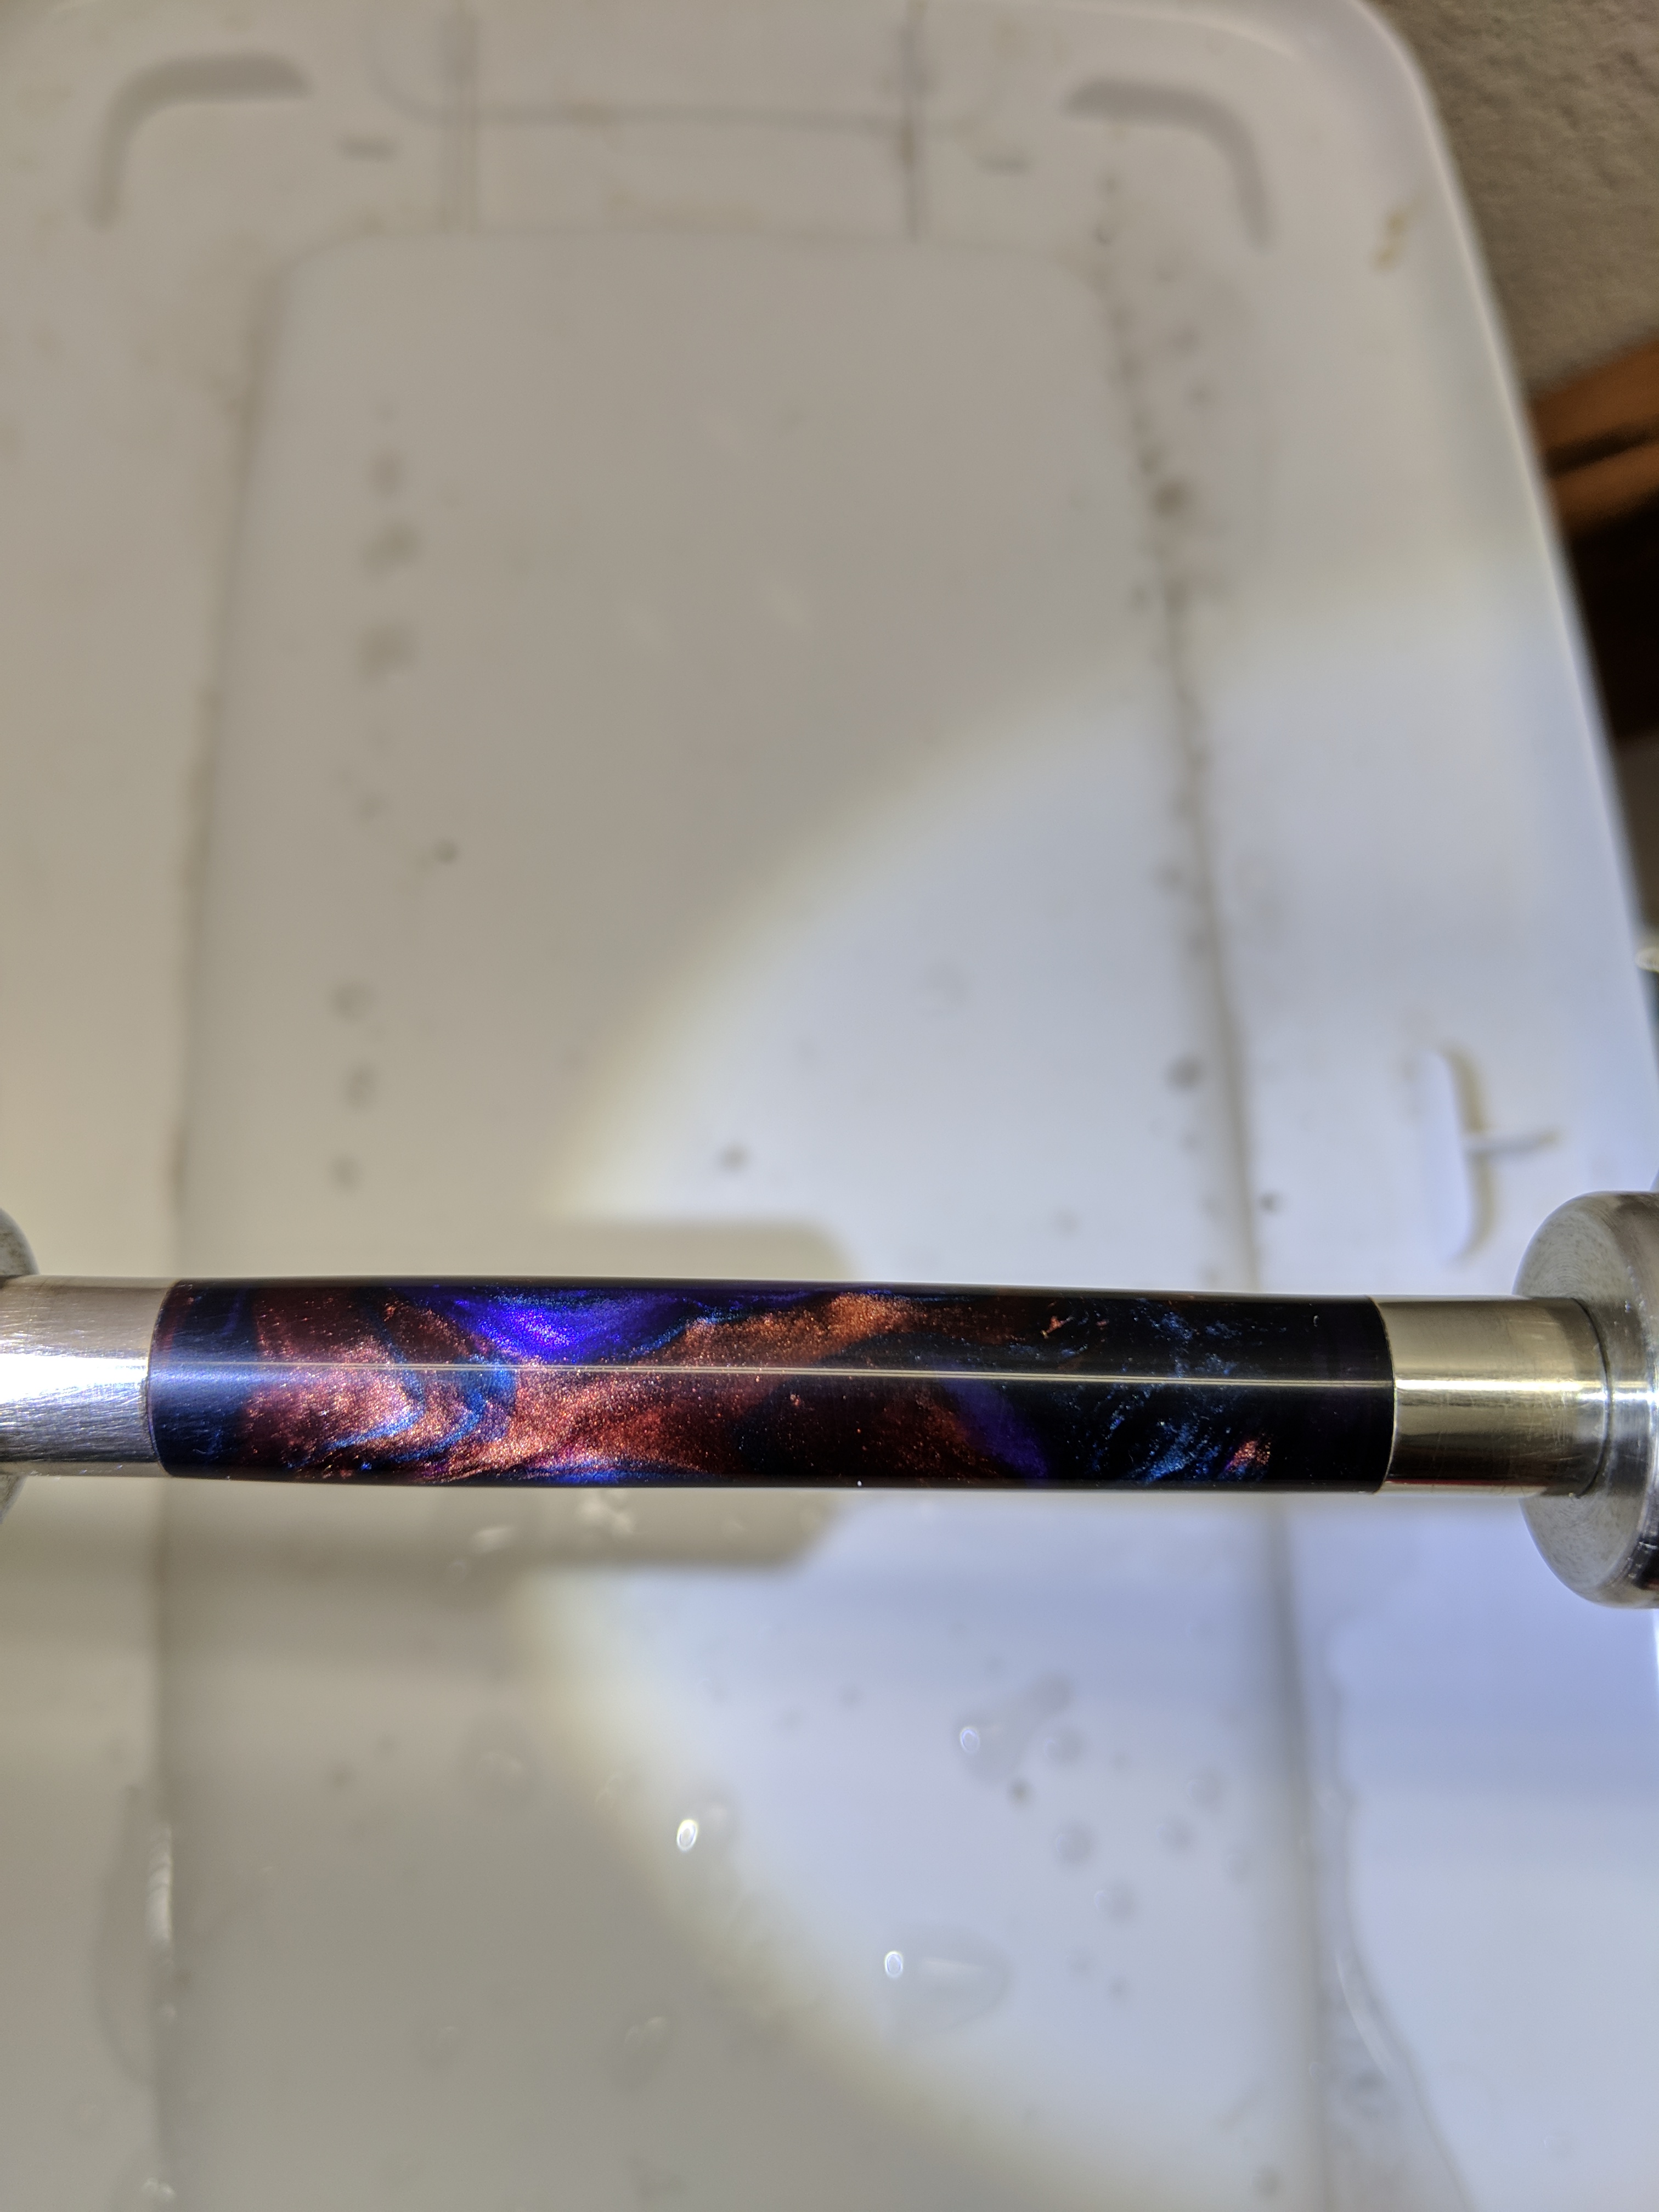
Start buffing with brown Tripoli if you didn’t use the Novus polish, otherwise move straight to the White Diamond. Buff axially as well as at 45 degrees to the wheel. I do not buff radially as the wheel tends to grab the blank out of my hands. Keep your blank moving, friction from the buffing wheel can build up enough heat to damage your blank. After White Diamond the piece will be glassy smooth and shiny. The blank is ready to assemble. Sometimes I’ll use the Carnuba wax wheel to give the pen a little extra protection, but I haven’t determined if it really helps in the long term.