
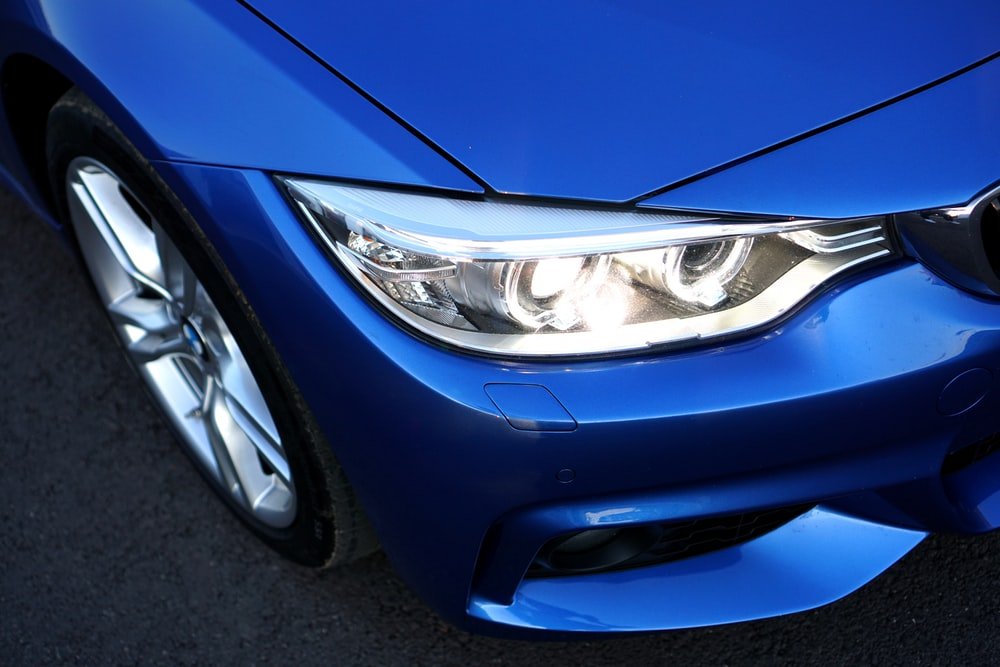
My coworker love his BMW and wanted me to make a pen using their emblem as my inspiration. I decided that this was my chance to try making a segmented blank.
I cast three individual blanks for this project. One each white, black, and the best approximation of BMW’s Estoril blue that I could manage. I wanted black rings at nib and band with alternating white and blue sides. Aluminum sheet will separate each segment.
Here are the blanks fresh out of the pressure pot. These are cast with Alumilite clear and a combination of Alumilite dyes and powdered mica pigments.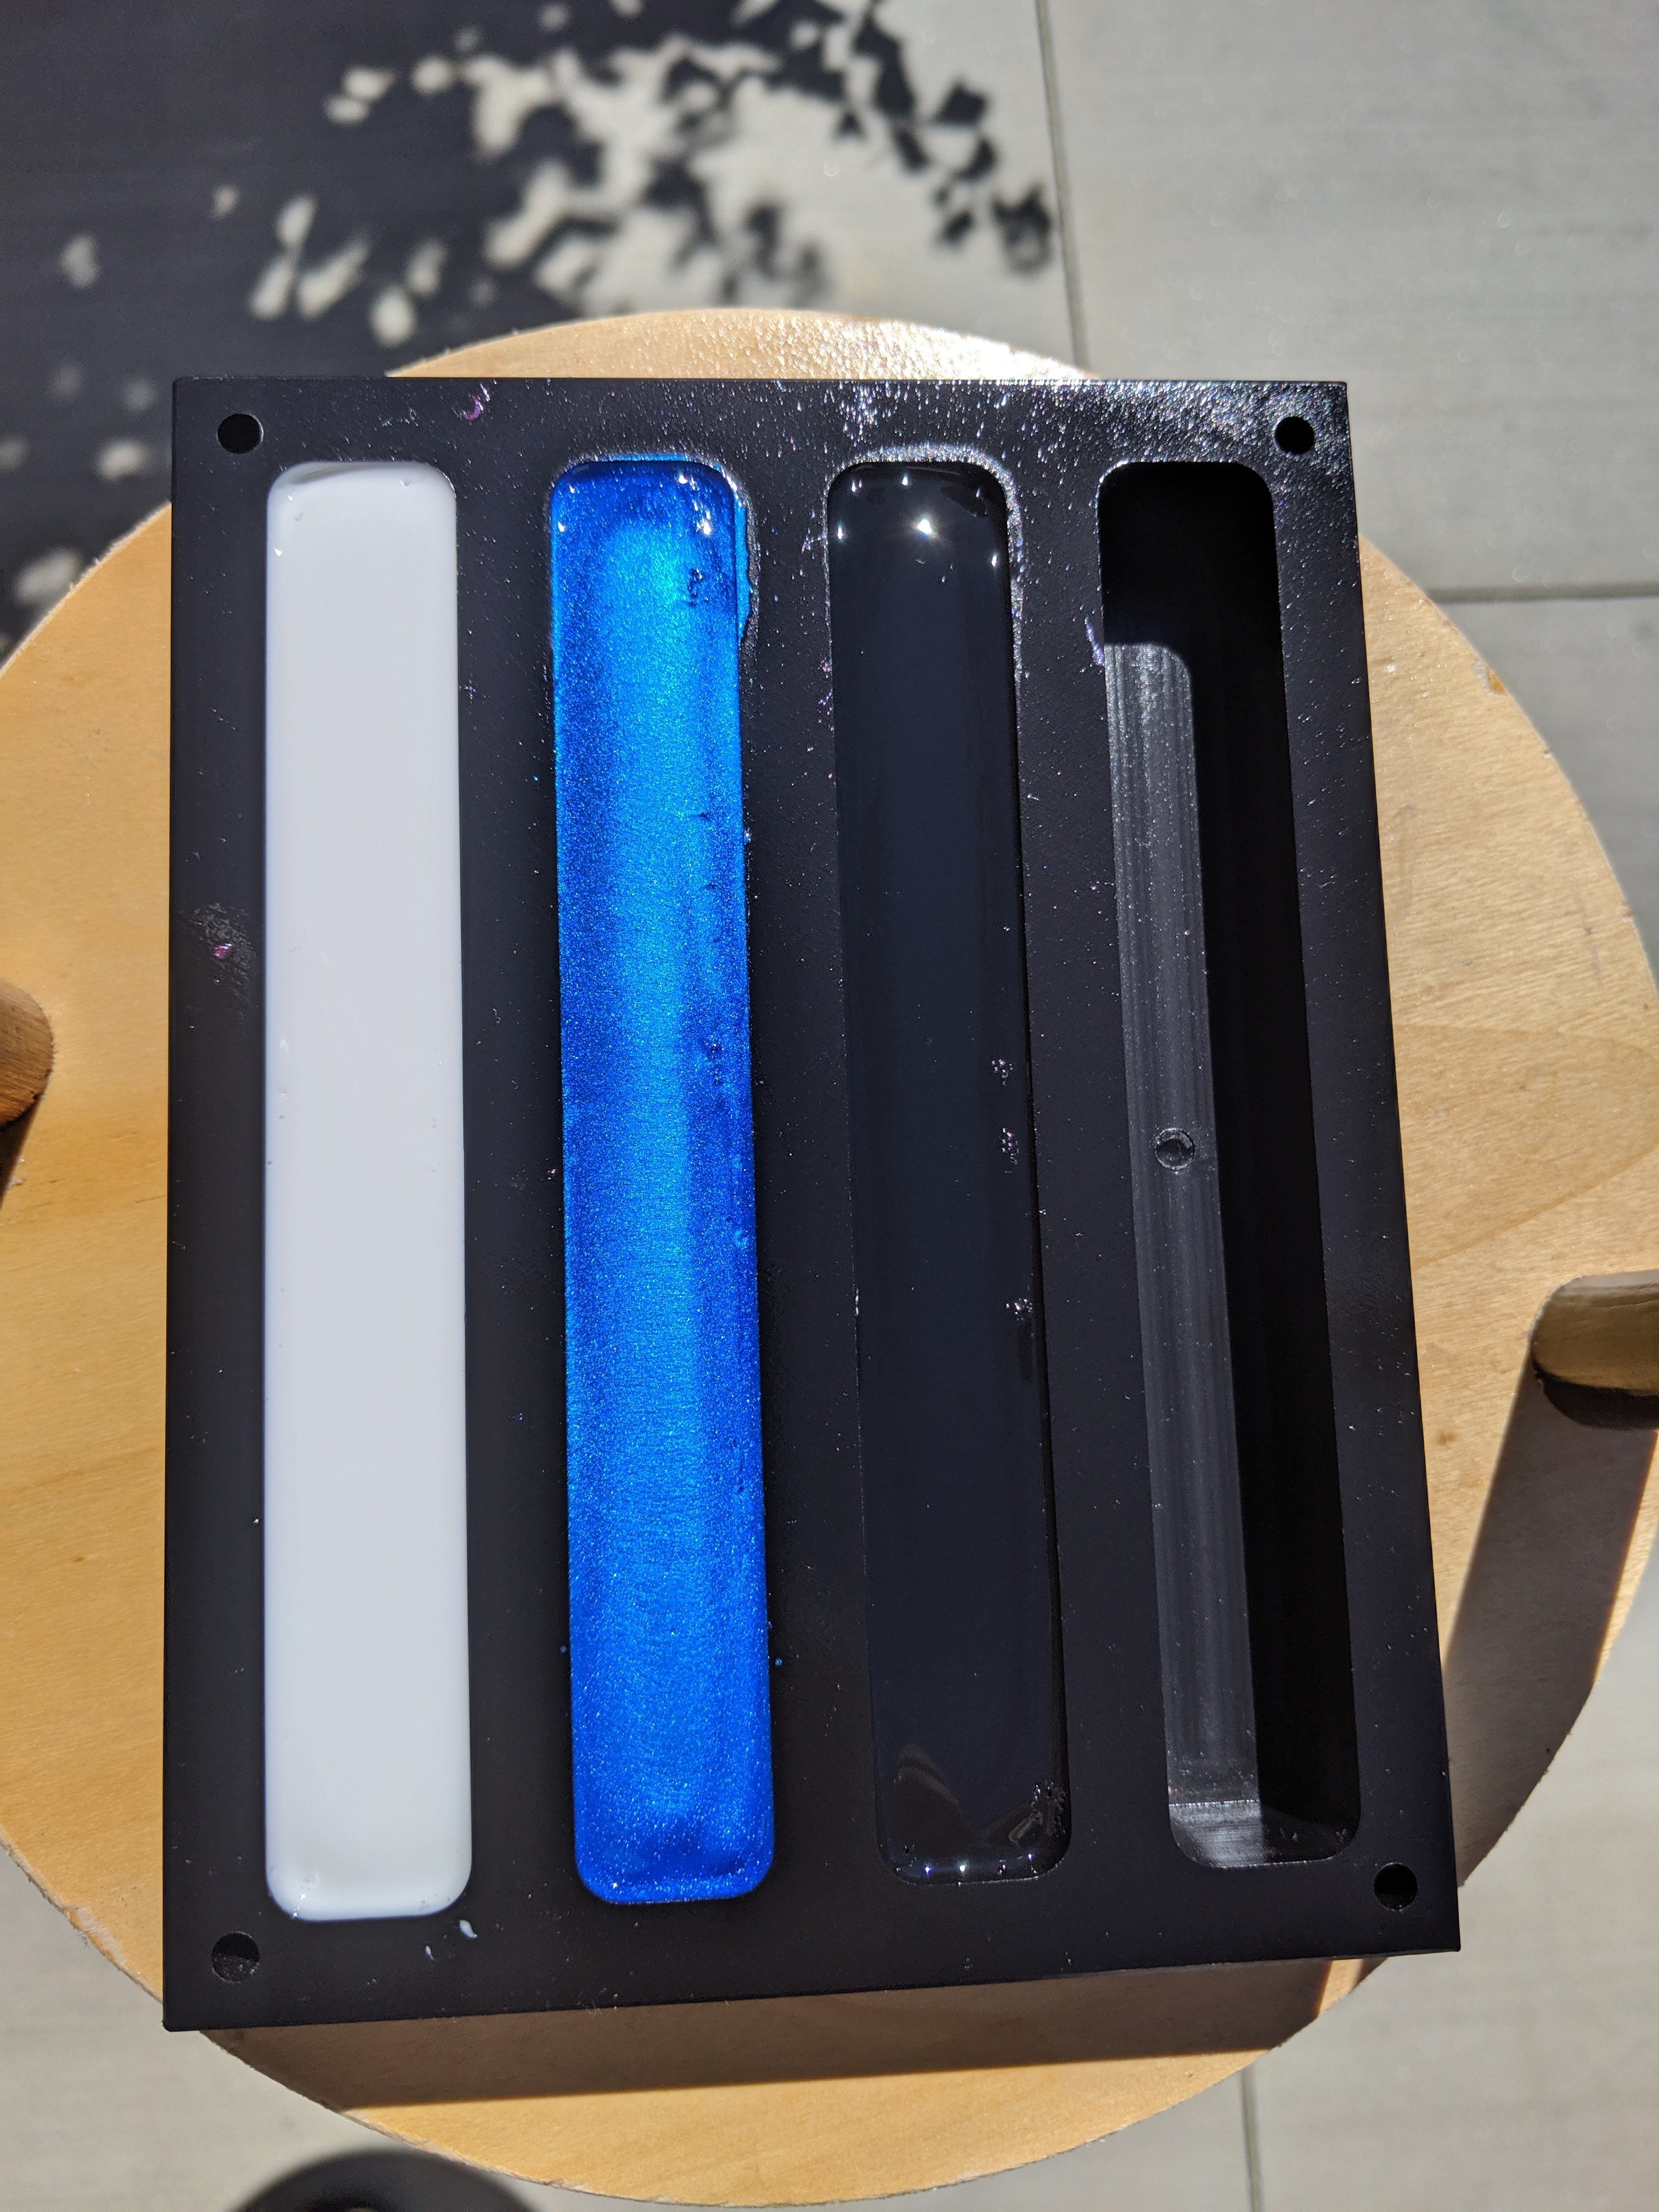
I cut the blanks on a band-saw to minimize loss due to saw kerf width. Using 5 minute epoxy on each side of the resin; I sandwiched a piece of sanded aluminum can between each piece. I went through several iterations before constructing a segmented blank suitable for turning.
Blank 1.0:
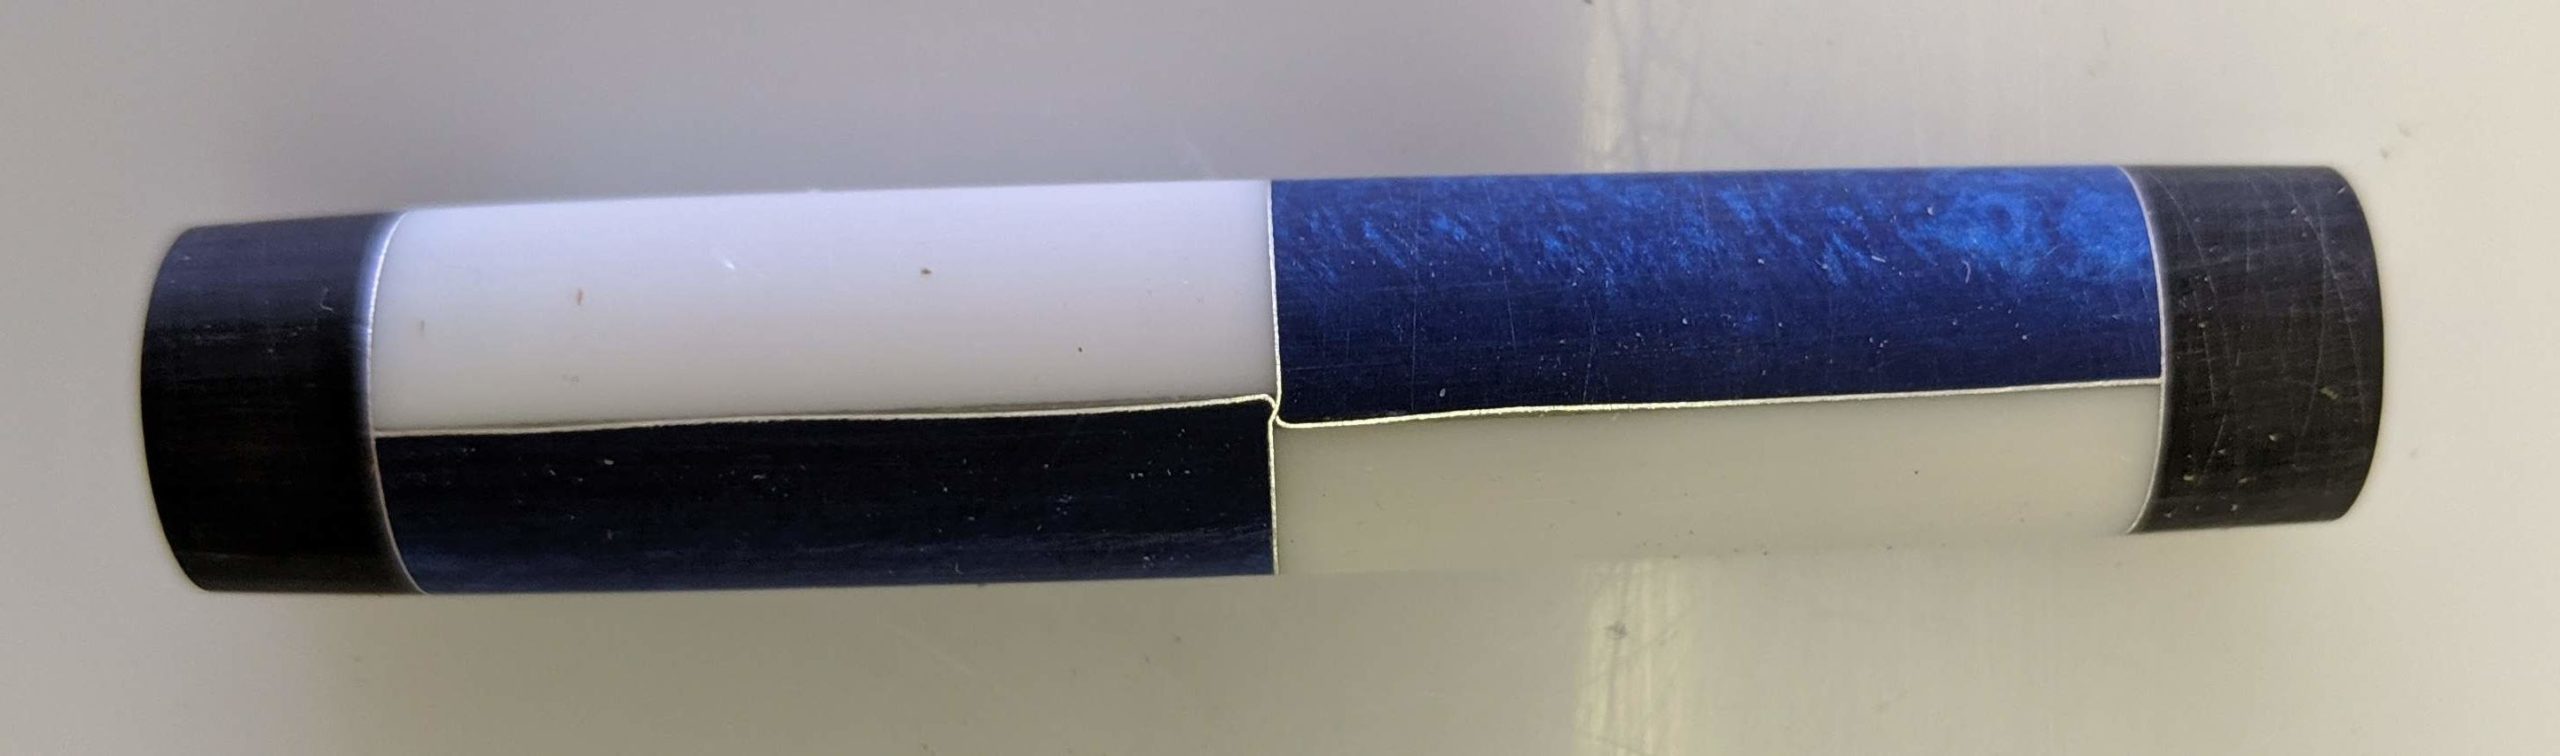
Cut all four sections of the main body and glued them together at the same time. When I cut the blank I did not center the blade correctly. This slight offset was enough force a wave into the aluminum when I clamped the swapped the blue and white segments on one end.
Blank 2.0
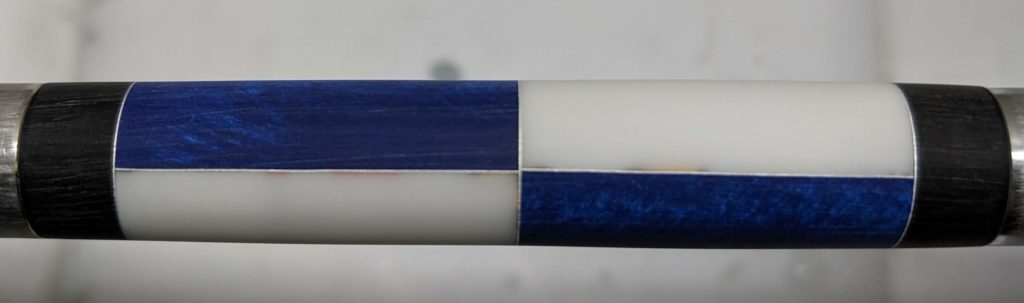
Glued the left and right halves together. Then cut them in half and inserted the horizontal piece. This worked well and the cross aligned nearly perfectly. However, I didn’t sand the label off of the aluminum this time. The edge of the can’s label is visible through the white portion of the blank.
Blank 3.0
The Solimould(tm) Quad mold I used has a slight taper top to bottom. This makes it easier to get the blanks out, but is not conducive to building a segmented blank. Now, to be fair to Solimould, I’m not really known for my ability to make straight cuts to begin with. So when I have to make a slight trim after glue up, everything goes wonky since the blank won’t sit flat on my table. When I managed a reasonably straight cut I had lost nearly an eighth of an inch of material. This made one end of the blank too short to match the proportions necessary for the finished product. I have to order more mica powder. I used the last of it to make this blank and I’ll have to cast a new one before I can finish this project.
Blank 4.0
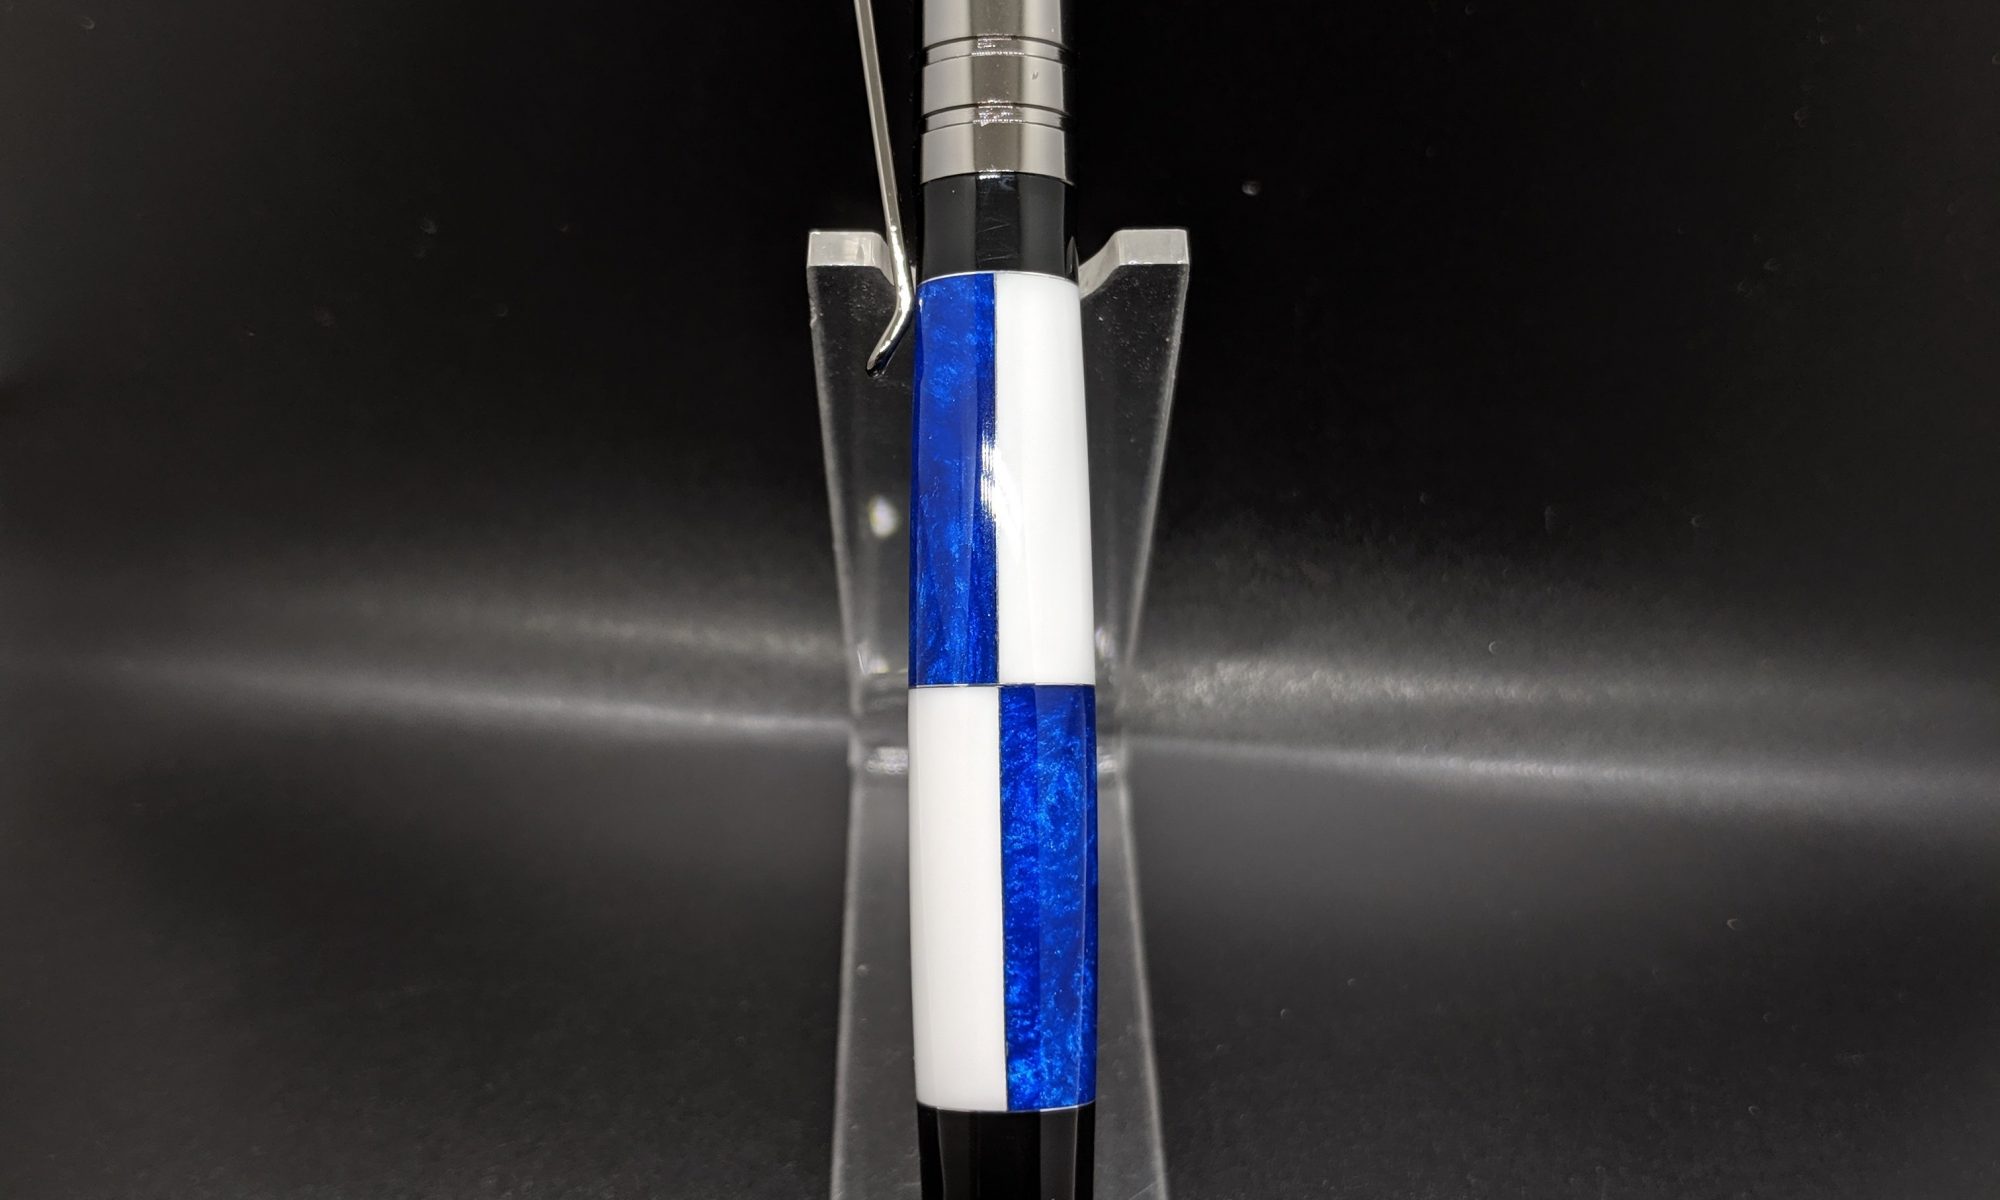
I cast a new set of blanks using a 4 Blank Horizontal Mold from PTownSubbie to take advantage of the square sides. I cut and glued up the black ends without incident. Turning went well but when sanding I found that small bubbles formed, leaving flaws in the black band on the clip side of the blank. I tried to sand them out but only succeeded in making the band a bit concave. I ended up filling them with black Alumilite dye mixed with CA glue. I wish I would have thought of the dye/glue combo before I sanded off too much material.
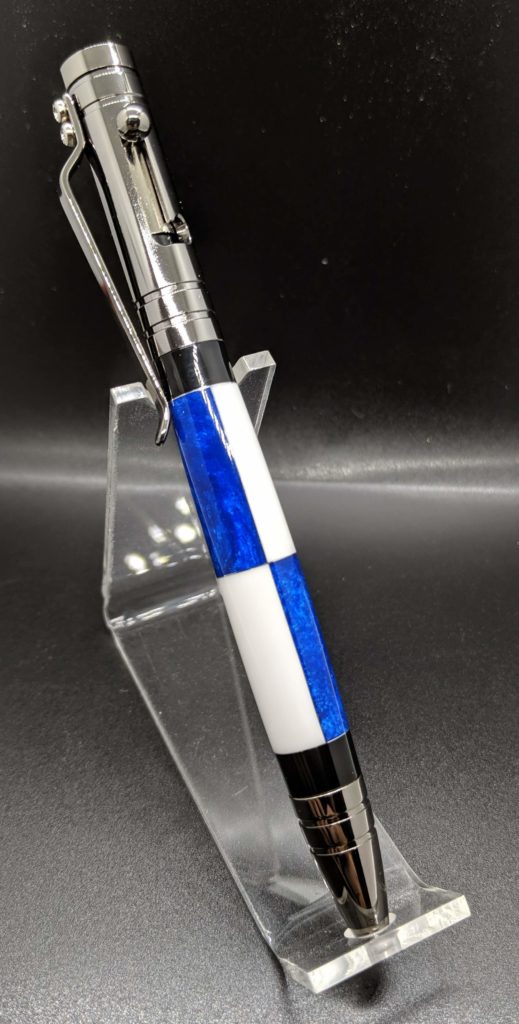
I tried to apply a CA finish but ended up sanding it off again. I didn’t apply it correctly and the finish was not what I was hoping for. I will work on my technique. I ended up buffing at a higher speed than normal. When buffing I run the lathe at it’s lowest speed, about 750 RPM, but some YouTube videos suggested running around 1000 – 1200. The higher RPMs did keep the buffing wheel much stiffer and the polish cut noticeably faster. Blank 4.0 passed quality assurance and is ready for assembly.
The nib I intended to use had some hard brown gunk stuck to the shoulder. While attempting to scrape it off I scratched the finish. I’ll have to remember to check the hardware kits when they arrive instead of when they’re used. The second kit had a poor finish on the upper mechanism. I ended up taking the best of each kit. Assembly went fine and this project is in the bag.